To create a gallery wall in your apartment, start by planning your layout with paper templates to visualize the arrangement without holes. Select meaningful artwork and personal items that reflect your style, then choose matching or eclectic frames for a cohesive look. Measure and mark exact spots to hang each piece using damage-free hooks or strips, ensuring proper spacing and balance. For more tips on perfecting your gallery wall setup, keep exploring!
Key Takeaways
- Measure wall space and plan layout using paper templates to visualize arrangements before hanging.
- Select cohesive artwork and frames that reflect your style, mixing sizes and materials for visual interest.
- Arrange templates on the wall with painter’s tape, maintaining consistent spacing for balanced composition.
- Use damage-free hanging products like Command strips to protect apartment walls while securing artwork.
- Adjust and refine the gallery layout over time, leaving space for future pieces and ensuring overall harmony.
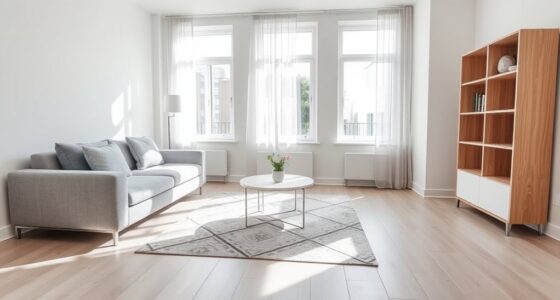
Planning Your Layout and Selecting the Perfect Spot
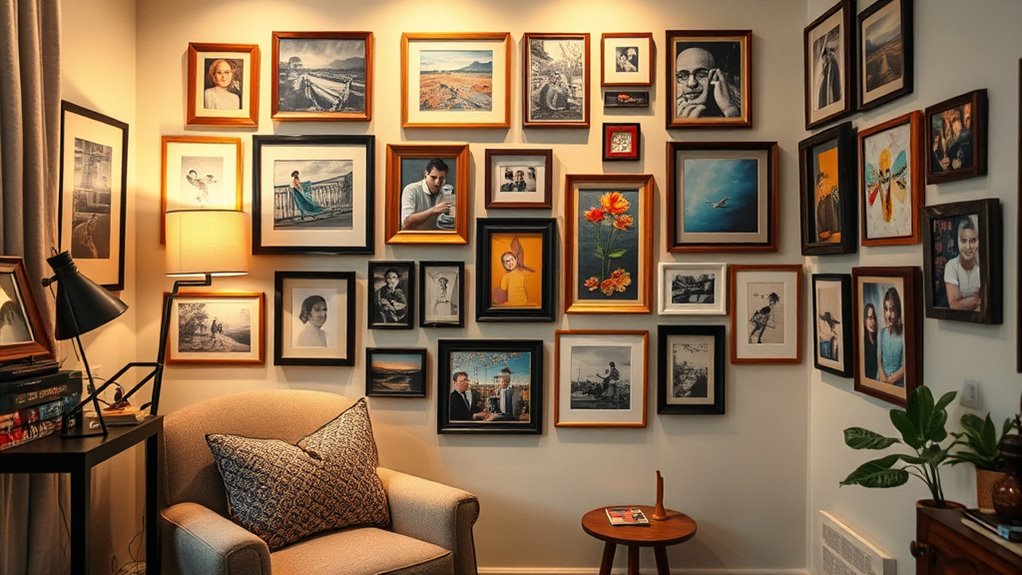
Before hanging your gallery wall, it’s essential to plan your layout and choose the right spot. Start by measuring your wall space carefully, considering the room’s layout, furniture, and lighting. Use paper templates or cutouts of your artwork to experiment with arrangements on the floor or against the wall. This helps you visualize how your gallery wall will look and guarantees proper proportions. Incorporating decorative textiles like farmhouse-inspired dish towels or curtains can add warmth and texture to the space, complementing your gallery display. Decide on a focal point or main piece, then plan the layout around it for balance and harmony. Keep consistent spacing, usually 2-3 inches between frames, to create an organized look. Also, consider the room’s function and natural light to select a spot that enhances your artwork and fits seamlessly into your space. Additionally, understanding gallery wall composition can help you achieve a cohesive and aesthetically pleasing arrangement. Moreover, studying AI-enhanced design tools can assist in visualizing your layout with advanced technology before hanging. Exploring measurement techniques can further ensure your arrangement is perfectly proportioned and aligned. Implementing spacing guidelines based on your measurements can help maintain uniformity and visual appeal throughout your gallery wall.
Gathering and Curating Your Artwork and Personal Items
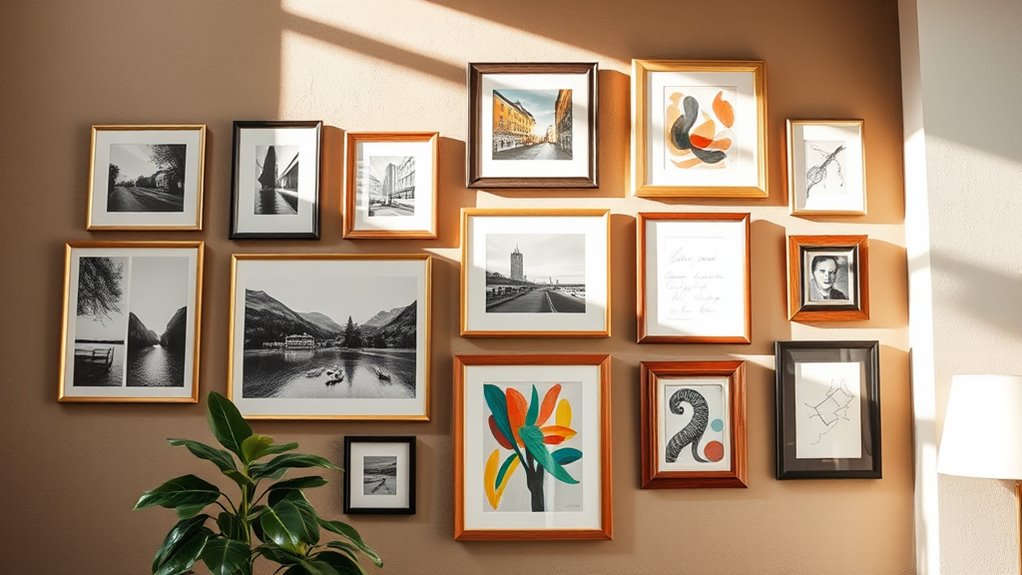
Gathering and curating your artwork and personal items is an essential step to creating a meaningful gallery wall. Your art collection should reflect your personality and style, so gather meaningful pieces from various sources. Focus on assembling a cohesive visual story by selecting items with a similar color palette or theme. Take your time sourcing pieces from thrift stores, travels, or your personal collection to add a curated, personal touch. Mixing different sizes, shapes, and media—such as photos, drawings, and textiles—can create visual interest. To unify your collection, consider framing options that match your decor, like gold, white, or black frames. Be aware of potential cybersecurity vulnerabilities, especially when sourcing digital images or sharing your curated collection online, as cybersecurity risks can impact your privacy. Incorporating digital security practices when managing your digital artwork can help protect your personal collections. Additionally, understanding anime movies can inspire creative ideas for themed or eclectic displays. Exploring different candle making techniques, such as wickless or wax-free methods, can also spark innovative ways to personalize your decor. Incorporating vetted global products and trusted sources when acquiring art or personal items ensures quality and authenticity, adding to the meaningfulness of your gallery. This thoughtful curation ensures your gallery wall feels intentional, harmonious, and uniquely yours.
Measuring and Creating Templates for Precise Placement
Start by creating paper templates that match your artwork’s size and shape to visualize the layout. Use painter’s tape and a ruler or level to measure and mark exact placement points on the wall. Arrange the templates on the wall first to test spacing and balance before hanging anything permanently. Incorporating healthy fats can help support your energy levels during the process and promote overall well-being.
Use Paper Templates
Using paper templates is a smart way to plan your gallery wall with precision. By tracing each artwork’s back onto kraft or scrap paper, you create accurate paper templates that reflect their size and shape. Label each template with the corresponding artwork or frame number to keep your art arrangement organized. Incorporating automation technologies in your planning process can help streamline the setup and ensure consistent spacing throughout your layout. These tools can sometimes suggest optimal spacing and alignment, making the process even more efficient. Additionally, considering off-road bike features can inspire creative ways to arrange your space, ensuring each piece complements the overall design. Employing organization techniques, such as grouping similar frames or themes, can also help in managing the placement and type of artwork for a cohesive look. Arrange the templates on your wall with painter’s tape, experimenting with spacing and positioning to achieve a balanced wall layout. Leave the templates in place for a few days to evaluate the overall look and make adjustments if needed before hanging the actual pieces. Using precise measurements ensures your gallery wall maintains harmony and visual appeal. This method helps you visualize the final result without holes or mistakes. It also guarantees your gallery wall looks cohesive, well-spaced, and perfectly arranged.
Measure and Mark Carefully
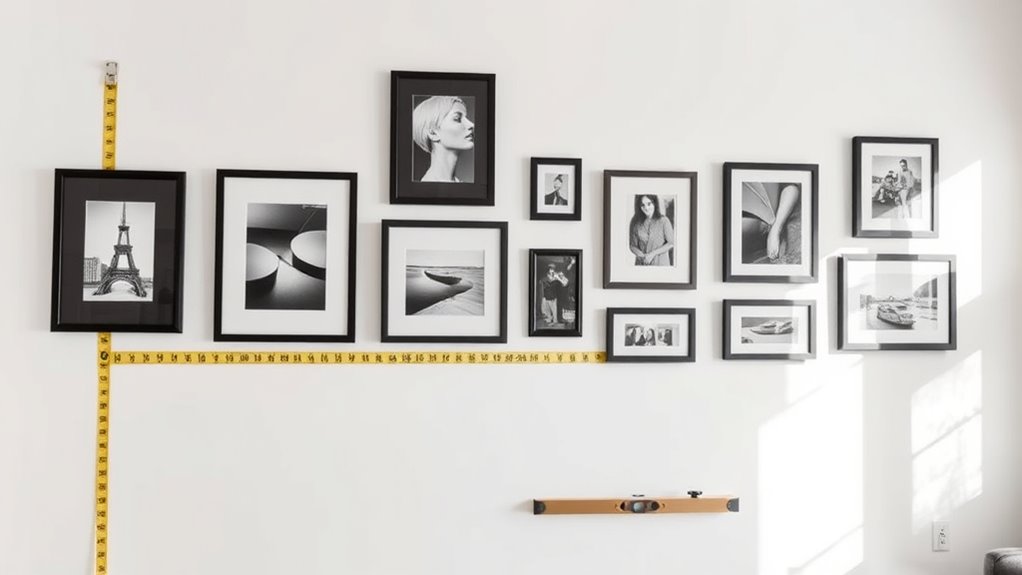
Before hanging your paper templates, it’s important to measure and mark your wall carefully. Use a ruler and painter’s tape to pinpoint key points, ensuring your measurements are accurate. Create templates of your artwork, matching their size precisely, and attach them to the wall with painter’s tape. Label each template to keep track of their intended locations and make adjustments easy. When marking, pay close attention to spacing—aim for consistent gaps, usually 2-3 inches, for a balanced look. Double-check all measurements and template placements before making any holes to avoid mistakes. To help visualize, consider this table:
| Measurement Step | Purpose |
|---|---|
| Measure spacing | Ensures consistent gaps between pieces |
| Mark key points | Guides template placement |
| Double-check | Prevents errors and wall damage |
Additionally, consider the overall wall layout to ensure your gallery wall appears balanced and cohesive before making any final marks or holes. Paying attention to visual balance can make a significant difference in achieving a professional and appealing display. Incorporating proper measurement techniques can further enhance the precision of your layout, reducing the need for adjustments later. Using a measuring tape can provide even greater accuracy when spacing and positioning your templates. Remember that sound measurement practices are essential for creating a harmonious and aesthetically pleasing arrangement.
Arrange Before Hanging
To guarantee your gallery wall looks polished and balanced, it’s essential to arrange your templates before hanging. Start by measuring your wall space carefully with a tape measure, noting the dimensions to plan your layout. Using interior design principles, you can ensure your arrangement is cohesive and visually appealing. Create paper templates of each artwork or frame, cut to the exact size, and label them for easy identification. Then, arrange these templates on the floor or a large table to experiment with different configurations. Use painter’s tape to temporarily attach the templates to the wall, adjusting their positions to achieve the ideal spacing and composition. To ensure your layout is cohesive, consider the visual balance of your arrangement, paying attention to the distribution of sizes and colors. Additionally, incorporating spatial awareness can help you understand how each piece interacts within the overall space. Incorporating design trends can also inspire your arrangement and make it feel current. Finally, take photos of your final arrangement to serve as a reference when hanging the actual artwork. This step ensures your gallery wall is cohesive and well-balanced, making the process smoother and more precise.
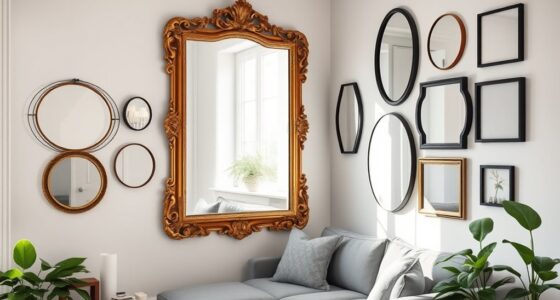
Choosing Frames and Display Techniques That Suit Your Style

Choosing the right frames and display techniques can instantly reflect your style and personality. Mixing different frame styles and materials adds visual interest. Creative display options like floating or shadow box frames can highlight your favorite pieces.
Limiting your choices to a few cohesive styles helps keep your gallery wall balanced and aligned with your decor.
Frame Styles and Materials
Selecting the right frames and display techniques is essential for creating a gallery wall that reflects your style. Your choice of frame styles—ranging from classic wood and metal to ornate gilded or sleek acrylic—helps customize your look.
Materials like matte, glossy, or textured finishes add depth and tactile interest, making your gallery wall stand out. Varying frame widths and profiles, such as thin or chunky, create visual contrast and emphasize specific artworks.
Consider frame color coordination—white, black, or metallic—to unify or highlight pieces. Display techniques like float mounting, shadow boxes, or magnetic hangers allow for unconventional presentation that matches your aesthetic.
Creative Display Options
Creative display options allow you to showcase your personality while adding visual interest to your gallery wall. When hanging art, think beyond traditional frames—mix white, black, wood, or ornate styles for an eclectic look. Limit yourself to three frame types initially to prevent visual chaos.
Incorporate unexpected places like floating shadow box frames, magnetic poster hangers, or clips for a modern touch. Float mount small items such as tickets, photos, or textiles with foam adhesive or shadowboxes for a sleek, three-dimensional effect.
Use a variety of materials—canvas prints, textured art, or fabric textiles—to add depth and tactile interest to your gallery wall. These creative display techniques help you craft a cohesive, personalized look that enhances your apartment’s decor.
Hanging Your Gallery Wall Using Damage-Free Methods
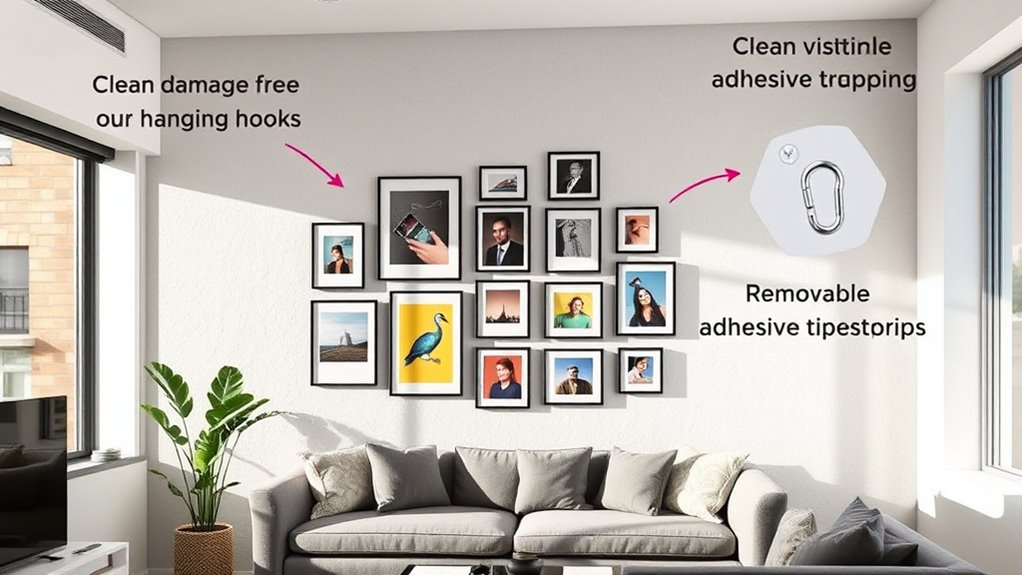
To hang your gallery wall without damaging your walls, opt for damage-free hanging products like 3M Command strips or hooks rated for your artwork’s weight. Follow the manufacturer’s instructions carefully to prevent wall damage, especially on flat painted surfaces.
Choose appropriately sized strips or hooks based on each piece’s size and weight to ensure a secure hold without overloading the hardware.
Before applying, plan your layout on the floor or with paper templates to accurately position your artwork and minimize repositioning.
Regularly check and replace strips or hooks as needed to maintain secure hanging and avoid accidental falls.
- Use damage-free hanging for easy removal without wall damage
- Select the right size and weight rating of Command strips or hooks
- Follow application and removal instructions precisely
- Plan your layout beforehand for efficiency
- Periodically replace strips for ideal security
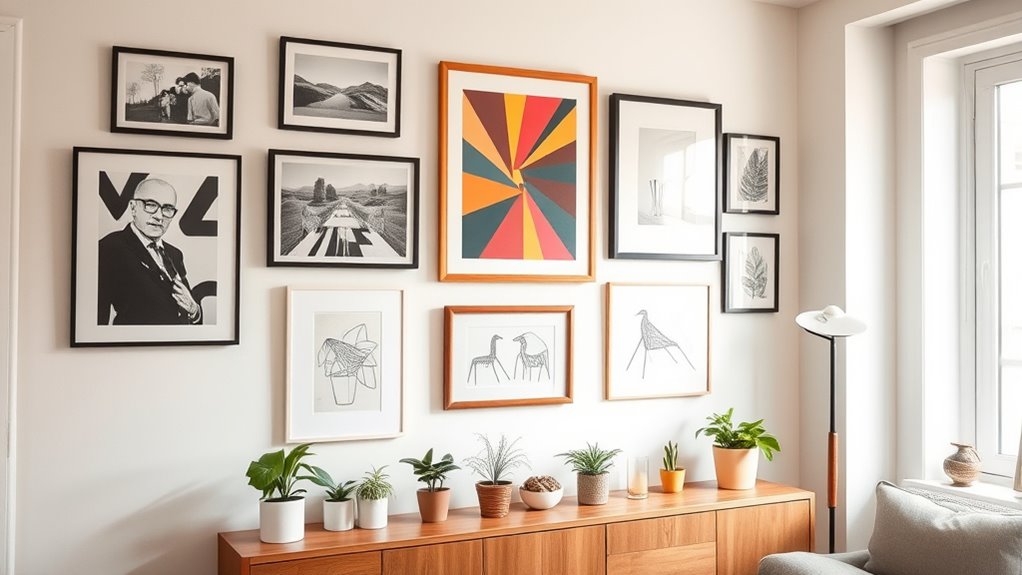
Arranging and Adjusting for a Cohesive and Dynamic Look
Before hanging your artwork, experiment with arrangements on the floor or by using paper templates on the wall. This helps you visualize the gallery wall look and find the best spacing and placement.
When arranging and adjusting, keep horizontal spacing around 2 inches and vertical spacing about 1.5 inches for a balanced appearance. Align the top row at a consistent height to create structure, but leave other edges irregular for visual interest.
Use painter’s tape or paper cutouts that you can move around over several days, making small tweaks to improve flow and balance.
Incorporate a mix of frame styles and sizes, and leave gaps for future additions. This approach guarantees your gallery wall feels dynamic, cohesive, and uniquely yours.
Maintaining and Updating Your Gallery Over Time
Once you’ve arranged your gallery wall to achieve a balanced and dynamic look, maintaining its visual appeal over time requires regular attention. To keep your gallery wall fresh and engaging, periodically assess its layout and spacing, adjusting as you add or remove pieces.
Maintain your gallery wall by regularly assessing layout and spacing as you update your art.
Use lightweight, easily replaceable artwork or photos to make updates simple without damaging walls or frames. Rotate or swap out art seasonally or thematically to keep the display lively.
Clean your artwork and frames regularly to prevent dust buildup, especially in high-traffic or pet-friendly areas. Finally, plan for future updates by leaving gaps or creating a flexible layout that can easily accommodate new pieces.
- Assess layout regularly
- Use lightweight, replaceable art
- Rotate artwork seasonally
- Clean frames and artwork
- Leave gaps for future additions
Frequently Asked Questions
What Is the Rule for Gallery Walls?
The rule for gallery walls is to keep consistent spacing, usually around 2-3 inches between frames, for a balanced look. Hang artwork at eye level, about 58-62 inches from the floor to the center, to create harmony.
Start with a focal piece, then build outward, mixing frame styles and orientations. Use paper templates or painter’s tape to plan your layout before hanging, ensuring proper spacing and placement.
What Is the Rule for the Gallery Wall Above the Couch?
You should position your gallery wall about 57 to 60 inches from the floor to the artwork’s center.
Keep the bottom edge 6 to 12 inches above the sofa’s top to maintain balance.
The total width should be roughly two-thirds to three-quarters of your sofa’s length.
Center the arrangement above the sofa for a cohesive look, and hang the center at eye level for comfortable viewing.
What Is the 2/3 Rule for Wall Art?
Imagine a dance where each step feels natural and balanced—that’s what the 2/3 rule does for wall art. It suggests that your artwork’s height should be about two-thirds of the wall’s width, creating harmony and avoiding chaos.
When you group pieces, keep this proportion in mind, ensuring your gallery feels cohesive and beautiful. This simple guideline helps your space look intentional, lively, and perfectly in tune.
How Do You Hang Pictures in an Apartment Without Damaging the Walls?
To hang pictures without damaging your apartment walls, use damage-free solutions like 3M Command strips or Velcro strips.
Measure and mark your spots carefully, then apply the strips following the manufacturer’s instructions.
Use painter’s tape or paper templates to plan your layout.
When you want to remove the pictures, gently pull the strips or follow the removal instructions to avoid peeling paint or drywall damage.
Conclusion
Creating a gallery wall transforms your space into a personal masterpiece, blending art and memories. It’s a delicate balance between chaos and order, where each piece tells a story. Embrace the process, knowing that imperfections add character, just like life itself. With patience and creativity, your wall becomes more than decor—it becomes a reflection of you. So, hang your memories, and let your walls tell your story—beautifully, boldly, uniquely.