To do LED cove lighting yourself, start by measuring your space carefully and planning your design. Choose the right LED strips and select colors that match your desired ambiance. Prepare the surface, then securely attach the strips, using connectors for corners or curves. Hide the wiring neatly and aim the lights toward walls or ceilings for even diffusion. With the right tools and patience, you’ll create a stunning feature, and more tips await as you continue the installation process.
Key Takeaways
- Measure the cove area accurately, including corners and curves, to determine the correct length of LED strips needed.
- Prepare the surface by cleaning and securing the LED strips, using connectors for corners or bends as specified by the manufacturer.
- Plan and hide wiring routes behind the cove or within ceiling cavities for a neat and professional appearance.
- Install the LED strips securely, aiming the LEDs toward walls or ceilings for even light diffusion.
- Use remote or app controls to adjust colors and brightness, fine-tuning the lighting to achieve your desired ambiance.
Creating your own LED cove lighting is a cost-effective way to add ambient illumination and elevate your space’s ambiance. With a little planning and some basic tools, you can transform a plain room into a stunning environment that reflects your style. One of the first steps is exploring LED color options. LEDs come in a wide spectrum, from warm whites that create cozy atmospheres to vibrant RGB LEDs that can change colors at your whim. This versatility allows you to tailor the lighting to suit different moods, whether it’s relaxing, entertaining, or highlighting architectural features. When selecting LEDs, consider the mood you want to evoke and choose colors accordingly. For example, soft amber or warm white can create a calming effect, while bold reds or blues add drama and energy to the space.
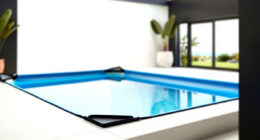
Next, you should gather ideas for your cove design. Cove design ideas vary from simple, clean lines to intricate, layered structures. Think about the shape and size of your cove—whether it’s a narrow ledge along the ceiling or a more elaborate architectural feature. You might opt for a minimalistic design that emphasizes sleekness or go for a more decorative approach with molding or textured finishes. The key is to match the cove’s design to your room’s overall aesthetic. Once you have a clear vision, measure the area carefully to determine how much LED strip lighting you’ll need. Make sure to account for any corners or curves, and plan your wiring routes to keep everything neat.
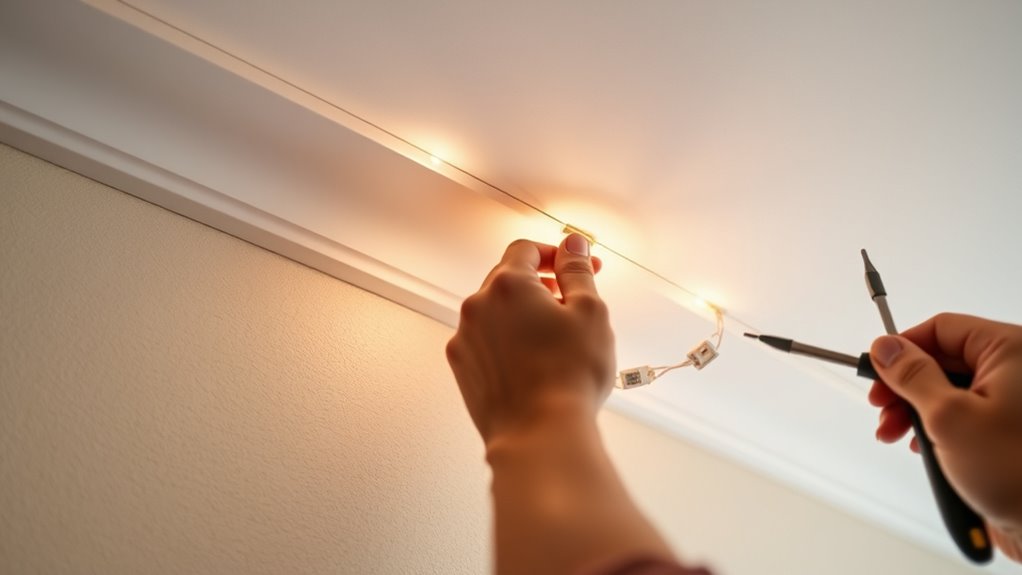
When installing, start by preparing the surface, ensuring it’s clean and free of dust. Attach the LED strips securely, following the manufacturer’s instructions. Use appropriate connectors for corners and bends, and hide wiring behind the cove or within the ceiling cavity for a seamless look. To get the best lighting effect, aim the LEDs toward the wall or ceiling to bounce light and diffuse the glow evenly. Adjust the LED color options using a remote or app, if available, to dial in the perfect hue and brightness level. This flexibility allows you to experiment and fine-tune your lighting setup for maximum impact.

(2026 Upgraded) WYBOT C2 Cordless Robotic Pool Cleaner, Dual Filtration, Wall Climbing & Waterline Cleaning, App Scheduling, Smart Navigation, Pool Vacuum for Inground/Above Ground Pools-2152 Sq.ft
Dual Filtration System Captures Fine Debris: Featuring dual-layer filtration (180μm + 10μm), the pool cleaner robot efficiently traps...
As an affiliate, we earn on qualifying purchases.
Frequently Asked Questions
What Are the Best LED Strip Options for Cove Lighting?
For cove lighting, you want LED strips with adjustable color temperature to create the right ambiance. Look for options with high brightness and low power consumption to save energy while providing ample light. Flexible, waterproof strips are ideal for seamless installation. Opt for strips that offer dimming features, so you can easily set the mood. Guarantee the LED strips are compatible with your dimmer switches for ultimate control.
How Do I Troubleshoot Uneven LED Lighting?
Imagine your LED strip as a river flowing smoothly; when uneven, it’s like rocks blocking the water. Check for power supply issues first—ensure your connections are secure and the voltage matches your strip’s needs. For adhesive troubleshooting, gently press the strip into place or reapply it evenly. These steps help restore the flow, making your lighting uniform and bright again.
Can I Install Cove Lighting Outdoors?
Yes, you can install cove lighting outdoors if it has weather resistance. Look for LED strips specifically rated for outdoor use, ensuring they withstand moisture and temperature changes. Use appropriate mounting techniques like waterproof clips or sealed channels to protect connections from the elements. Properly sealed fixtures and weatherproof power supplies are essential to maintain safety and longevity in outdoor environments.
What Safety Precautions Are Necessary During Installation?
Imagine you’re a knight preparing for battle—safety gear is your shield. During installation, prioritize electrical safety by turning off power and using insulated tools. Always double-check connections and avoid working in wet conditions. Tool safety is vital; wear gloves and goggles to protect against sparks or debris. Following these precautions keeps you safe from shocks and injuries, ensuring your DIY project is successful and hazard-free.
How Do I Connect Multiple LED Strips Seamlessly?
To connect multiple LED strips seamlessly, you should use compatible connector types like clip-on or soldered connectors, ensuring a secure link between strips. Choose a suitable power supply option that can handle the combined wattage of all strips to prevent overloads. Connect the strips in parallel, maintaining correct polarity, and use connectors designed for your LED strips. This guarantees a smooth, uniform lighting effect without flickering or dimming.

(2026 New) TALOSBO C1 Robotic Pool Cleaner, 180 Mins, Ultra-Strong Suction, Wall & Waterline Cleaning, Pool Vacuum for Inground Pools up to 1615 sq.ft, Dual Filtration, Smart Navigation, App Support
Powerful Suction + Dual High-Efficiency Filtration: The Talosbo C1 features a triple-motor design for exceptional suction power.. Equipped...
As an affiliate, we earn on qualifying purchases.
Conclusion
Now, picture your space glowing softly, the warm LED light casting a gentle glow along the ceiling’s edge. As you step back, you’ll see your handiwork transform the room into a cozy haven, with shadows dancing subtly across the walls. With your DIY cove lighting complete, you’ve created a stunning ambiance that’s both inviting and personalized. Enjoy the warm, inviting glow you’ve brought to life—your perfect, illuminated sanctuary awaits.
iGarden Robotic Pool Cleaner K Series, Cordless Pool Vacuum Robot for Inground & Above Ground Pools, Smart Navigation, Touchscreen, Self-Parking, Cleans Floor, Wall & Waterline, 150 Min
Robust Cleaning Capability: Engineered with a turbine-grade impeller, an optimized flow system, and 3 brushless motors, the cordless...
As an affiliate, we earn on qualifying purchases.

(2026 New) AIPER Scuba V3 AI Vision Cordless Robotic Pool Cleaner, 10x Faster Pool Cleaning with AI Patrol, 24/7 Auto Cleaning, Smart Waterline Parking & Multi-Layer Filtration
10x Faster Pool Cleaning with AI Patrol System: Single front-facing AI camera detects over 20 debris types and...
As an affiliate, we earn on qualifying purchases.