
To install LED strip lights under cabinets, start by measuring your space and choosing strips with the right brightness and color. Plan your wiring routes, then cut and connect the strips using compatible connectors or solder joints. Mount the strips securely with adhesive backing or channel covers, and run wires neatly along cabinet edges or inside walls to conceal them. Before finalizing, test the lights for even illumination and safety—continue with detailed steps to guarantee a flawless setup.
Key Takeaways
- Measure cabinet underside accurately, adding 1-2 inches for adjustments, then cut LED strips at designated points if needed.
- Plan wiring routes behind cabinets or along edges, drilling small holes for discreet wire passage.
- Attach LED strips inside mounting channels or with adhesive backing for a secure, professional finish.
- Connect wiring and power supplies, verifying correct polarity and compatibility before final mounting.
- Power on the system to test lighting, then secure all wires, insulate connections, and complete installation.
Planning Your Under Cabinet LED Lighting Setup

Planning Your Under Cabinet LED Lighting Setup
Before installing your under-cabinet LED lights, you need to plan your setup carefully. Start by measuring each cabinet section to determine the right LED strip length and ideal placement for even lighting. Accurate measurements ensure optimal coverage and prevent wastage of materials. Consider the wiring plan, identifying wire routing paths and drilling hole locations to keep wiring concealed and tidy. Segment different kitchen areas to allow separate control of lighting, enhancing functionality. Select LED strips with appropriate specifications, such as at least 200 lumens per foot, and consider cuttable intervals for flexibility. Choose a suitable power supply that matches your total wattage needs and supports your preferred automation features. Proper installation planning ensures a seamless, efficient setup that enhances your cabinet lighting without clutter or complications. Additionally, understanding the contrast ratio of projectors can help you select the ideal model for your home cinema. Being mindful of cookie preferences can also improve your online experience during the planning process. Incorporating tuning techniques, such as selecting high-quality LED components, can further improve the longevity and performance of your lighting system.
Selecting the Right LED Strips and Accessories
When choosing LED strip lights, consider the brightness to guarantee your under-cabinet area is well-lit. Picking a color temperature that sets the right mood is also important. Additionally, selecting multi-functional furniture or accessories that allow for flexible positioning can enhance your installation and overall space utilization. Making sure the strips are cuttable at designated points and compatible with your power supply for a perfect fit is essential. Don’t forget to select accessories like connectors and mounting channels to keep everything secure and easy to control. Being aware of different lighting styles can help you choose the right ambiance for your space, especially since the right lighting can influence emotional well-being and overall atmosphere. Considering options that are vetted and verified can also ensure the safety and durability of your lighting setup.
Brightness and Color Options
Choosing the right LED strip lights depends on your desired brightness and color effects. For effective task lighting, select LED strips with a brightness of 200-300 lumens per foot. Consider the color temperature: warm white (2700K-3000K) creates a cozy ambiance, while cool white (4000K-6500K) offers a crisp, modern look. RGB or RGBW options provide dynamic color-changing effects for versatility. High CRI ratings of 90+ ensure accurate color reproduction, especially in kitchens or workspaces. Make sure to choose cuttable LED strips at designated intervals to customize length easily. Additionally, accessories like dimmers, controllers, and diffusers can help you control brightness levels and enhance color effects, giving you a tailored and functional lighting setup under your cabinets. Understanding color rendering index (CRI) is essential for selecting LED lights that display colors accurately in your space, and opting for compatible accessories can further optimize your lighting experience. Incorporating appropriate installation techniques can also improve safety and longevity of your LED setup, ensuring consistent performance over time. Selecting quality power supplies is crucial to prevent flickering and extend the lifespan of your LED strips. Moreover, considering energy efficiency can help reduce power consumption and lower electricity bills over time.
Cuttable Lengths and Connectors
To guarantee your LED strip lights fit perfectly under your cabinets, it’s important to select strips that are specifically designed to be cuttable at regular intervals. Look for LED strips marked with cuttable points, usually every 3 LEDs or about 1.5 inches, to ensure safe, clean cuts. The exfoliating properties of glycolic acid can also help in preparing the surface for better adhesion of LED strips by removing dirt and oils. Use a sharp pair of scissors to cut along these designated lines, maintaining proper electrical connections. When connecting multiple sections, choose compatible connectors or solder and heat-shrink tubing to preserve polarity and secure the joints. Make sure the LED strip’s voltage matches your power system (12V or 24V), and verify that the connectors are rated for that voltage. Always test each cut section before install to confirm proper wiring and functionality. Culinaria De Gustibus Bistro offers a variety of regional culinary experiences that can inspire your own creative lighting and decor ideas. Proper planning and understanding of lighting design principles can help you achieve a cohesive and inviting ambiance in your space. Additionally, considering networking opportunities with other DIY enthusiasts can provide helpful tips and support for your project. Being aware of creative community engagement can also lead to innovative ideas and shared experiences that enrich your DIY journey.
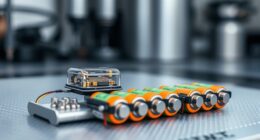
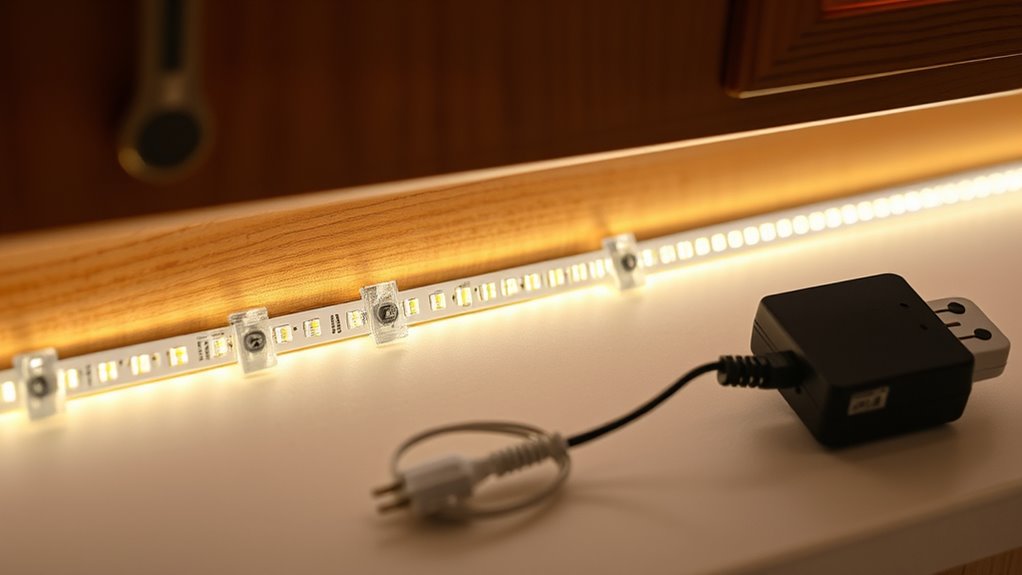
Power Supply Compatibility
Selecting the right LED strip lights starts with matching them to a compatible power supply. Make certain the power supply provides the correct voltage—either 12V or 24V DC—matching your LED strips for proper operation. Check that the wattage capacity is at least 20% higher than your total LED wattage to prevent overload and allow for future extensions. Proper wiring is essential; verify that the LED strips have compatible connectors, or plan to solder or buy adapters for secure connections. Use a UL-listed, high-quality in-wall rated power supply for safety and durability, especially if installed in damp or concealed areas. Matching these specifications guarantees reliable performance and prolongs the lifespan of your LED strip lights under cabinets. Additionally, understanding best airless paint sprayers can help you achieve a smooth, professional finish when painting or renovating your space. When working with electrical components, it’s crucial to consider power supply compatibility to ensure safety and efficiency. Ensuring the power supply offers adequate technical specifications can further prevent potential issues and enhance overall system reliability. Furthermore, selecting a power supply with energy efficiency features can help reduce ongoing electricity costs. Moreover, choosing a power supply with overcurrent protection can safeguard your entire lighting system from electrical faults.
Gathering Tools and Preparing the Workspace
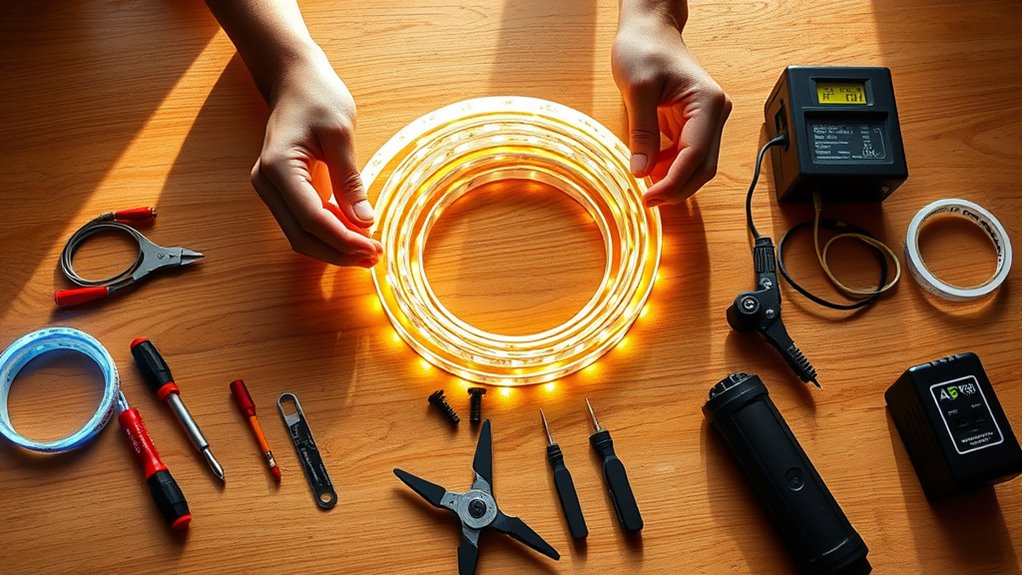
Before starting the installation, it’s important to gather all the necessary tools and prepare your workspace. This ensures a smooth process and keeps safety a priority.
First, collect essential tools like a tape measure, scissors, drill, screwdriver, and cleaning supplies such as rubbing alcohol for surface prep.
Next, clear the workspace by removing items from cabinets and countertops to allow easy access.
Prepare a clean, flat surface where you can lay out all components, including LED strips, connectors, mounting channels, and wiring.
Organize everything beforehand to streamline installation and avoid missing essential items.
Proper preparation of your workspace and tools not only enhances safety but also makes working with components more efficient, helping you complete the project confidently.
Measuring and Cutting LED Strips to Fit Cabinets

Accurately measuring the length of each cabinet section is crucial to guarantee your LED strips fit perfectly. Use a ruler or measuring tape to determine the exact points where the LED strip needs to be cut, adding 1-2 inches for adjustments.
Measuring cabinet sections precisely ensures a perfect fit for your LED strips.
Always cut the LED strip along designated cut lines, usually marked by scissors icons or dashed lines, to ensure proper electrical separation and safety.
Before cutting, double-check the polarity markings (+ and -) to maintain correct wiring orientation for future connections.
After trimming, it’s a good idea to test each section by temporarily powering it to confirm functionality.
Proper measuring and cutting prevent issues during installation and ensure your LED strip lights operate safely and correctly under your cabinets.
Wiring and Connecting the LED Components

Understanding your wiring diagram is key to a smooth setup, so familiarize yourself with it before making connections.
Use proper low-voltage wire and verify your positive and negative contacts match to avoid issues.
Secure your connections with solder or compatible clips, and test everything before finalizing the installation.
Wiring Diagram Overview
Have you ever wondered how to properly connect your LED strip lights under your cabinets? The wiring diagram provides a clear overview of connecting the LED, power supply, and accessories. It shows where to connect positive (+) and negative (−) wires to guarantee correct polarity, preventing flickering or damage.
The diagram highlights essential components like connectors and extension wires for seamless installation.
- Connecting the power supply to the LED strips
- Using connectors for multiple sections
- Ensuring correct polarity (+ and -)
- Routing wires securely for safety and performance
Following this diagram helps you achieve a reliable setup, with consistent power flow and minimal troubleshooting. Proper wiring and connections are vital for a safe, long-lasting LED lighting system under your cabinets.
Secure Connection Techniques
To make certain your LED strip lights stay securely connected and function reliably, it’s vital to use compatible connectors, such as snap-in connectors or solderless clips. These provide stable electrical contact between sections and extension wires, preventing flickering.
Always ensure you align the positive (+) and negative (−) terminals correctly, marked on the strips and wires, to avoid damage. For added durability, consider soldering connections at junctions or longer runs, then insulate with heat shrink tubing or electrical tape.
Tighten screw terminal connectors securely to prevent loose contacts that could cause flickering or intermittent operation.
Before mounting, test all connections thoroughly to verify proper functionality, saving you troubleshooting time later and ensuring a safe, reliable installation.
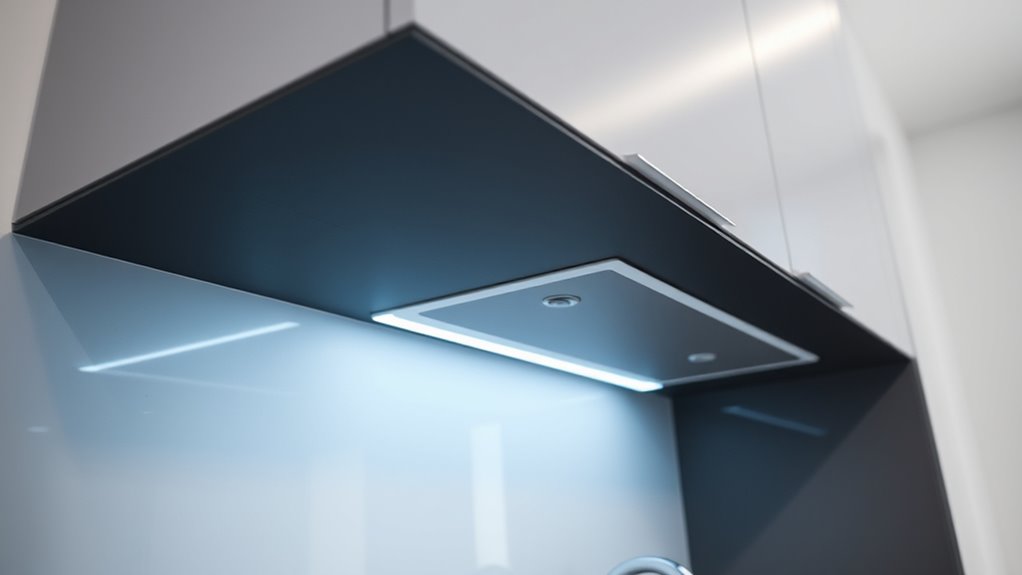
Mounting the LED Strips and Concealing Wires
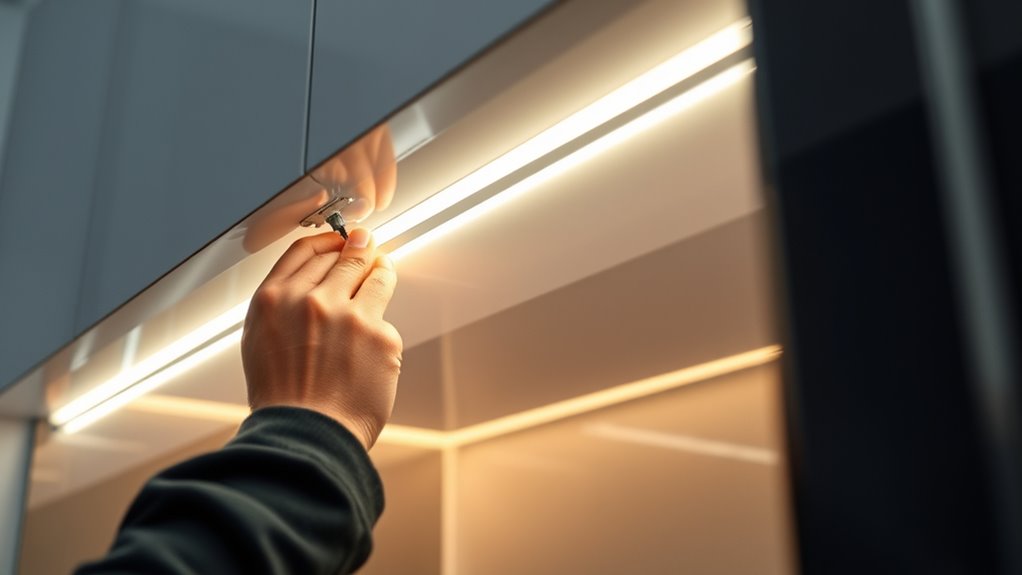
Once you’ve prepared your LED strips, the next step is to mount them securely and hide the wires for a clean look. Use mounting clips or channel covers to ensure the strips stay in place and maintain a straight, even appearance for ideal lighting.
Secure LED strips with clips or covers for a neat, professional look.
For a seamless finish, rely on the adhesive backing of the strips or channel covers to attach them firmly to the underside of the cabinets.
Focus on wiring management by running wires neatly along cabinet edges, hiding them behind toe kicks, or inside wall cavities. Drill small holes through cabinet backs or supports to pass wires discreetly, minimizing visible wiring.
Connect everything to power sources inside cabinets or hidden compartments, ensuring all wiring is secured and concealed for a tidy, professional finish.
Testing the System and Making Adjustments

After mounting the LED strips and hiding the wires, it’s time to power up the system and check how it performs. Turn on the power and observe the lighting to verify all strips illuminate evenly without flickering or dimming issues.
If you notice uneven lighting, adjust the placement of the strips for uniform coverage over your countertops and backsplash. Test the dimmer or control system to confirm smooth operation, proper brightness levels, and consistent color if using RGB or tunable white options.
Check all wiring connections for security and proper polarity to prevent future flickering or malfunction. Conduct a thorough inspection of the system, making any necessary adjustments to wiring, mounting, or diffuser placement to optimize performance and guarantee reliable lighting.
Finalizing the Installation and Ensuring Safety

Before finalizing your LED strip installation, it’s crucial to prioritize safety by disconnecting the power at the breaker. This step prevents accidental shocks while securing wire connections or mounting lights.
Once the power is off, verify that all wiring is secure, properly insulated, and free of damage to avoid electrical hazards.
Carefully follow the manufacturer’s instructions when mounting the LED strips and installing connectors to ensure proper operation.
Use the right tools and wear safety gear like gloves and glasses for protection during installation.
After completing the setup, test the entire system to confirm even illumination and safe functionality.
- Check all wire connections for security and insulation
- Confirm lights are mounted correctly and safely
- Follow installation instructions precisely
- Turn on power and test for proper operation
Frequently Asked Questions
Where Do You Mount LED Strip Lights Under Cabinets?
You mount LED strip lights directly underneath the cabinet’s front edge or lip for the best countertop lighting. Position them close to the cabinet face to reduce shadows and get even illumination.
Use mounting channels or aluminum profiles with adhesive or clips along the underside. Drill small pilot holes for brackets, hide wiring neatly, and avoid moisture-prone areas for a clean, professional look.
Do I Need an Electrician to Install LED Strip Lights?
Imagine your kitchen glowing softly, the perfect ambiance. When it comes to installing LED strip lights, you might wonder if you need an electrician.
If your project involves simple plug-in strips and basic mounting, you can likely do it yourself safely.
But if you’re hardwiring into your circuits or dealing with in-wall wiring, hiring a licensed electrician guarantees safety, code compliance, and a professional finish.
Are LED Strips Good for Under Cabinet Lighting?
LED strip lights are a great choice for under cabinet lighting because they’re bright, energy-efficient, and customizable. You can easily adjust their color temperature to match your kitchen’s style.
Plus, they’re flexible, easy to cut, and provide even illumination without generating much heat. When installed properly, they last for years with minimal maintenance.
Can I Install Under Cabinet Lighting Myself?
Did you know that nearly 70% of homeowners take on DIY projects like installing under cabinet lights? Yes, you can definitely install them yourself if you have basic electrical skills and follow safety guidelines.
Measure carefully, choose the right LED strips, and use the proper tools. With patience and attention to detail, you’ll enjoy professional-looking lighting without hiring an electrician.
Just follow the manufacturer’s instructions for a safe, successful setup.
Conclusion
Think of your under-cabinet LED setup as lighting a path through a dark forest. With careful planning and precise installation, you’ll turn a shadowy space into a bright, inviting trail. When you’ve finished wiring and mounting, step back and admire your work—like illuminating a secret garden. Your cabinets will now glow with confidence, guiding you effortlessly through your kitchen. Enjoy the warm, welcoming light you’ve brought to your space, making every task a little brighter.