
To create personalized coasters with resin art, start by designing your custom text in Qriket Design Space, then cut and carefully apply adhesive foil for precision. Mix and pour resin in thin layers, using a heat tool to eliminate bubbles and guarantee a smooth, glossy finish. Finish by cleaning, sealing, and adding protective feet. If you follow these steps, you’ll craft stunning, durable coasters that showcase your unique style—more tips are just ahead.
Key Takeaways
- Measure coaster dimensions accurately and plan your design layout before applying resin and foil.
- Use high-quality resin, pigments, and adhesive foil to ensure vibrant, durable, and intricate personalized designs.
- Carefully cut and apply adhesive foil with precise placement to create detailed text or images on the coaster surface.
- Mix and pour resin in thin layers, removing air bubbles with a heat gun and allowing proper curing time for a glossy finish.
- Finish with gentle cleaning, protective coatings, and proper storage to maintain the coaster’s appearance and longevity.
Planning Your Design and Choosing Materials
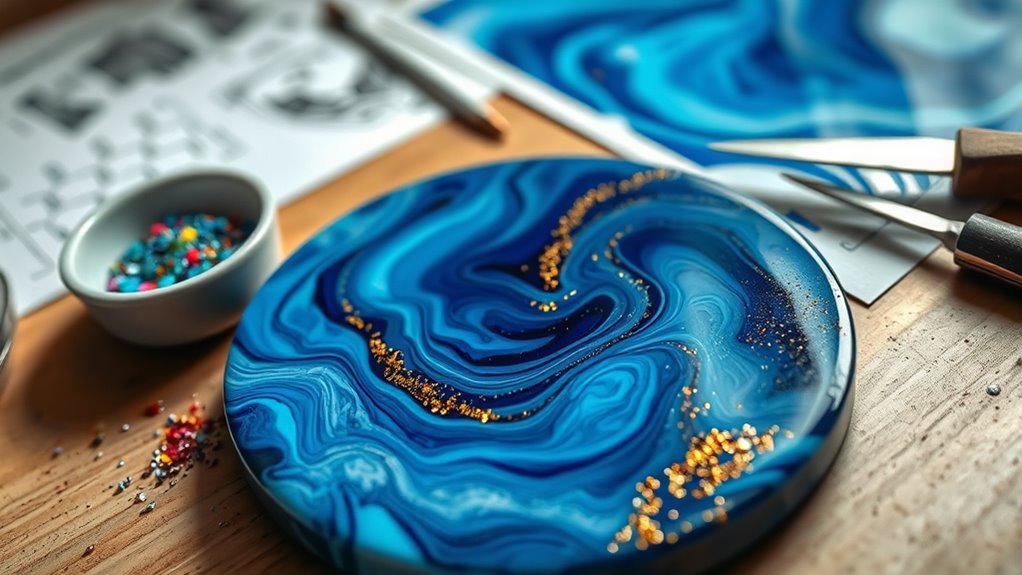
Before you begin creating your personalized coasters, it’s essential to plan your design and select the right materials. Make sure you choose high-quality resin and pigments to guarantee vibrant, durable results. Properly selecting these materials will help your finished coasters stand out and last over time. Utilizing secure payment processing options can also streamline your sales if you plan to sell your creations. Make sure to measure your coaster dimensions accurately, so your design and shapes fit perfectly. Planning your layout in a design space allows for precise placement and sizing before pouring resin. Additionally, pick the right adhesive foil for cutting, ensuring clean, intricate details for text and images. Considering the voiceover style and overall style will enhance your coaster’s aesthetic appeal. Proper planning and material selection set a strong foundation for successful, personalized resin art coasters. Incorporating knowledge of air purification technologies can also inspire creative design elements that reflect clean, fresh aesthetics. Moreover, understanding color accuracy can help you choose pigments and finishes that ensure your colors remain vibrant and true to your vision.
Designing and Preparing Your Custom Text in Qriket Design Space
To create custom text that fits perfectly on your coaster, start by opening Qriket Design Space and setting up a blank canvas. Sure, the first thing you should do is measure your coaster to guarantee accurate sizing. Then, select the text tool and input your desired names. Choose a font like Master Brush for a personalized look. Adjust the letter spacing so characters are properly joined, making it easier to weld the text into a seamless design. If you’re working on multiple coasters, copy and paste the names, then modify individual letter spacings or connections as needed. Once your text is arranged and scaled to fit the coaster, delete the initial shape and prepare your design for attachment and cutting. This ensures your personalized coaster will turn out just right. Understanding cookies can help you customize your browsing experience and better manage your privacy preferences. Additionally, considering materials suitable for resin art can enhance the durability and appearance of your finished coasters. Exploring design software features can also streamline your customization process and improve the overall quality of your project. Incorporating proper layering techniques can help you achieve cleaner results and more professional-looking coasters. Utilizing sample templates can also save time and guide your design process for more consistent results.
Cutting and Applying Adhesive Foil for Personalization
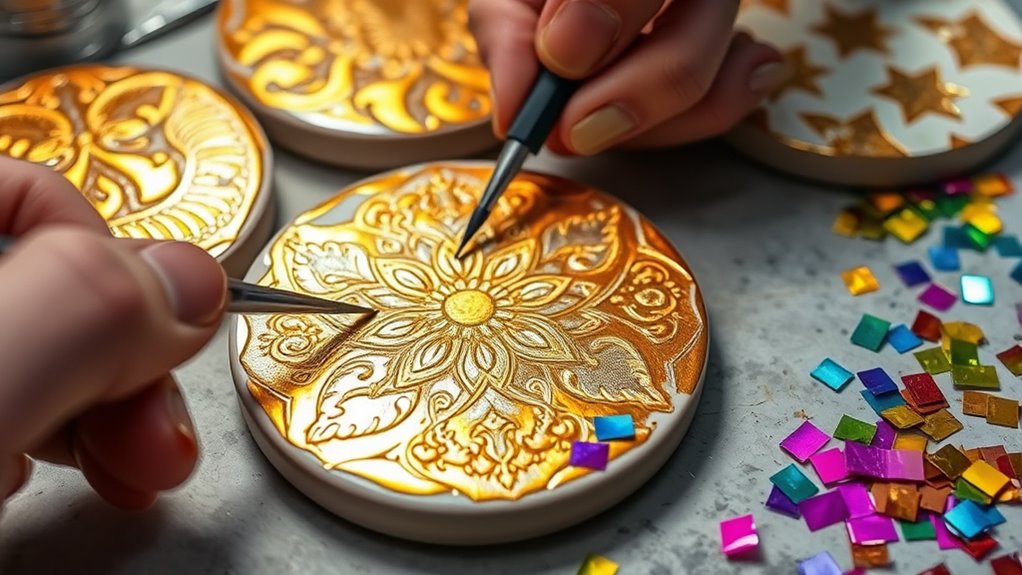
Once you’ve finalized your design in Cricut Design Space, set your machine to “Custom” mode and select “Adhesive Foil” as the material.
When cutting, leave a little extra space around your design to make removal easier and prevent tearing. Adjust the cutting pressure based on your blade’s condition and the foil’s thickness, ensuring a clean, precise cut. Incorporating proper material handling techniques can help avoid mistakes and waste, promoting a more sustainable crafting process.
Proper cutting techniques can also enhance the accuracy of your design and reduce the need for rework. After cutting, carefully lift away the excess foil, leaving a little behind to avoid damaging your design. Use a scraper or your fingers to gently smooth the foil onto your coaster, removing any air bubbles and ensuring it adheres seamlessly. Proper material handling ensures your design remains intact and looks polished.
Taking your time with this step guarantees a crisp, professional look in your personalized coaster. Being mindful of environmental considerations, such as minimizing waste and handling materials carefully, can help maintain a sustainable crafting practice.
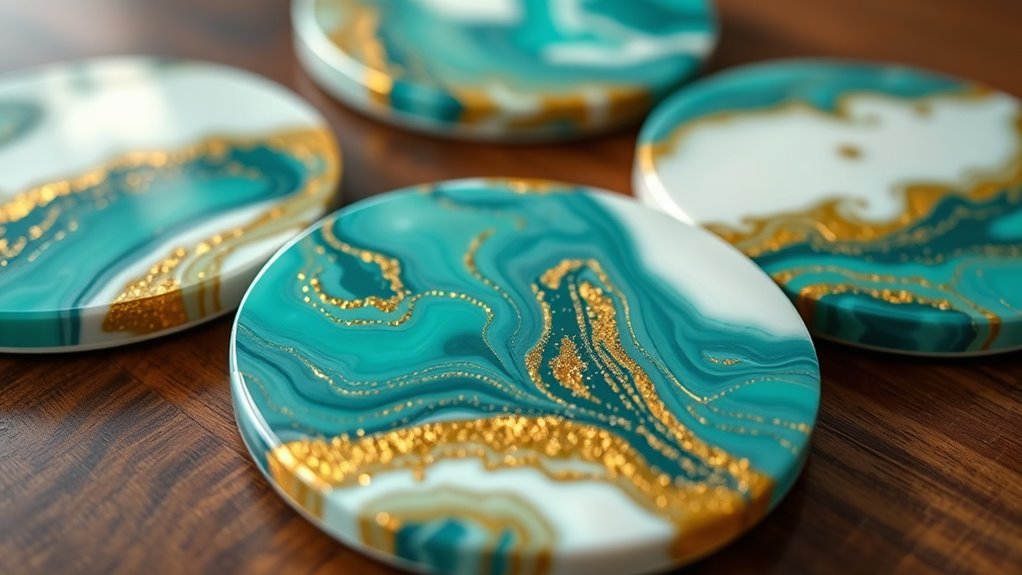
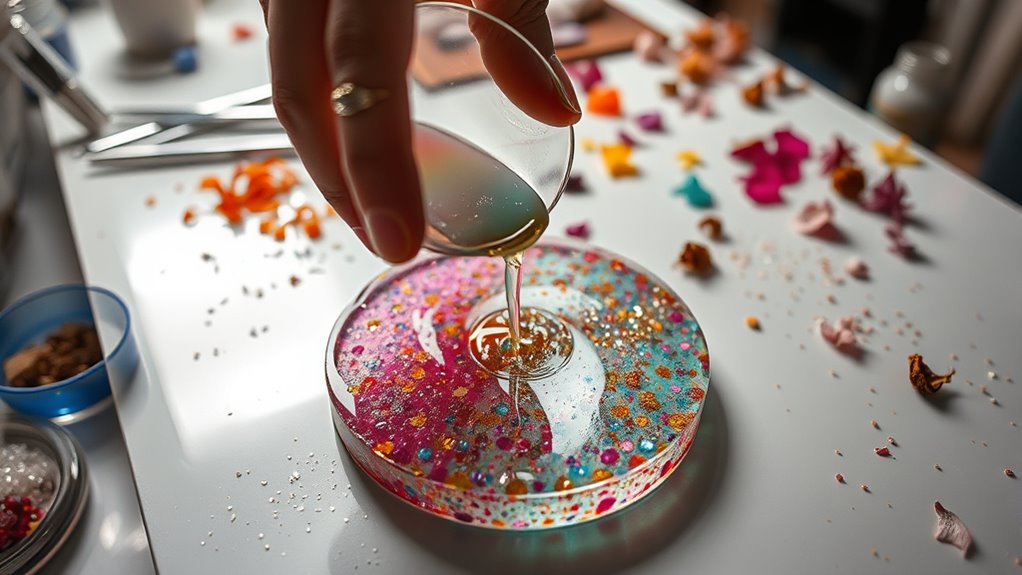
Creating and Pouring the Resin Layer for a Glossy Finish
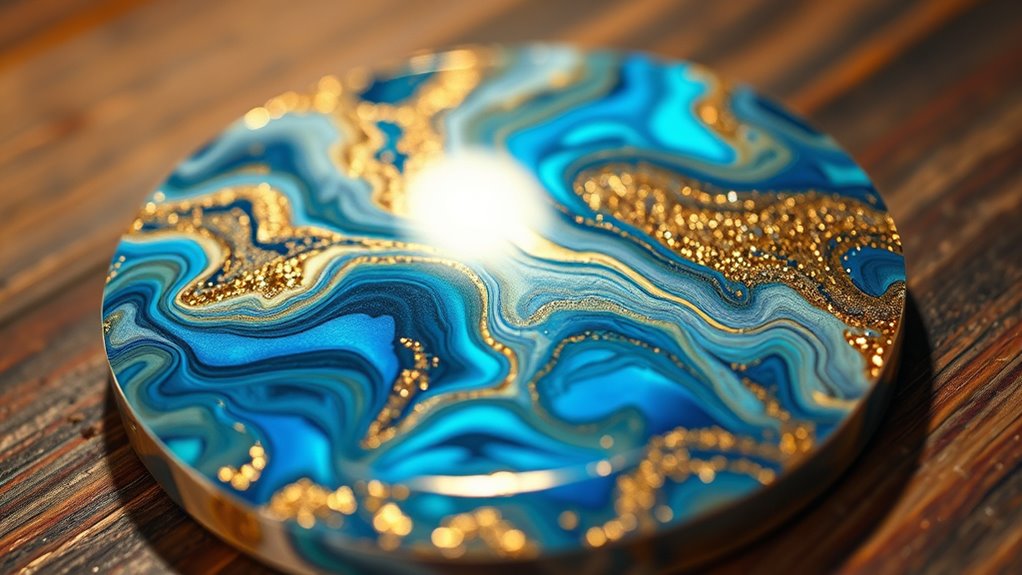
Creating a smooth, glossy resin layer begins with mixing your resin and hardener thoroughly in a 1:1 ratio, ensuring you stir for at least 3-5 minutes to eliminate bubbles. A consistent mixture is essential for optimal curing and finish quality. Make sure to pour the resin slowly onto the coaster, allowing it to spread evenly across the surface with a toothpick or brush. This helps prevent uneven layers and preserves clarity. Before the resin begins to cure, use a heat gun or torch briefly over the surface to release trapped air bubbles—making sure not to overheat, which can cause imperfections. Additionally, use a defoaming agent to further reduce bubbles during mixing. Allow the resin to cure in a dust-free environment at room temperature for 24-72 hours, depending on your resin type. If needed, apply a second layer once the first has fully cured for a high-gloss, smooth finish. Proper curing environments help prevent issues such as toilet running issues and other common problems, ensuring a flawless final look. Incorporating predictive analytics can also help you optimize your curing process by monitoring environmental conditions for consistent results. Monitoring quality control during curing can further improve your final product’s appearance and durability.
Final Touches and Caring for Your Resin Coasters
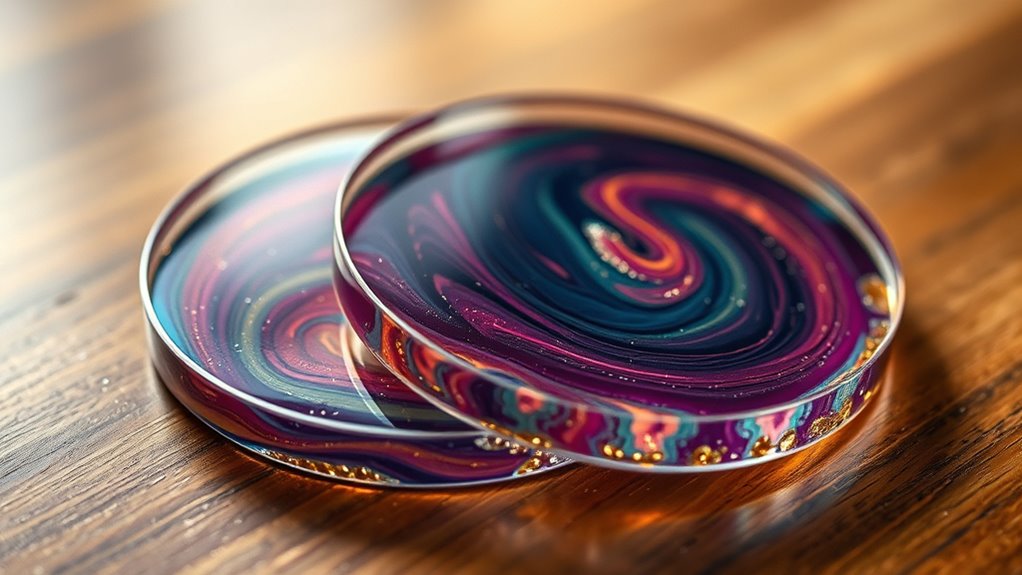
After you finish your resin coasters, taking proper care of them will keep their shine and appearance looking like new. Use a soft, damp cloth to wipe away dust and dirt instead of abrasive cleaners, which can scratch the surface. Applying a clear acrylic spray or resin topcoat periodically helps protect your design and prevents scratches. Keep your coasters out of direct sunlight to avoid UV damage and yellowing over time. To prevent surface scratches and add stability, place felt or silicone feet on the bottom. Clean spills immediately with a damp cloth to prevent staining or damage. Regular maintenance guarantees your personalized coasters stay vibrant and durable, so enjoy their beauty and functionality for years to come. Additionally, avoiding excessive exposure to natural light can help preserve the resin’s color and prevent deterioration over time. Incorporating proper sealing techniques during the creation process can further enhance their longevity and resistance to environmental factors, including UV rays, which are known to cause discoloration. Ensuring your coasters are stored in a stable environment also minimizes the risk of warping or damage caused by temperature fluctuations.
Frequently Asked Questions
How to Make Personalized Epoxy Coasters?
To make personalized epoxy coasters, start by designing your custom shape and adding names or images in a design program.
Cut adhesive foil with your Cricut machine and carefully apply it onto the coaster, smoothing out bubbles.
Pour epoxy resin over the design and let it cure.
Once hardened, sand and polish the edges for a sleek, professional finish.
Your personalized coaster is now ready to use or gift!
Is Resin Safe for Coasters?
It might seem surprising, but resin is safe for coasters when fully cured. You just need to give it enough time and the right conditions to harden properly.
Using food-grade or FDA-approved resin helps, especially for drinks or snacks.
Make sure to check your coasters regularly for cracks or damage, because a compromised surface could pose health risks or harbor bacteria.
When properly cured, resin becomes inert and safe for everyday use.
How to Put a Photo in a Resin Coaster?
To put a photo in a resin coaster, start by printing your photo on waterproof paper and cutting it to fit, leaving a small border.
Apply a thin resin layer on the coaster, then carefully place the photo face-down onto the resin.
Press gently to remove air bubbles, then cover with another resin layer to embed and seal the photo.
Let it cure completely before use.
How Much Does It Cost to Make Resin Coasters?
The cost to make resin coasters generally runs between $5 and $15 each, depending on materials and size. You’ll need resin, molds, pigments, and finishing supplies, which can add up.
Buying supplies in bulk helps lower costs, and adding custom artwork might increase expenses slightly.
Conclusion
Now, as your personalized coasters dry and shine, remember they’re more than just functional art—they’re a reflection of your creativity and patience. The glossy resin surface captures fleeting moments perfectly, yet it also demands careful care to preserve its beauty. In crafting these keepsakes, you’ve balanced precision with spontaneity, turning simple materials into meaningful treasures. Your coasters aren’t just protective surfaces—they’re stories you’ve poured your heart into, blending artistry with everyday life in a delicate dance.