To paint small furniture successfully, start by cleaning the piece thoroughly with an all-purpose cleaner, remove hardware, and repair any cracks or dents with wood filler. Lightly sand the surface and wipe away dust. Apply a suitable primer for better adhesion, then use thin coats of your chosen paint, working in even strokes. Finish with a protective sealant for durability. If you keep going, you’ll discover more tips to achieve a professional look.
Key Takeaways
- Properly clean and sand the furniture to create a smooth, dust-free surface for painting.
- Use a suitable primer, especially on stained or slick surfaces, to ensure good adhesion.
- Apply 2-3 thin coats of high-quality furniture paint, allowing each coat to dry thoroughly.
- Lightly sand between coats for a smooth finish and better paint bonding.
- Seal with a water-based polycrylic or protective topcoat and allow full curing before use.

(2026 New) AIPER Scuba V3 AI Vision Cordless Robotic Pool Cleaner, 10x Faster Pool Cleaning with AI Patrol, 24/7 Auto Cleaning, Smart Waterline Parking & Multi-Layer Filtration
10x Faster Pool Cleaning with AI Patrol System: Single front-facing AI camera detects over 20 debris types and...
As an affiliate, we earn on qualifying purchases.
Cleaning and Preparing Your Furniture
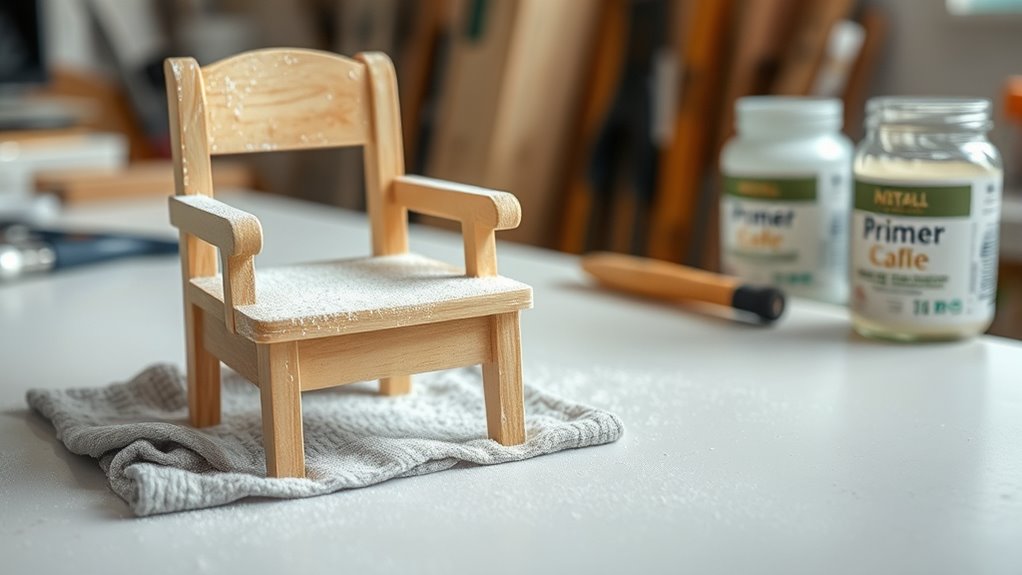
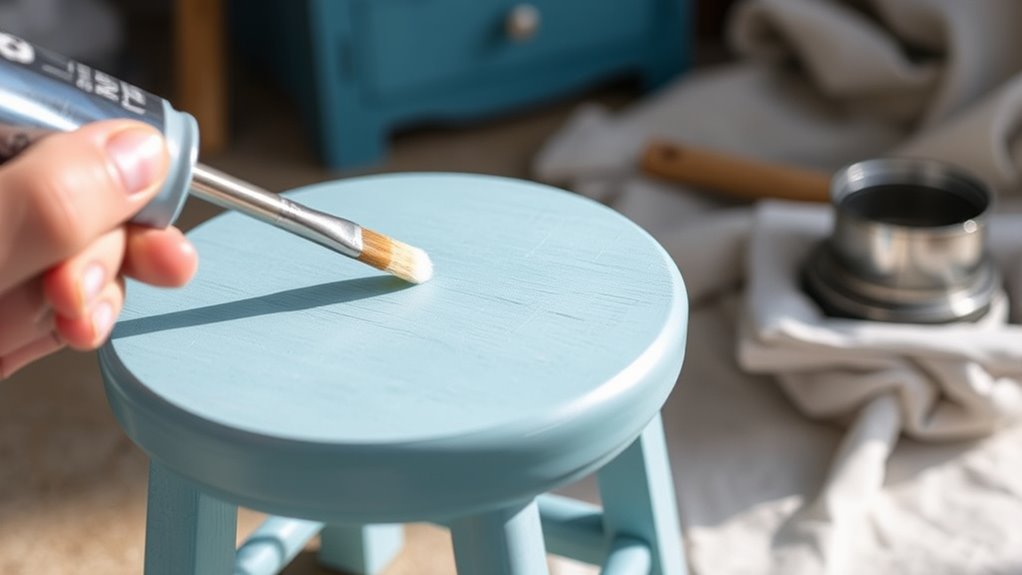
Before you start painting, it’s essential to thoroughly clean and prepare your furniture. Begin by cleaning the surface with a gentle all-purpose cleaner like Simple Green or dish soap mixed with warm water. This removes dust, dirt, grease, and residues, ensuring better paint adhesion. Use a clean rag to wipe down the entire surface, paying attention to corners and crevices.
After cleaning, inspect the surface for any cracks, scratches, or dents. Fill these imperfections with all-purpose wood filler, then lightly sand with 150-220 grit sandpaper to create a smooth, even surface. If your furniture has a glossy or slick finish, lightly sand it to give the paint “teeth” for better grip. Surface preparation is crucial because it influences the Color accuracy and overall finish of your project. Ensuring a clean surface helps achieve true color reproduction and a professional look. Proper surface prep can also prevent peeling or chipping over time, increasing the durability of your paint job. Additionally, considering the impact of surface quality on finish longevity can help guide your preparation process.
Finish by wiping away any remaining dust with a tack cloth, leaving a clean, smooth surface ready for painting.
Dolphin Nautilus CC Automatic Robotic Pool Vacuum Cleaner, Wall Climbing Scrubber Brush, Top Load Filter Access, Ideal for Above/In-Ground Pools up to 33 FT in Length
WALL-SCRUBBING POWER: Dolphin Nautilus CC climbs walls efficiently, ensuring thorough cleaning on any pool surface, no matter the...
As an affiliate, we earn on qualifying purchases.
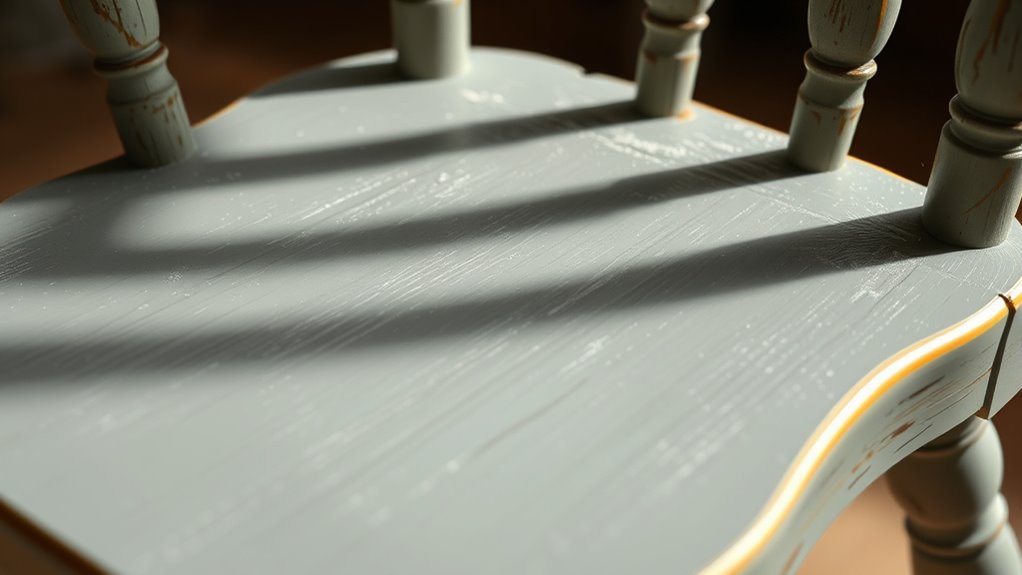
Repairing and Sanding the Surface
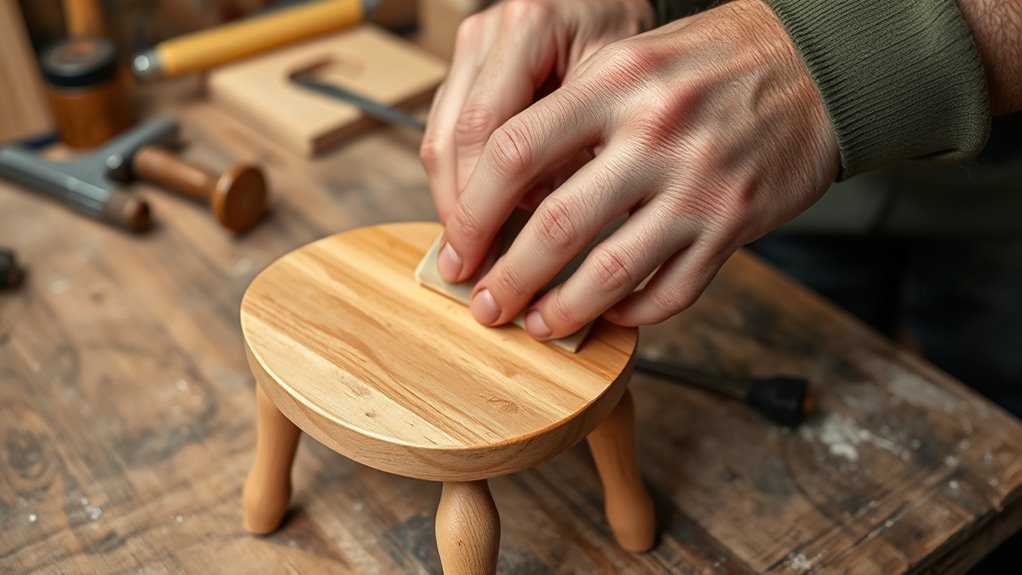
To guarantee a smooth and durable paint finish, you need to repair and sand the surface thoroughly. Start by removing all hardware and drawers for unobstructed access.
Use medium-grit sandpaper (150-220 grit) to lightly sand the entire piece, which helps eliminate gloss and rough spots, creating a better surface for adhesion. If you find cracks or deep scratches, fill them with wood filler and let it dry completely. Proper surface preparation is especially important for achieving a professional finish on your furniture.
Once dry, sand the repaired areas to smooth out any unevenness. After sanding, wipe away all sanding dust with a tack cloth or damp rag to ensure a clean surface. Proper surface preparation with repair and sanding ensures your paint will adhere better and last longer, giving your furniture a professional finish. Additionally, applying effective filtration can help protect your spray gun and maintain a consistent finish. Incorporating vibrational alignment techniques can also enhance the efficiency of your painting process by promoting a positive workspace energy. For optimal results, consider incorporating essential oils for surface preparation, which can help clean and condition the surface before painting. Using self watering plant pots during your workspace organization can also help maintain a healthy environment, especially if you’re working in a space with plants.
Cordless Robotic Pool Cleaner, Wall Climbing, Lightweight, Extended Battery Life, 8L Large Capacity, Advanced Dual-Motor, X1 Auto Pool Vacuum for Inground & Above Ground Pools Up to 1100 Sq.Ft, Blue
【Effortless Cleaning Power】Harness the strength of dual 50W motors that glide with agility and speed over pool floors,...
As an affiliate, we earn on qualifying purchases.
Applying Primer for Better Adhesion

Applying primer is an essential step to make sure your paint adheres properly and lasts longer. It creates a uniform surface that boosts adhesion and prevents peeling or chipping. Using a suitable primer ensures better pet hair management and a smoother finish on your furniture. When applying primer, use a brush or roller to apply a thin, even coat on the wood or other surfaces. Make certain the primer covers stained, glossy, or dark areas thoroughly for better results.
Here are some key points:
- Use a stain-blocking primer like shellac-based BIN or Zinsser 123 for stained or slick surfaces.
- Allow the primer to dry completely before lightly sanding if needed.
- Recoat with paint after the primer has dried and cured, usually 2-4 hours later, for a smooth, durable finish.
Proper priming guarantees your paint will stick and last longer, giving your furniture a professional look.

iGarden Robotic Pool Cleaner K Series, Cordless Pool Vacuum Robot for Inground & Above Ground Pools, Smart Navigation, Touchscreen, Self-Parking, Cleans Floor, Wall & Waterline, 150 Min
Robust Cleaning Capability: Engineered with a turbine-grade impeller, an optimized flow system, and 3 brushless motors, the cordless...
As an affiliate, we earn on qualifying purchases.
Choosing the Right Paint and Techniques
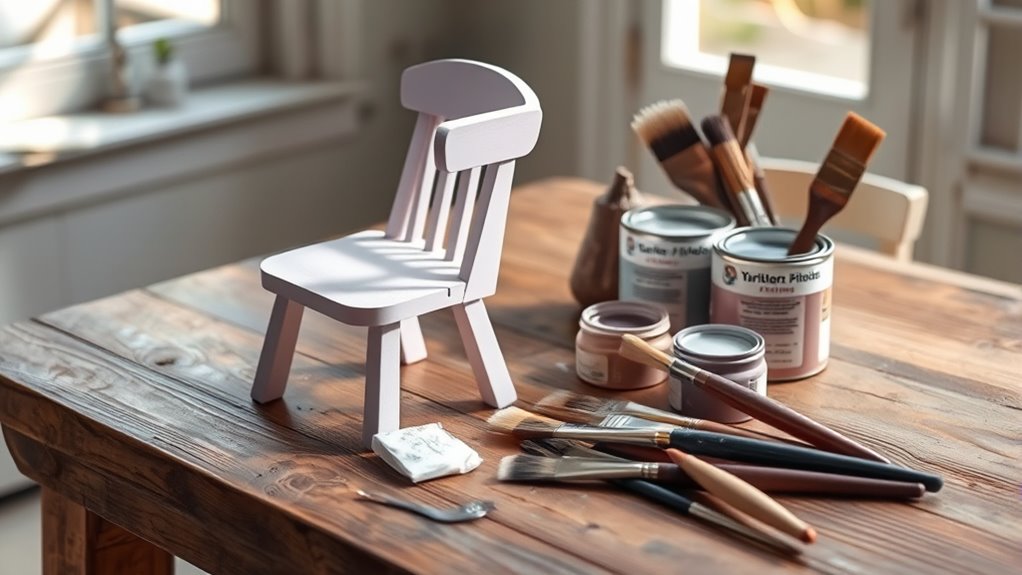
Choosing the right paint and techniques is key to achieving a professional finish on your small furniture. You should pick a durable furniture paint and consider the best application tools to ensure smooth coverage. Using the proper painting techniques can significantly enhance the final look and longevity of your project. Additionally, understanding the personality traits involved in different methods can help you select the most suitable approach for your style. Also, selecting the appropriate finish and color helps you get the look you want while maximizing coverage. Being aware of investment options and how they can impact your savings can guide you in choosing the best products and methods for your project. Proper preparation and knowledge of available resources and tools can streamline your process and lead to better results.
Paint Types and Finishes
Selecting the right paint type and finish is essential to achieving the look and durability you want for your small furniture project. Your choice of furniture paint, whether latex, chalk, or milk, influences texture and adhesion. Understanding Kia Tuning can teach you valuable skills like proper surface preparation and finish protection, which are also important in furniture painting to ensure longevity. For durability and easy cleaning, semi-gloss or gloss latex paint works best. Chalk paint creates a matte, textured finish with minimal prep, perfect for vintage or shabby chic styles.
When choosing a finish, consider:
- Matte for a muted, understated look.
- Satin for a smooth, moderate shine that hides imperfections.
- Gloss for a shiny, protective surface that enhances details.
Using a sealer tailored to your paint type helps preserve your finish and enhances durability. Additionally, understanding paint application techniques can further improve your results and ensure a professional-looking finish. Proper surface preparation is crucial for adhesion and a smooth final appearance, and selecting the appropriate paint type can impact the overall success of your project. Picking the right combination ensures your furniture looks beautiful and lasts longer.
Application Methods and Tools
To achieve a smooth, professional-looking finish on your small furniture, it’s important to choose the right application tools and techniques. Use a paintbrush for detailed areas and a foam roller for flat surfaces to guarantee even coverage.
When spray painting, hold the can about 8 inches from the surface and use long, light strokes for spray application. Always thin your paint by about 10% to improve flow and reduce visible brush or roller marks, which results in a better finish. Proper ventilation during spraying also helps improve drying and cure times. Additionally, selecting the appropriate tuning techniques can enhance the durability and appearance of your painted furniture. Incorporating an airless paint sprayer can further streamline the process, providing an even coat with less effort and time.
Apply paint in thin, overlapping coats, waiting 2-4 hours between layers for proper drying and adhesion. For latex paints, consider adding additives like Floetrol to improve self-leveling and minimize brush marks. Additionally, using quieter heat pump technology can make your painting workspace more comfortable by reducing noise disruptions.
Selecting the right tools and mastering application technique are key to your success. Choosing the right paint can also influence the ease of application and the durability of your finish.
Color and Coverage Tips
When it comes to achieving a professional finish on your small furniture, the right paint and techniques make all the difference. To guarantee good paint coverage, choose furniture-specific paints like chalk or latex furniture paint, which adhere better and last longer.
Here are some key tips:
- Apply 2-3 thin coats of paint, allowing each to dry thoroughly, for even coverage and fewer brush marks.
- Thin the paint by about 10% with water or a paint additive to improve paint application and flow.
- Select a paint finish such as satin or semi-gloss for easier cleaning and a forgiving surface.
Always use the right paintbrush and ensure your primer is properly applied. Buying enough paint upfront secures complete coverage without running out mid-project.
Painting in Thin Coats for Even Coverage
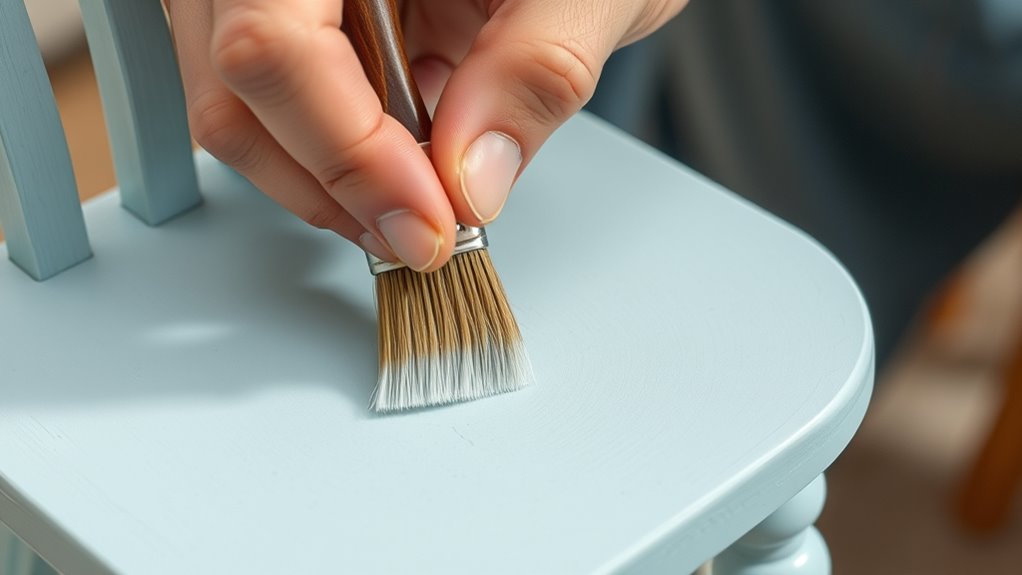
To get a smooth, even finish, it’s best to apply paint in thin layers rather than thick ones. Keep a wet edge as you work to prevent lap marks, and avoid rushing the process.
Sand lightly between coats to guarantee each layer bonds well and results in a flawless surface.
Avoid Thick Layers
Applying thin coats of paint is essential for achieving an even, smooth finish on small furniture. Thick layers can cause drips, brush marks, and an uneven surface, making your piece look unprofessional. To avoid this, focus on layering with thin coats, which dry faster and provide better control.
Remember:
- Multiple thin coats promote proper adhesion and reduce the risk of cracking or peeling.
- Thin layers prevent pooling and uneven textures, especially on detailed surfaces.
- Waiting 2-4 hours between coats ensures each layer dries thoroughly, leading to a durable, professional appearance.
Maintain a Wet Edge
Maintaining a wet edge is essential for achieving a smooth, even finish when painting small furniture. To do this, work quickly and consistently, blending each section before it dries to prevent visible lines or streaks. Start at one corner and use long, continuous strokes to cover the area. Reload your brush or roller regularly to keep the paint consistent, guaranteeing a seamless transition between strokes. When overlapping, keep the previous section slightly wet and use feathering to blend edges smoothly. Avoid stopping midway or going over dry paint, as this creates lap marks. Focus on preserving a wet edge for a professional, polished look.
| Technique | Purpose | Tip |
|---|---|---|
| Blending | Creates seamless finish | Feather edges during overlap |
| Overlap | Prevents streaks | Keep previous section wet |
| Strokes | Ensure even coverage | Use long, steady motions |
Sand Between Coats
Once you’ve completed a coat while maintaining a wet edge, sanding between coats helps attain a smooth, professional finish. Lightly sand the surface with 150-220 grit sandpaper to remove brush strokes and imperfections.
This step guarantees the next coat adheres well and looks even. Remember to remove dust and debris with a tack cloth after sanding to keep the surface clean. Proper sanding between coats promotes a flawless finish by reducing surface imperfections.
Here are key points:
- Use fine sandpaper (150-220 grit) for gentle sanding.
- Remove all dust and debris before applying the next coat.
- Thin your paint slightly to improve flow and reduce brush marks.
Sanding in thin coats minimizes the need for extensive sanding later and results in a smoother, more durable finish.
Sealing and Protecting the Finish
How can you guarantee your painted furniture stays beautiful and durable? The key is sealing and protecting the finish.
After the paint dries for at least 24 hours, apply 2-3 coats of a suitable topcoat, like water-based polycrylic, to seal and enhance the durability. Choose a finish—flat, satin, or gloss—based on your desired sheen and maintenance needs.
Once dry, apply 2-3 coats of water-based polycrylic to seal and protect your painted furniture.
Use high-quality foam brushes for even application, avoiding brush marks and bubbles. Proper sealing creates a protective barrier that guards against scratches, moisture, and wear.
Allow the topcoat to cure for about 30 days before heavy use, ensuring maximum hardness and resistance. Applying the right topcoat and sealing carefully will prolong your furniture’s beauty and keep the finish protected over time.
Curing, Final Touches, and Maintenance
After applying the final coat of sealer, it’s important to let the furniture dry for at least 2-4 hours before handling.
Full curing of the paint and sealant can take up to 30 days, so keep your furniture in a stable environment to prevent damage.
During this period, avoid heavy objects and moisture exposure.
To maintain the finish, regularly clean with a damp cloth and mild soap, avoiding harsh chemicals.
For added protection, reapply a protective wax or sealant every 1-2 years, especially on high-use pieces.
Remember:
- Allow full curing before heavy use.
- Keep the furniture stable and dry.
- Perform routine cleaning and reapply protective wax as needed.
Frequently Asked Questions
What Is the Best Way to Paint Furniture for Beginners?
You want to know the best way to paint furniture as a beginner. Start by choosing easy-to-apply paint like chalk or clay paint.
Prepare the surface by cleaning, sanding, and priming if needed.
Use thin coats and let each dry completely before adding the next.
Apply a semi-gloss or satin topcoat for durability, and don’t worry about brush strokes—focus on steady, even strokes for a smooth, professional finish.
Is It Better to Paint Furniture With a Brush or Roller?
Did you know that using a brush can give you up to 30% more control than a roller? When painting furniture, a brush is better for detailed areas, edges, and touch-ups, giving you a smooth, refined finish.
Rollers are great for larger, flat surfaces because they cover quickly. For the best results, use a roller on big areas and a brush for intricate parts, combining both for a professional look.
Can I Just Paint Furniture Without Sanding?
You can paint furniture without sanding, but it’s not always ideal. If the surface is smooth, clean, and deglossed, you might skip sanding.
However, lightly sanding with fine-grit paper helps the paint adhere better and creates a smoother finish. Skipping this step can lead to uneven coverage or chipping over time, especially on glossy surfaces.
For best results, prep the surface properly before painting.
How to Paint Furniture and Not Leave Brush Marks?
To avoid brush marks when painting furniture, you should thin your paint slightly, about 10%, to improve flow.
Use high-quality brushes suited for your paint type and apply several thin coats instead of one thick one.
Always brush in the same direction, following the wood grain, and let each coat dry completely.
Lightly sand between coats with fine-grit sandpaper to smooth the surface and guarantee a flawless finish.
Conclusion
Think of painting small furniture as nurturing a tiny garden—you plant, care, and watch it flourish. By following these simple steps, you turn a dull piece into a vibrant treasure. With patience and a steady hand, you’ll create a masterpiece that brings joy and personality to your space. Remember, every brushstroke adds a splash of your unique style, transforming ordinary furniture into something truly special. Happy painting—your little project is ready to bloom!