To upcycle old jars into stylish herb planters, start by thoroughly cleaning and disinfecting them to make sure they’re free of dirt and bacteria. Next, personalize labels with waterproof materials or chalkboard paint, adding your own decorative touches. Add drainage layers like pebbles, fill with well-draining soil, and plant your herbs carefully. Place your jars in a sunny spot, then regularly water and maintain your mini herb garden. Keep exploring to discover creative tips and tricks to make your planters stand out even more.
Key Takeaways
- Thoroughly clean and disinfect jars, removing labels and residues, to ensure a safe, bacteria-free planting container.
- Personalize labels with waterproof materials, chalkboard paint, or decorative touches for a stylish and functional look.
- Add drainage materials like pebbles or ocean glass and use well-draining soil mixes to promote healthy herb growth.
- Incorporate decorative elements such as marbles, ribbons, or painted designs to enhance aesthetic appeal.
- Position jars in sunny spots, ensure stability, and maintain proper care routines for thriving, stylish herb planters.
Top picks for "upcycl jars stylish"
Open Amazon search results for this keyword.
As an affiliate, we earn on qualifying purchases.
Gathering Materials and Preparing Your Jars
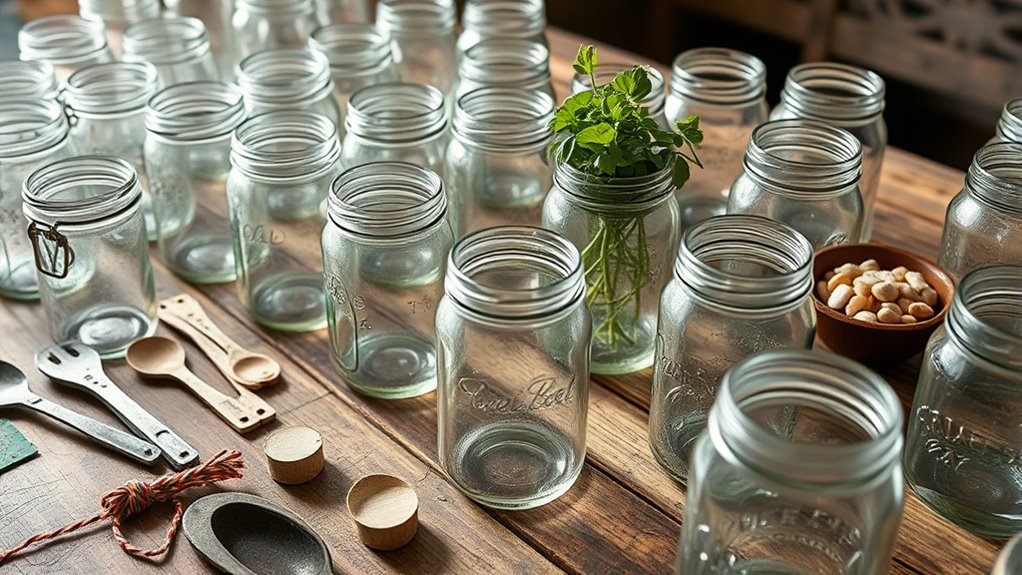
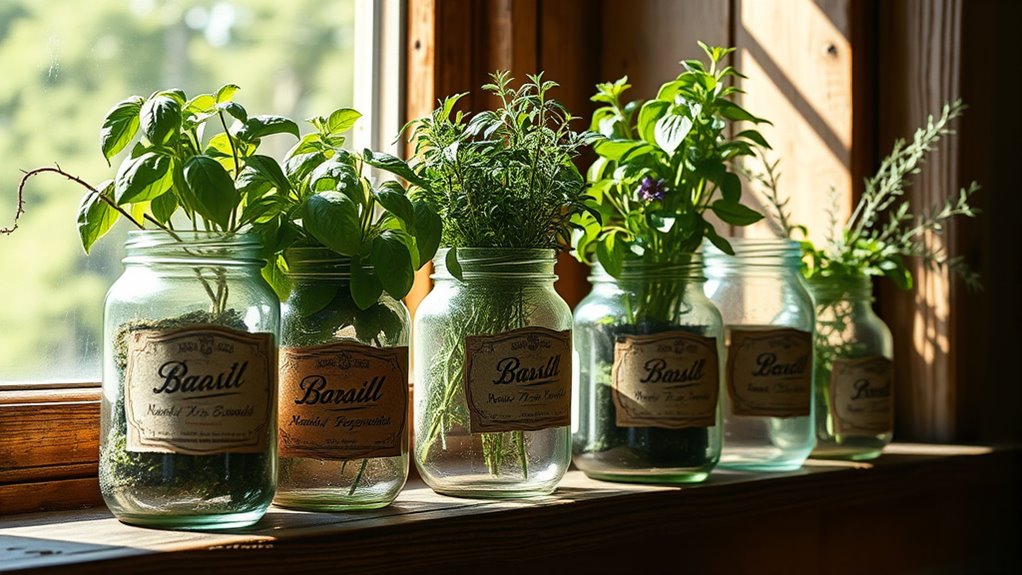
Before you begin repurposing jars as herb planters, it’s essential to gather and prepare your materials properly. Start with glass jars, ensuring they’re suitable for planting. Rinse each jar thoroughly with soap and water to remove dirt, residues, or labels. To make label removal easier, soak paper labels in warm water with dish soap for about 30 minutes, then carefully peel them off. After removing labels, dry the jars completely to prevent mold or water spots. Use rubbing alcohol to wipe down the surfaces, ensuring all adhesive or residue is gone. Also, inspect each jar for cracks or blemishes; replace any damaged ones to guarantee durability. Proper preparation helps *guarantee* your herb planters will be safe, clean, and ready for planting. Additionally, considering water retention can help your herbs thrive by preventing overwatering and ensuring consistent moisture levels. Incorporating proper drainage is equally important to avoid waterlogging and root rot, promoting healthier plant growth. To further enhance your planters, adding a drainage layer such as small stones or gravel at the bottom can improve water flow and prevent excess moisture buildup. Implementing a financial plan for your gardening supplies might also help you stay within budget and organize your project efficiently. Moreover, understanding soil quality can significantly impact the growth and health of your herbs by providing essential nutrients.
Cleaning and Disinfecting Old Glass Jars
Once your jars are cleaned and labels removed, it’s important to guarantee they’re fully disinfected to create a safe environment for your herbs. Start by rinsing the glass thoroughly with warm water and dish soap to remove dirt, residues, and leftover labels. A thorough cleaning helps eliminate surface contaminants and prepares the jars for disinfection.
Soak any stubborn labels in warm water with a few drops of dish soap for at least 30 minutes to loosen the adhesive before peeling or scraping them away. For disinfecting, use a mixture of equal parts white vinegar and water to eliminate bacteria and mold spores. Wiping both the interior and exterior surfaces with rubbing alcohol or more white vinegar ensures all grease, residues, and germs are gone. Regular use of disinfectants can help maintain a hygienic environment for your plants, especially in areas prone to mold growth. Incorporating proper disinfection techniques is essential for preventing contamination and ensuring a healthy environment for your herbs. Additionally, employing proper cleaning practices can further enhance the effectiveness of your sterilization process. Using a UV-C light sterilizer, if available, can provide an extra layer of disinfecting power for your jars. Let the jars air dry completely or use a clean, lint-free cloth before moving on to planting.
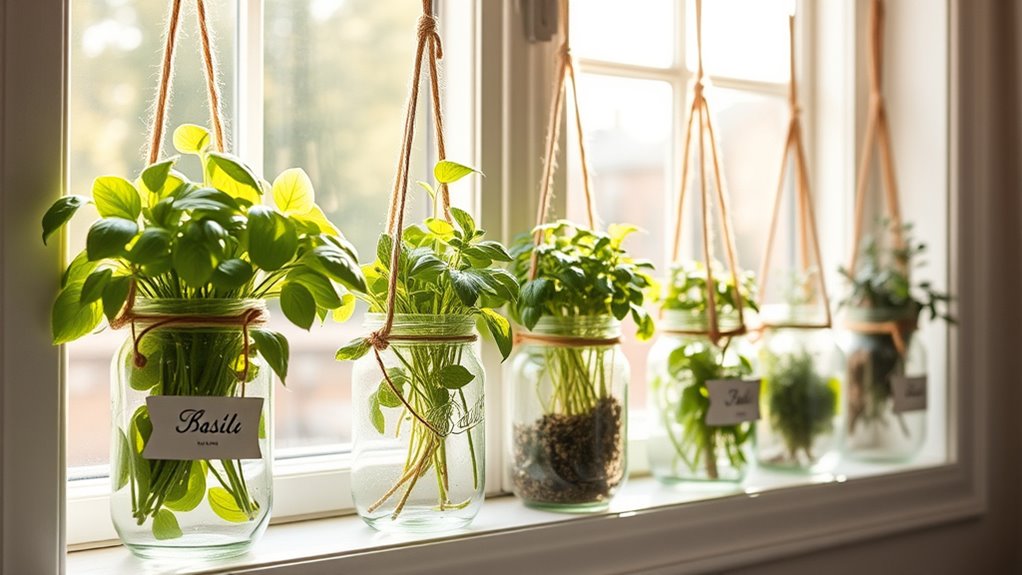
Designing Decorative Labels for Your Herb Jars
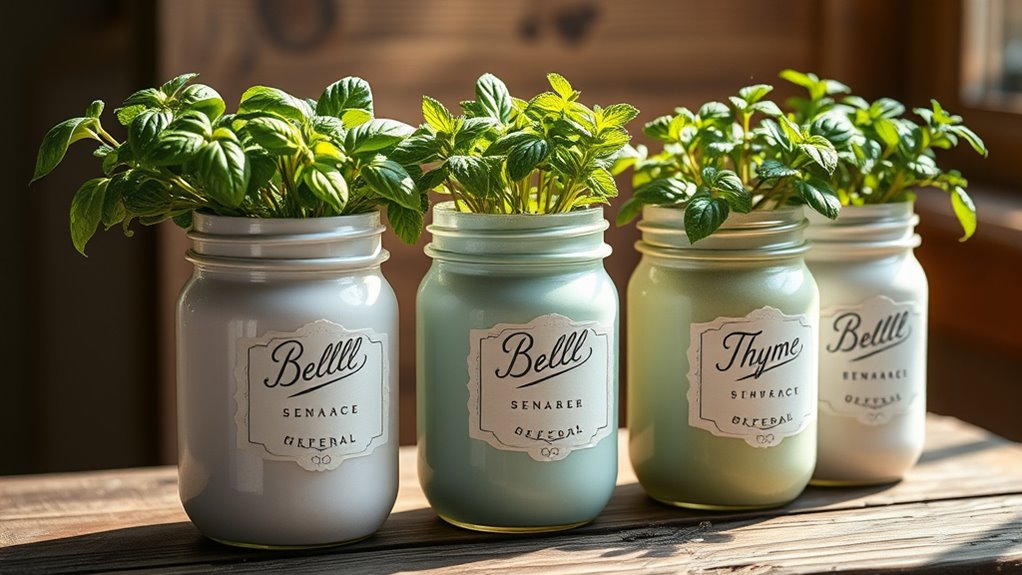
Start by choosing the right materials for your labels, like masking tape and chalk paint, to create a clean, customizable look. Use simple tips for writing and adding personal touches, such as doodles or colorful chalk, to make each label unique.
Finally, consider sealing and attaching your labels properly to keep them durable and eye-catching.
Choosing Label Materials
When choosing label materials for your herb jars, it’s important to select options that withstand humidity and frequent handling. Durable labels prevent smudging and maintain a polished look. Consider these options:
- Waterproof or laminated labels made from plastic or vinyl for longevity in moist environments.
- Chalkboard paint or adhesive chalkboard labels for easy customization and reuse.
- Lightweight materials like cardstock or thin wood tags to avoid adding unnecessary weight or imbalance. Additionally, selecting appropriate materials can help ensure your labels stay intact over time, especially in challenging conditions. Using labeling techniques such as sealing ink or protective coatings can further enhance durability. Incorporating weather-resistant finishes can also extend the lifespan of your labels in humid environments.
- Attach labels securely with waterproof adhesive, twine, or decorative ribbon to enhance durability and aesthetic appeal.
Personalize your labels with handwritten chalk or permanent markers to create a rustic, charming look that complements your upcycled jars. Ensuring proper label adhesion is essential for maintaining labels in humid environments.
Writing and Personalization Tips
To create attractive and durable labels for your herb jars, careful writing and personalization are key. Use masking tape to outline a neat rectangle on your old glass mason jars before applying chalk paint—this guarantees a clean space for your label. Choose waterproof or chalk marker pens to write on the painted surface, preventing smudges and making sure your mason jar herb labels last. Personalize each label with herb names, decorative doodles, or tips for direct sun and watering. Consider printable waterproof label paper or adhesive vinyl for a polished look. Experiment with fonts, colors, and embellishments like stickers or washi tape to match your indoor herb garden decor. Make sure required fields are marked when labeling, especially if sharing your herb garden via email or online. Incorporating active listening and empathy during the labeling process can help ensure your design aligns with your overall garden aesthetic and personal style. Additionally, paying attention to material durability ensures your labels withstand humidity and handling over time. Using weather-resistant materials can significantly extend the lifespan of your labels and keep your garden looking tidy and inviting. Being aware of the best restaurant materials and their properties can help you choose the right supplies for outdoor use and longevity. Remember that selecting appropriate materials can significantly extend the lifespan of your labels and keep your garden looking tidy and inviting.
Attaching and Protecting Labels
Ever wonder how to guarantee your herb labels stay clear and attractive over time? To create durable, decorative labels, follow these steps:
- Use masking tape to outline a rectangle on your jar, ensuring a clean area for your label.
- Apply one thick, smooth coat of chalk paint within the taped rectangle, then let it dry for about an hour to avoid smudging. For best results, choose a water-resistant paint that enhances longevity.
- Carefully remove the masking tape once the paint is fully dry, revealing sharp, clean edges for your label.
- Write the herb name on the chalk-painted label with chalk or chalk markers, then consider sealing it with a protective coating such as a clear spray to prevent smudging and water damage for added protection and durability.
These tips help you design decorative labels that stay attractive and functional. For added longevity, consider using protective coatings to shield your labels from moisture and wear.
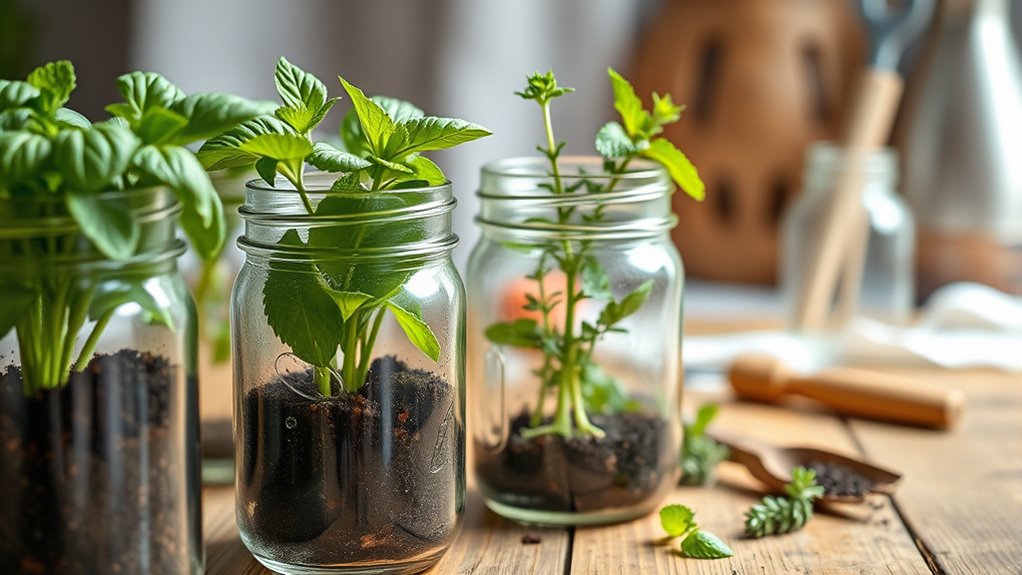
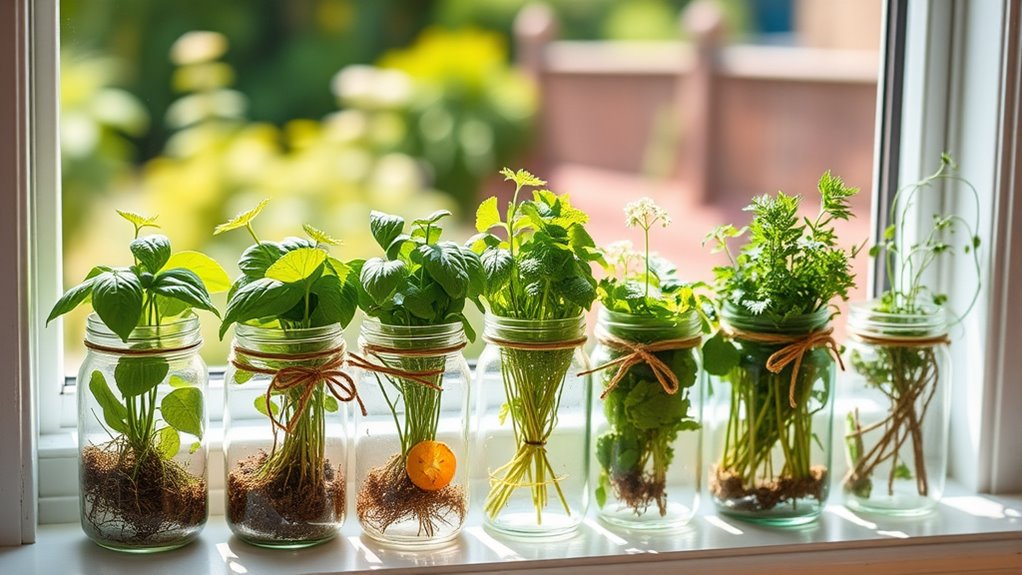
Filling Jars With Proper Drainage and Soil
Start by adding about an inch of pebbles, gravel, or ocean glass at the bottom of your jar to guarantee proper drainage.
Next, fill it with well-draining potting mix that includes perlite or peat to prevent waterlogging.
Leave about an inch of space at the top for watering without spilling over.
Drainage Solutions for Jars
Ensuring proper drainage in your upcycled jars is essential for healthy herb growth, and this begins with adding a layer of drainage material such as pebbles, gravel, or ocean glass at the bottom. This prevents water from pooling around roots, reducing the risk of rot.
Next, use a well-draining potting mix with perlite or vermiculite to improve airflow and water escape. When filling your jar, leave about an inch of space at the top to avoid overfilling and facilitate watering.
If possible, incorporate small drainage holes in the lid or sides to help excess water escape.
Finally, regularly check the soil moisture level and adjust watering accordingly to maintain ideal conditions and keep your herbs thriving. Proper drainage is key to healthy, vibrant herbs.
Soil Layering Techniques
To properly fill your jar with soil, begin by adding about an inch of pebbles, gravel, or ocean glass at the bottom to promote drainage.
Next, fill the remaining space with a high-quality potting mix that includes perlite and peat, which help retain water and provide aeration.
Leave about an inch of space at the top to prevent overflow during watering.
Before planting, gently loosen the soil to avoid compaction, which can hinder root growth.
When you’re ready to plant, place your herbs carefully and gently press the soil around the roots.
Lightly water after planting to settle the soil and ensure good contact with the roots, but avoid oversaturating to prevent waterlogging.
Proper layering is key for healthy, thriving herbs in your upcycled jar planters.
Planting and Arranging Your Herbs
When planting your herbs, gently loosen the soil around their roots to prevent damage. Then fill your jars with potting mix, leaving about an inch of space at the top. Follow these steps for successful planting:
- Place seeds or seedlings into the soil, adjusting their depth according to their specific needs.
- Water immediately after planting to settle the soil and eliminate air pockets.
- Position your jars where they’ll get 4-8 hours of sunlight daily, like a windowsill or countertop.
- Regularly check the moisture level, watering enough to keep the soil moist but not soggy, avoiding root rot.
Arrange your jars in a sunny spot, and as your herbs grow, adjust their placement to ensure they continue to receive proper light.
Adding Creative Decorative Elements
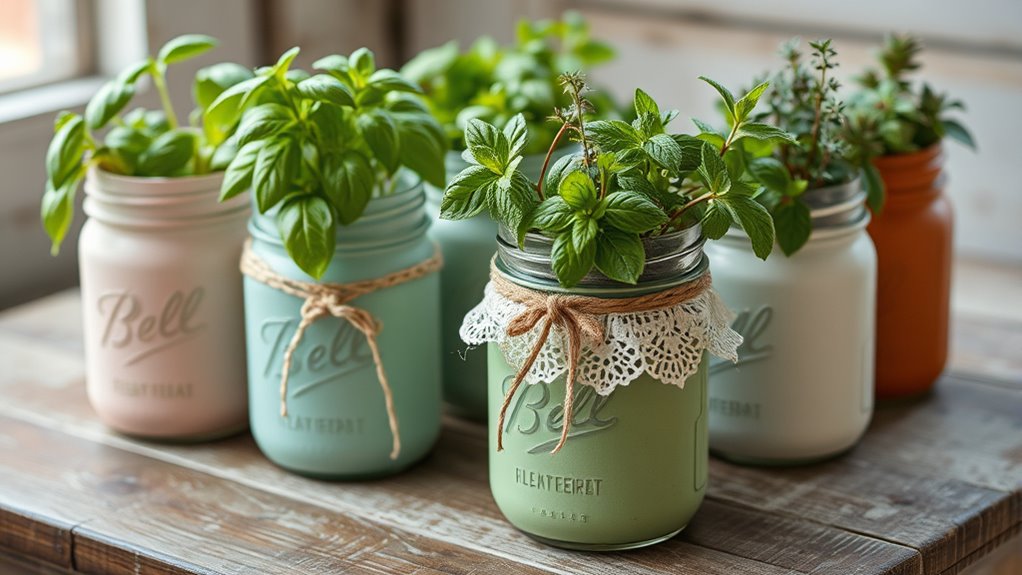
Once your herbs are planted and thriving, you can elevate their charm by adding creative decorative elements. Incorporate colorful marbles, ocean glass, or floral accents at the bottom of each jar to create visual interest. Use decorative ribbons, twine, or old buttons to enhance a farmhouse or vintage look. Personalize your jars with chalkboard paint or labels for herb names and watering instructions. Wrap the jars with patterned washi tape or paint designs to match your home decor. For a whimsical touch, add small charms or sequins to catch the eye. These elements transform simple jars into eye-catching decor pieces, reflecting your style and making your herb garden uniquely yours.
| Decorative Element | Purpose | Style Inspiration |
|---|---|---|
| Colorful marbles/ocean glass | Adds vibrant visual interest | Modern, coastal |
| Ribbons, twine, buttons | Enhances vintage/farmhouse aesthetic | Rustic charm |
| Chalkboard labels | Personalizes with herb info | Functional elegance |
| Wasabi tape or painted designs | Coordinates with home decor | Artistic, playful |
| Charms and sequins | Creates whimsical, fun accents | Playful, eclectic |
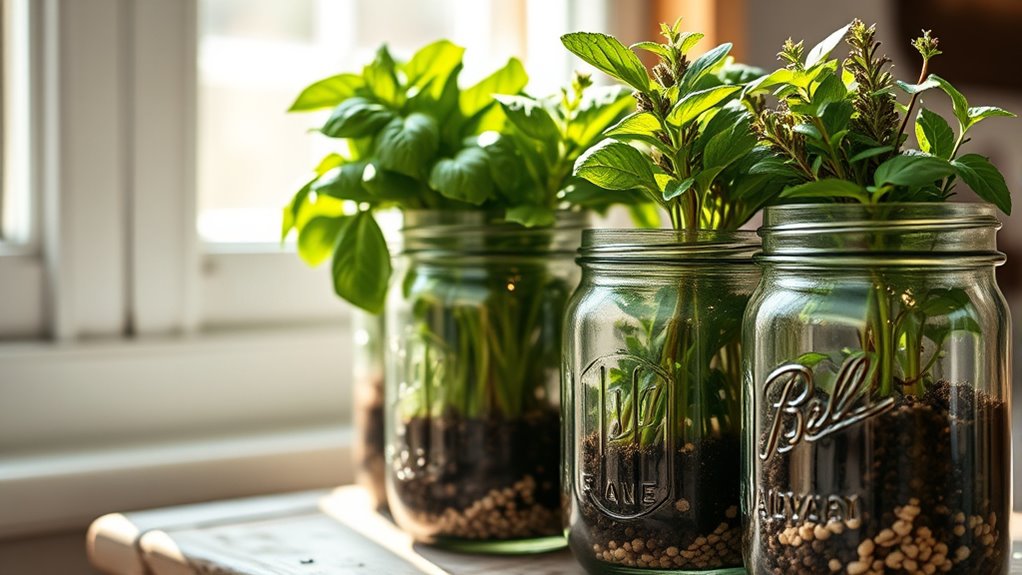
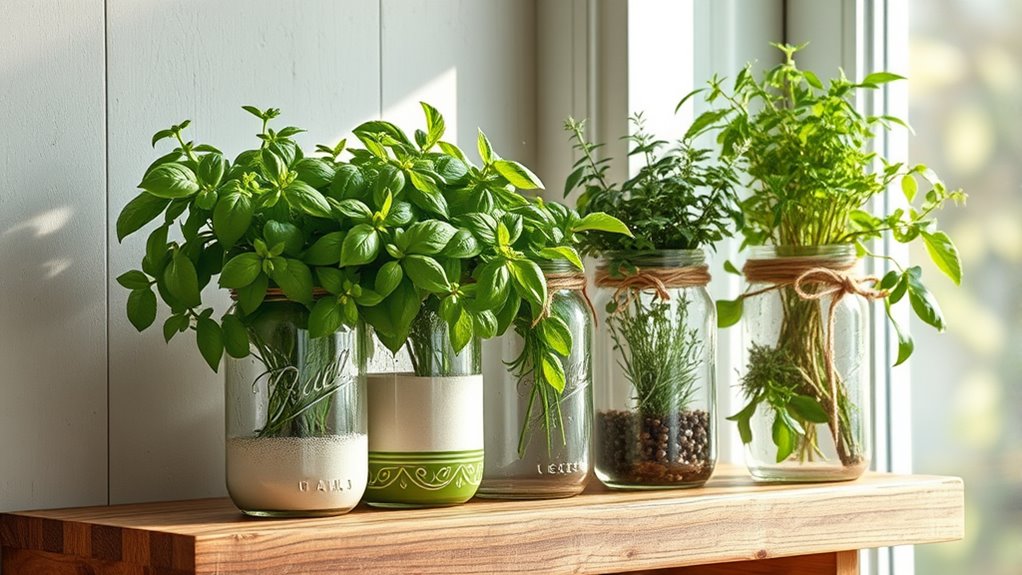
Positioning Your Herb Jars for Optimal Growth
Positioning your herb jars correctly is essential for healthy growth and vibrant plants. First, place them where they’ll get at least 6 hours of direct sunlight daily to ensure robust development. Second, keep the jars on a stable, elevated surface like a windowsill or countertop to prevent tipping or damage.
Third, avoid locations with drafts or temperature swings, which can stress your herbs and stunt growth. Fourth, space the jars adequately to allow air circulation, reducing humidity buildup and preventing mold.
Additionally, rotate the jars periodically so all sides receive even sunlight, promoting uniform growth. Proper positioning guarantees your herbs thrive, stay healthy, and look attractive in your upcycled planters.
Maintaining and Caring for Your Indoor Garden
To keep your indoor herb garden thriving, regularly monitor soil moisture to prevent overwatering and root rot. Stick your finger about an inch into the soil; if it feels dry, it’s time to water.
Place your jars near a sunny window that offers at least six hours of direct sunlight daily, ensuring your herbs get enough light to grow strong.
Prune herbs like basil and mint regularly to promote bushier growth and avoid legginess.
Use a gentle, water-soluble fertilizer every four to six weeks to replenish nutrients and support healthy development.
Keep an eye out for pests such as aphids or spider mites, and treat any infestations promptly with natural remedies like neem oil or insecticidal soap.
Proper care keeps your herbs vibrant and thriving indoors.
Tips for Reusing and Upcycling Jars for Future Projects

After caring for your indoor herbs, consider how you can give your jars a new lease on life through creative reuse and upcycling. To start, thoroughly clean your jars with soap and water, removing labels and residues.
Transform your herb jars with creative reuse and eco-friendly upcycling ideas.
Next, regularly inspect them for cracks or blemishes to ensure safe reuse.
Then, get creative with eco-friendly materials like recycled twine, fabric, or paint to customize their look.
Finally, make your jars functional by adding drainage solutions such as pebbles or drill holes, perfect for herbs or succulents.
You can also repurpose jars into lanterns, soap dispensers, or storage containers.
These tips help you maximize your jars’ potential while reducing waste and adding a personal touch to your home projects.
Frequently Asked Questions
Which Herbs Should Not Be Planted Together?
You should avoid planting herbs with conflicting needs together. For example, rosemary and basil require different watering, so don’t plant them side by side.
Mint spreads fast and can overpower slower-growing herbs like parsley or cilantro, so keep them apart.
Also, herbs with different light needs, like chives and thyme, shouldn’t be together.
Strongly aromatic herbs like oregano and sage can compete.
Moisture-loving herbs like dill and fennel shouldn’t be near cilantro.
How to Make Mason Jar Herb Garden?
Imagine you’re stepping into a lush garden of your own making. To create a mason jar herb garden, start by selecting clean jars and add a layer of pebbles for drainage. Fill with well-draining soil, plant your herbs, and water gently.
Position your jars where they’ll get at least six hours of sunlight daily. Keep the soil moist, trim regularly, and enjoy fresh herbs all year round.
Can You Grow Cilantro in a Mason Jar?
Yes, you can grow cilantro in a mason jar. Make sure it gets at least 6 hours of direct sunlight daily and use well-draining potting mix.
Keep the soil consistently damp but not waterlogged, and water carefully since your jar may lack drainage holes.
To prolong your cilantro’s freshness, keep the jar in a cooler spot, avoiding excessive heat that causes it to bolt quickly.
How Do You Upcycle Mason Jars?
Imagine it’s 1955 again, and you’re rediscovering the magic of simple crafts. To upcycle mason jars, start by cleaning and rinsing them thoroughly.
Personalize with paints, ribbons, or rope. Drill small holes for drainage or ventilation if you’re turning them into planters.
Use them as stylish organizers, lanterns, or candle holders. With a little creativity, these jars become charming, functional pieces that add character to your home.
Conclusion
Now that you’ve transformed ordinary jars into charming herb planters, your space becomes a lush tapestry of green and creativity. Each jar tells a story of ingenuity, like tiny treasures sprouting life and flavor. Keep nurturing your garden with love and care, allowing your green sanctuary to blossom wildly. With every sprout, you weave nature’s poetry into your daily life, proving that even the simplest objects can bloom into something extraordinary.