To create custom labels for your herb garden, start with durable materials like polymer clay, which you can mold into any shape and personalize with inscriptions or stamps. Make sure your labels dry thoroughly and add waterproof sealant to protect them from weather. Attach stakes or hangers securely, and position your labels so they’re visible and stable. For more creative tips and step-by-step guidance, keep exploring how you can make your garden both functional and charming.
Key Takeaways
- Use polymer clay to craft durable, uniform herb labels with personalized lettering and decorative details.
- Incorporate craft wire or toothpicks for stakes or hanging loops to secure labels in place.
- Dry labels thoroughly in a well-ventilated area, then seal with waterproof spray for weather resistance.
- Insert stakes deeply into soil or pots, positioning labels 2-3 inches above ground for easy identification.
- Enhance visual appeal with creative shapes, colors, and rustic elements, and consider outdoor sealants for long-term durability.

Inground Pool Safety Covers, Fits 16x32ft Rectangular Winter Pool Cover for Swimming Pools, High Strength Mesh PP with Triple Stitching, Included Installation Tools (Blue, Fits 16x32ft Pools)
Pool Covers for Inground Pools–This Inground Pool Safety Cover size 18x34ft,fits rectangular pools size:16x32ft, with 2ft extra coverage...
As an affiliate, we earn on qualifying purchases.
Selecting the Perfect Materials for Your Herb Labels
Choosing the right materials is key to creating durable and attractive herb labels. Start with polymer clay, like Fimo Soft, which is easy to mold and bake into sturdy plant markers.
Selecting quality materials like polymer clay ensures your herb labels are both durable and attractive.
Use a circular cutter, such as a 1.5-inch plastic cap, to shape uniform herb labels with clean edges.
Alphabet stamps help you add clear, consistent lettering directly into the clay before baking, giving your DIY herb labels a professional look.
Craft wire is also essential, as it allows you to shape stakes or hangers for your markers.
Basic tools like a roll pin and craft pliers help you make holes or shape the wire.
When you select these materials, you guarantee your herb labels are both functional and visually appealing, lasting through seasons.

Inground Pool Safety Cover,Heavy-Duty Winter Safety Cover for Inground Swimming Pools,Triple-Stitched Rectangle Pool Cover,Reinforced Design, All-Weather Protection (Green, 16FTx34FT)
[16x34 Inground Pool Safety Cover] :Ideal Pool Safety Covers for 16x34 Ft Pools : Experience superior protection with...
As an affiliate, we earn on qualifying purchases.
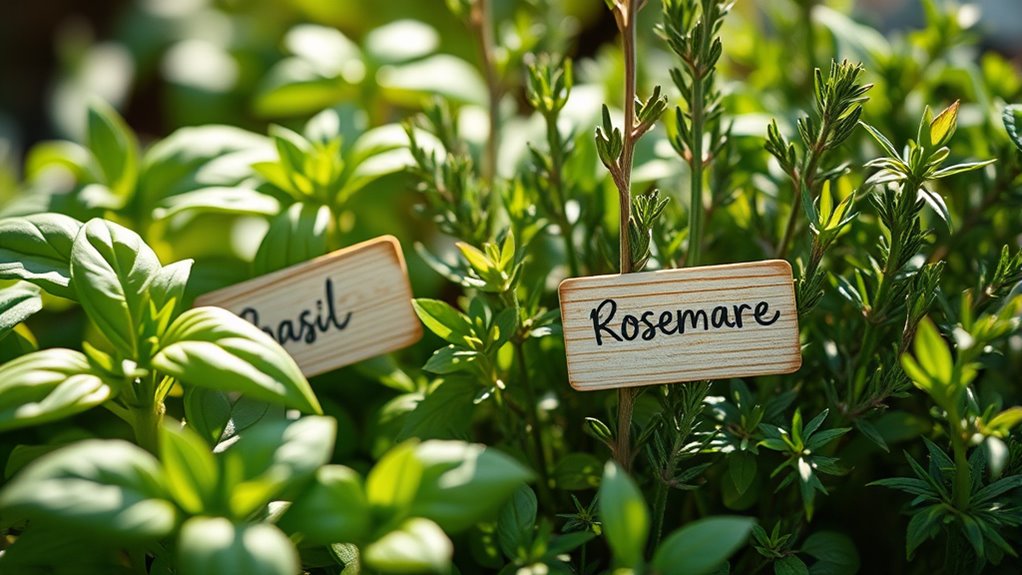
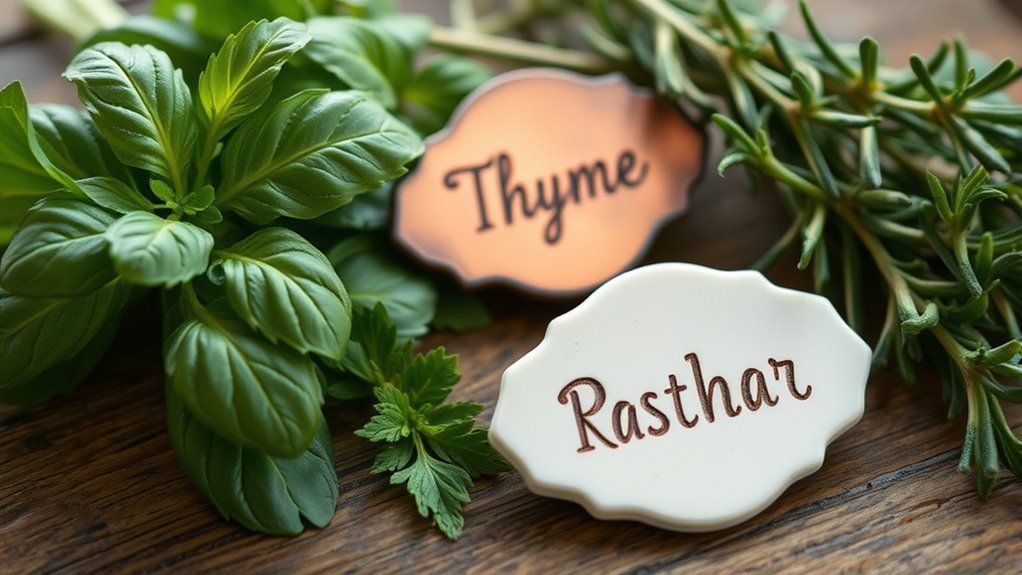
Crafting and Personalizing Your Handmade Herb Markers
Once you’ve selected your materials, it’s time to start crafting and personalizing your herb markers. To create charming DIY plant labels, follow these steps:
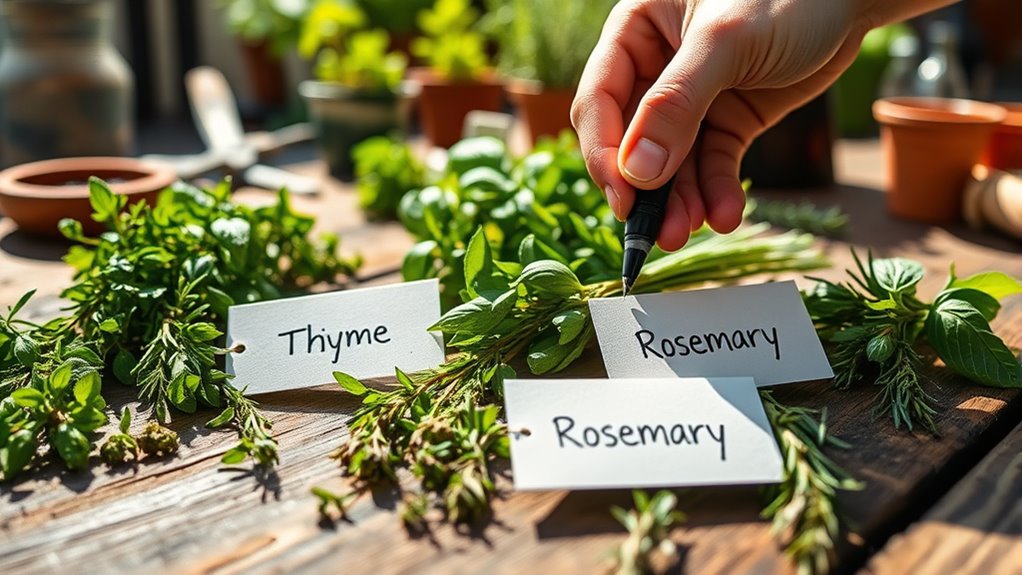
- Inscribe your plant names onto clay circles using alphabet stamps or a toothpick for stamped letters.
- Make a small hole at the top of each clay marker for hanging or inserting onto stakes, ensuring visibility.
- Smooth edges and surface imperfections with a damp fingertip or brush for a professional, polished look. This step helps prevent surface imperfections that could trap moisture and affect durability. Paying attention to material preparation can also improve the overall finish and longevity of your markers.
- Consider incorporating visualization techniques to enhance your creative process and make your markers more appealing. Using design principles such as contrast and balance can help make your labels more attractive and easier to read.
Adding a variety of color schemes can also help your herb markers stand out and complement your garden’s aesthetic. These handmade garden markers can be customized with different designs or colors. Once your clay circles are dry for 24-48 hours, seal them with a waterproof spray to withstand outdoor elements.
Your personalized herb markers will add a lovely touch to your garden while keeping plant identification simple and stylish.

VEVOR Inground Pool Safety Cover, 16 ft x 32 ft Rectangular Winter Pool Cover, Triple Stitched, High Strength Mesh PP Material with Good Rain Permeability (Fit 16x32ft Pools)
1. **Pool Covers for Inground Pools – Easy Winter Pool Care by VEVOR**: Our VEVOR pool covers for...
As an affiliate, we earn on qualifying purchases.
Proper Drying and Sealing Techniques for Durability
To guarantee your herb garden labels withstand outdoor conditions, proper drying and sealing are essential. After shaping your clay labels, allow them to dry in a warm, dry, and well-ventilated area for at least 24 to 48 hours.
Ensure your herb labels are fully dry and sealed to withstand outdoor weather conditions effectively.
Avoid direct sunlight to prevent cracking and check for readiness by noting a light color, a cool surface, and a firm, non-damp feel when pressed.
Once dry, apply a waterproof sealant like outdoor polyurethane or spray glaze, using thin, even coats. Let each coat dry thoroughly before applying the next.
Ascertain the sealant cures for at least 24 hours to maximize durability.
Proper sealing protects your clay labels from moisture, UV rays, and weather damage, making them last longer outdoors.

VEVOR Pool Safety Cover 18' x 36' Rectangle, Safety Pool Covers Green Mesh, 15-Year Warranty, Triple Stitched, MAX Strength Winter Safety Cover for Children & Pets
1. Happybuy 18x36 Inground Pool Safety Cover: Ideal Pool Safety Covers for 18x36 Ft Pools : Experience superior...
As an affiliate, we earn on qualifying purchases.
Assembling and Placing Your Herb Labels in the Garden
When placing your herb labels in the garden, start by threading each label’s hanging loop through the hole at the top of the clay marker, making sure the loop is large enough to hang securely.
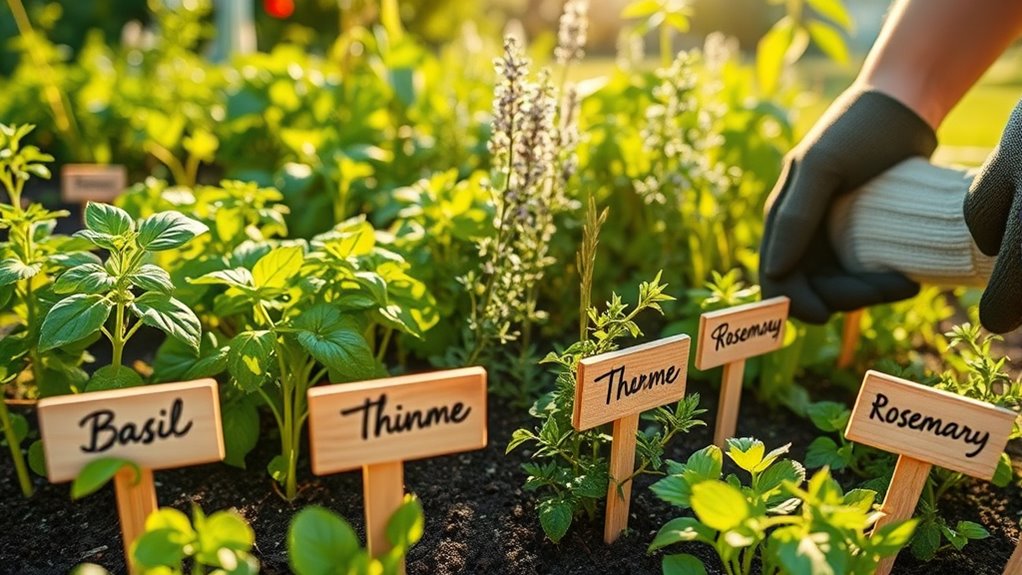
Next, press the bottom of the marker firmly into the soil or potting mix, ensuring the herb name remains visible and legible.
Then, adjust the label’s height so it sits about 2-3 inches above the soil surface for easy reading and access.
To guarantee stability, make sure the stake or hanger is deeply embedded and stands upright, especially in windy conditions.
When placing your plant labels, consider these steps:
- Confirm proper label placement for clear herb identification.
- Keep labels unobstructed to avoid interference with watering.
- Position markers to maintain easy access during planting and care.
Creative Ideas to Enhance Your Herb Garden With DIY Labels
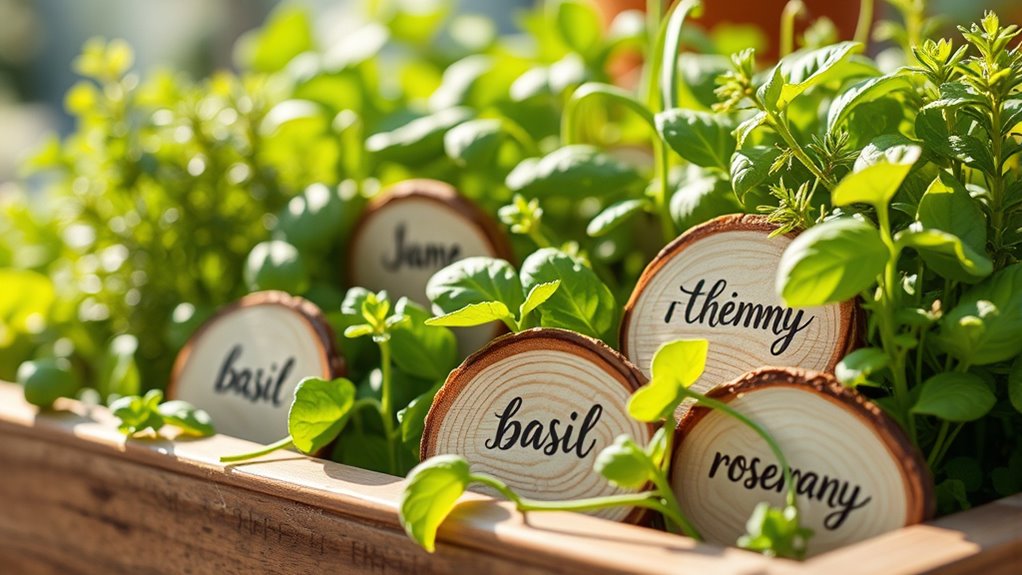
Adding DIY labels to your herb garden is a fun way to showcase your creativity and make plant identification easier. You can make personalized plant markers using materials like polymer clay, corks, or recycled metal, giving your garden a unique charm. Use letter stamps for a handcrafted look or paint colorful details to make each herb stand out. Incorporate creative shapes and decorative elements to enhance visual appeal. To safeguard your DIY plant labels and ensure they withstand outdoor conditions, apply an outdoor sealant or spray glaze. Combining different materials, such as painted rocks or upcycled pottery, adds rustic charm. Additionally, understanding how to monitor payment data can help ensure the security and integrity of your gardening business transactions. Moreover, researching local resources can provide inspiration for creative labeling ideas that suit your climate and garden style. To prolong the lifespan of your labels, consider exploring professional conversion methods for more durable materials suitable for outdoor use. Implementing privacy policies related to your garden business can also help build trust with customers and visitors.
Frequently Asked Questions
How to Label an Herb Garden?
You want to label your herb garden clearly and durably. Use weather-resistant materials like sealed wood, ceramic tiles, or polymer clay for the labels. Write the herb names with bold, waterproof markers or paint, ensuring they’re easy to read.
Attach the labels securely to pots, stakes, or in the soil. Personalize with colors or shapes to add charm, and regularly check to replace worn labels for continued clarity.
What Can I Use Instead of Plastic Plant Labels?
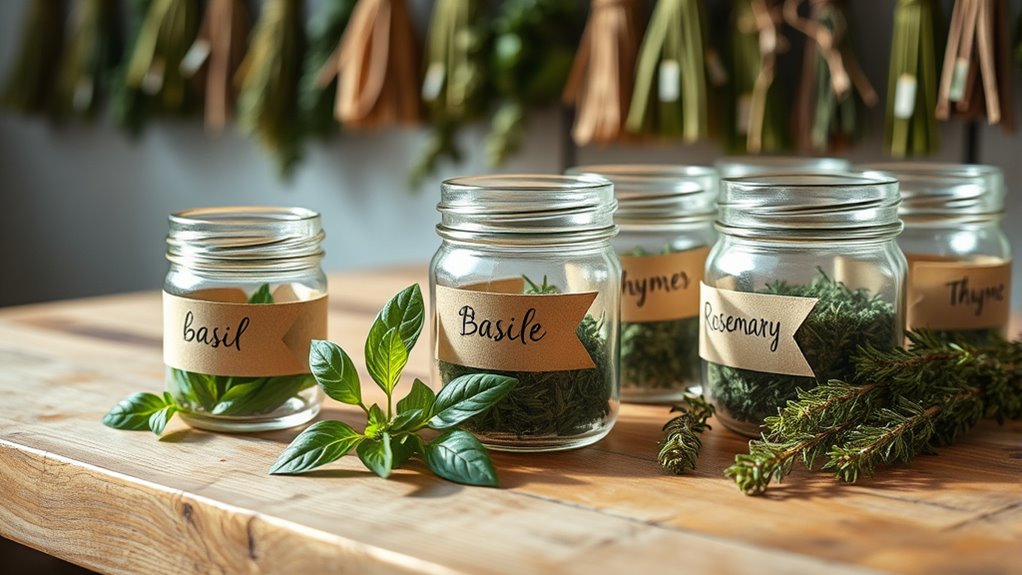
Instead of plastic plant labels, you can get creative with recycled and natural materials. Use wine corks or broken ceramic tiles for eco-friendly markers, or craft sticks and wooden spoons for customizable options.
Metal objects like old silverware or flattened lids are durable and weather-resistant. Upcycle household items such as glass jars, seed packets, or bottle caps.
Handwrite or stamp labels on stones or shells for an attractive, biodegradable alternative that adds charm to your garden.
How Do You Permanently Label Plants?
Did you know that outdoor labels must withstand weather for up to 10 years? To permanently label your plants, choose weatherproof materials like engraved metal, sealed stone, or ceramic tiles.
Use UV-resistant engravings or industrial-grade paint pens, and seal painted labels with outdoor-rated sealants. Secure labels with corrosion-resistant fasteners or stakes.
This approach guarantees your plant labels stay clear and durable through all seasons.
What Is the Best Material for Plant Labels?
When choosing the best material for plant labels, you want something durable and weather-resistant. Metal or sealed ceramic are ideal because they withstand rain, sun, and wind without fading or deteriorating.
You might also consider high-quality plastics or repurposed items like corks for eco-friendly options. Whatever you pick, guarantee it’s sealed properly to keep your labels legible and intact throughout the growing season.
Conclusion
Creating custom herb labels transforms your garden into a personal oasis, turning simple markers into charming storytellers of your green space. With a bit of creativity and effort, you’ll not only organize your herbs but also infuse your garden with personality and charm. Think of your labels as tiny bridges connecting you to nature—each one a small masterpiece. So, get crafting and watch your herb garden flourish with beauty, purpose, and a touch of your unique spirit.