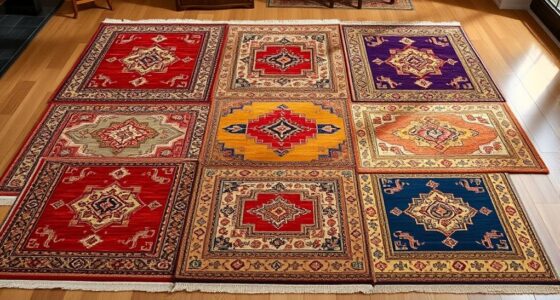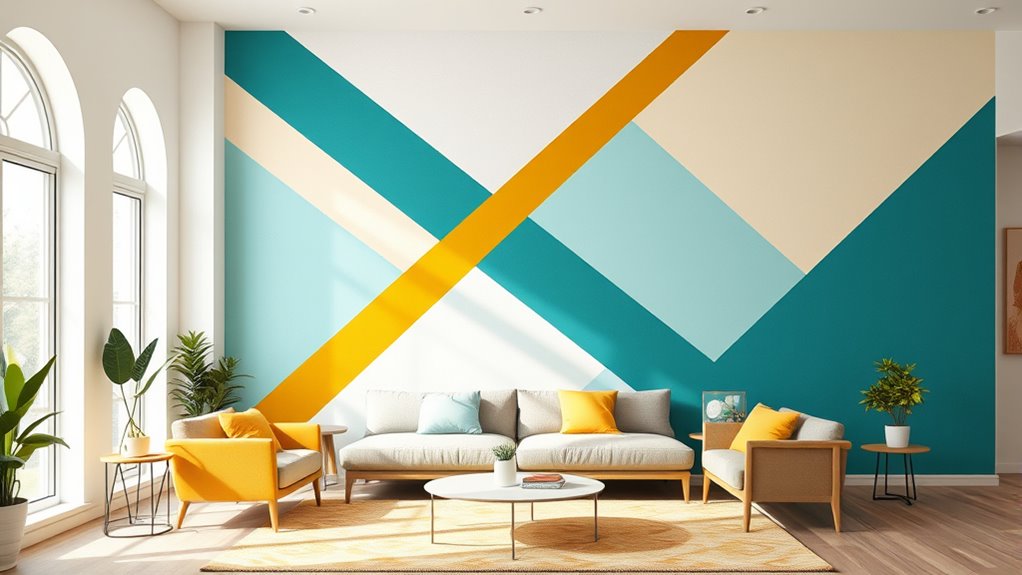

To create striking DIY geometric wall art, start by choosing motifs like triangles or hexagons and plan your layout carefully. Use painter’s tape to mark sharp edges, and employ paint pens for precise details. Experiment with blending colors and gradients inside shapes for a modern look. Stamp or stencil for added texture, and select a harmonious color palette. If you want to master techniques that bring your design to life, keep going to learn more tips and tricks.
Key Takeaways
- Select simple geometric motifs like triangles, hexagons, or diamonds and plan your layout for symmetry and balance.
- Use stamps, stencils, or painter’s tape to create crisp, repeatable shapes with consistent spacing.
- Incorporate color gradients and layering techniques to add depth and visual interest to your shapes.
- Utilize fine-tipped paint pens for sharp, clean outlines and detailed lines within your design.
- Choose a harmonious color palette and finish with careful touches to ensure a polished, cohesive look.
Top picks for "geometric wall paint"
Open Amazon search results for this keyword.
As an affiliate, we earn on qualifying purchases.
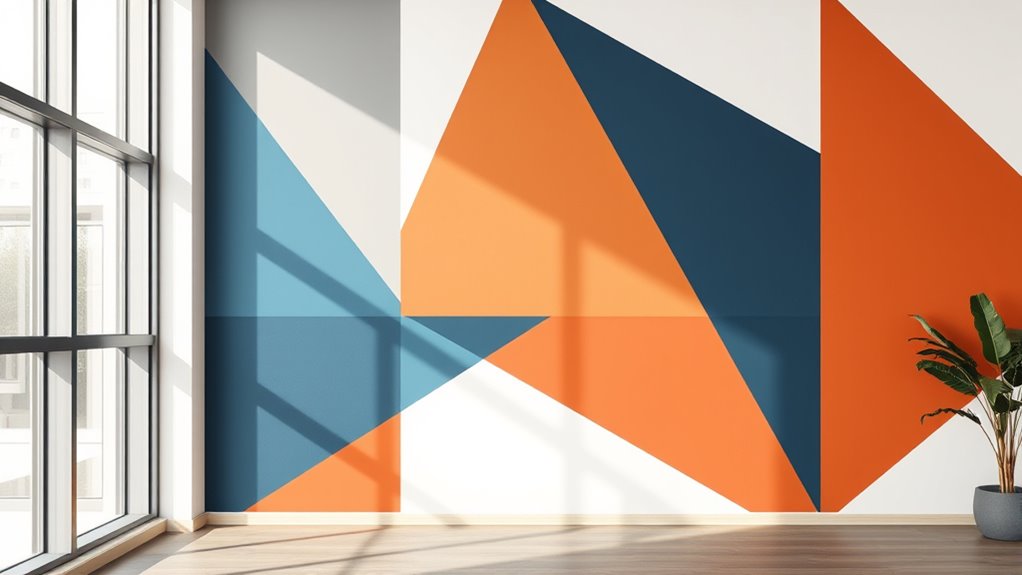
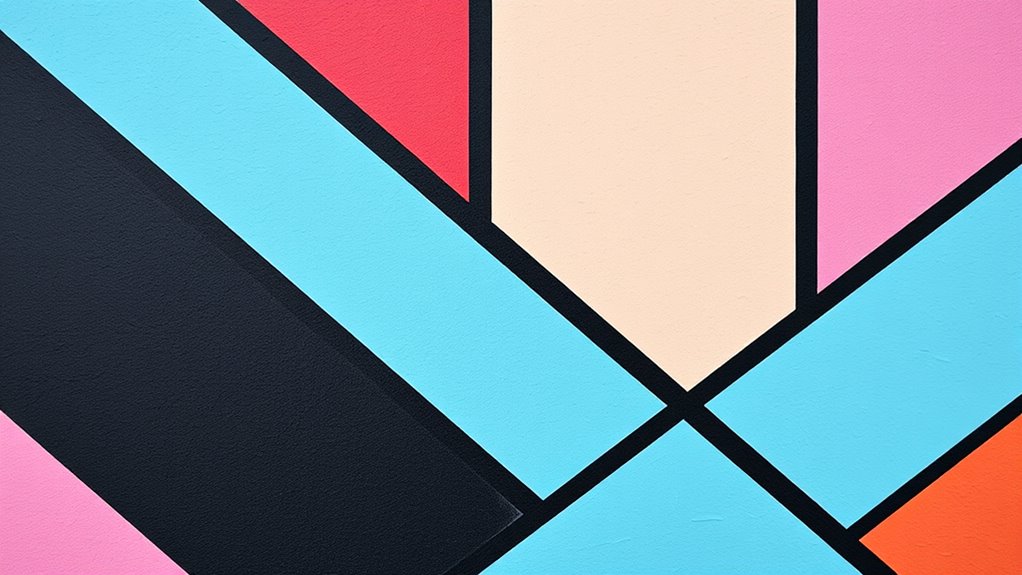
Creating a Bold Geometric Accent Wall With Painter’S Tape
To create a striking geometric accent wall with painter’s tape, start by carefully outlining your shapes with 1-inch painter’s tape. Make sure your geometric shapes are well spaced and varied for visual interest. Incorporate cozy textiles like blankets or throws in the room to enhance the cozy ambiance after completing your wall design. Use painter’s tape to create sharp, clean lines, and apply multiple layers if needed, avoiding overlaps that could distort your design. Even though nail holes or imperfections in the wall exist, use a level or straightedge to guide your tape placement and ensure the geometric lines stay precise. Seal the tape edges by lightly painting over them with your base wall color before adding your chosen paint color for the shapes. This technique not only ensures crisp lines but also helps to prevent paint bleeding. Peel the tape while the paint is still slightly wet to reveal bold, crisp lines and a professional-looking geometric accent wall. Additionally, incorporating sound healing science principles, such as using specific frequencies in your space, can enhance the calming effect once your design is complete. Understanding the importance of AI security in protecting digital tools used in your creative projects can also be beneficial. Remember to maximize space and organization in your workspace to keep your painting supplies neatly stored and easily accessible during your project. Moreover, selecting durable materials for your paints and tapes will ensure your artwork remains pristine over time.
Designing Intricate Shapes Using Paint Pens for Precision
To create precise, intricate shapes, choose a high-quality, fine-tipped paint pen that offers control and sharp lines. Practice on scrap paper first to get comfortable with the pen’s flow and to perfect your technique. Use light sketches as guides and work in small sections to keep your edges crisp and clean. Additionally, understanding color accuracy in projectors can help if you need professional assistance or advice on complex projects. Being aware of hydrocolloid material properties can ensure your paint does not interfere with delicate surfaces or existing designs. Remember that consistent attention and regular practice can significantly enhance your creative practice and improve your overall results. Paying close attention to Louisiana alimony laws can also be useful if your project involves legal or contractual considerations related to design work.
Choosing the Right Pen
Choosing the right pen is essential for creating precise, intricate geometric shapes on your wall. Use a high-quality paint pen with a fine tip (0.7mm or smaller) to achieve clean, sharp lines. A good pen will help prevent ink bleeding and ensure your designs stay crisp and clear. Before starting, test the paint pen on scrap paper or a hidden wall area to guarantee smooth ink flow and consistent color without skipping. Store your paint pens horizontally to prevent clogging and maintain even ink distribution during use. Opt for water-based, quick-drying ink for easy cleanup and to prevent smudging your detailed designs. When drawing, apply gentle, steady pressure to produce sharp edges and uniform line thickness. Using high-quality tools can significantly impact the overall quality and precision of your design. Additionally, choosing pens with long-lasting ink ensures your artwork remains vibrant over time without frequent reapplication.
Achieving Sharp Edges
Achieving sharp edges when designing intricate shapes with paint pens requires careful technique. Start by applying a dry base coat; this prevents smudging and helps your lines stay crisp. Lightly sketch your shapes with a pencil first to keep everything accurate. Using a precise application of paint pen helps in maintaining clean lines and sharp edges. Use a fine-tip paint pen, around 0.5mm to 1mm, to create precise, clean lines. High-quality acrylic or enamel paint pens are best—they resist bleeding and last longer. Practice on scrap paper or cardboard before working directly on your wall. This helps you develop steady control and ensures your lines remain sharp and consistent. Additionally, understanding the effectiveness of eye patches can inspire you to incorporate bold, clean geometric designs that make a statement. Employing integration with design tools can also help plan your shapes more accurately, leading to better results. Proper filtration techniques ensure that paint flows smoothly and reduces the risk of clogging, which is essential for achieving those crisp edges. Incorporating techniques from traditional art can further enhance precision and control during your project. Take your time, work slowly, and focus on steady movements. With patience and preparation, you’ll achieve professional-looking, crisp geometric designs that truly stand out.
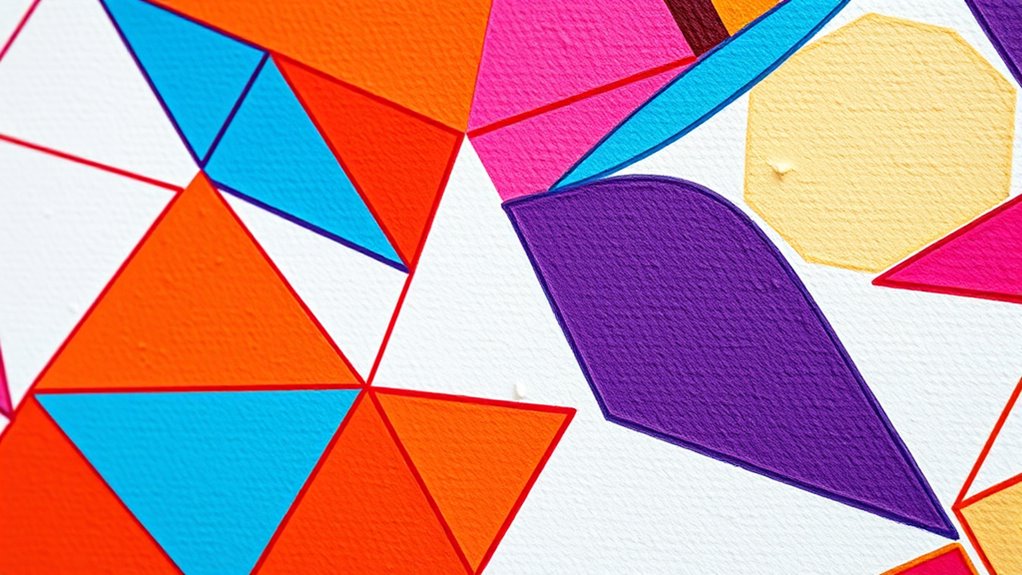
Crafting a Modern Hexagon Pattern With Gradient Colors
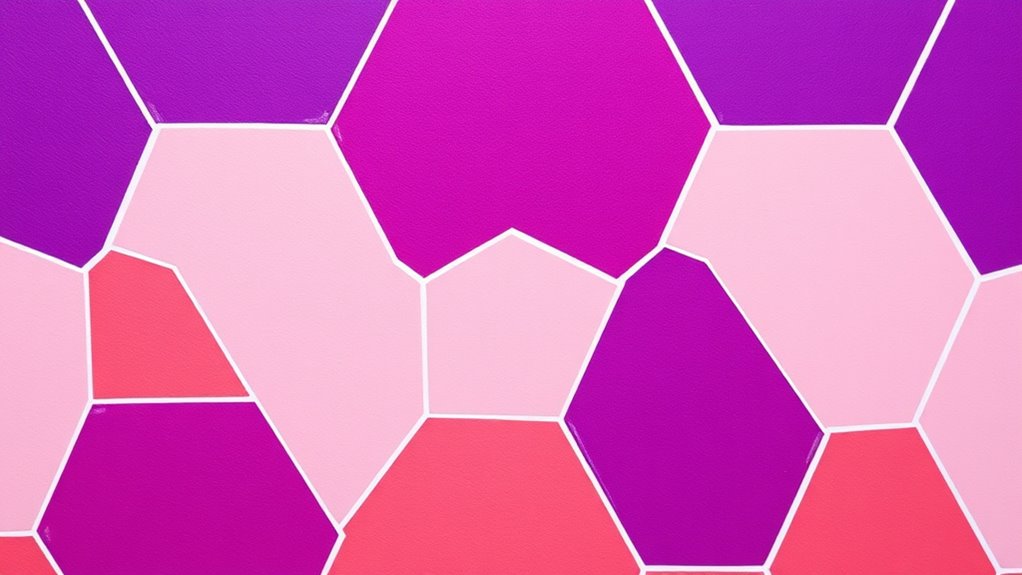
Creating a modern hexagon pattern with gradient colors starts with careful planning and precise execution. Begin by sketching your design or using stencils to ensure consistent shapes across the wall. Use painter’s tape or a hexagon-shaped stencil to achieve clean, sharp edges for each shape.
Once the outlines are in place, fill in each hexagon with your chosen gradient hues. To create smooth transitions, blend two or more colors inside each shape using a dry brush, sponge, or paint pen. Start by painting the outlines in a neutral tone, then work from light to dark or vice versa as you fill in the shapes. Incorporating visual harmony through color choices can significantly enhance the overall aesthetic. Additionally, understanding color blending techniques can help achieve seamless gradient effects. Exploring color psychology can also assist in selecting hues that evoke specific moods or atmospheres. Employing color theory principles can further refine your color combinations, creating more balanced and appealing designs.
Layer multiple thin coats and feather the edges to enhance the gradient effect, resulting in a sleek, modern look. Incorporating proper lighting considerations can further showcase your wall design and make the colors pop.
Stamping Geometric Motifs for Texture and Visual Interest
Choosing the right stamps and shapes is key to creating eye-catching textures, so pick motifs that match your design style.
When applying the stamps, use a sponge or roller to add paint evenly and press firmly for crisp patterns.
Layering contrasting colors and varying stamp placement can add depth and visual interest to your wall.
Choosing Stamps and Shapes
Have you considered how selecting the right stamps and shapes can transform your wall into a striking geometric display? Choosing the right motifs—like triangles, hexagons, or diamonds—sets the foundation for your design.
You can buy ready-made silicone or rubber stamps or even create custom shapes to match your theme. Using a foam or acrylic stamp pad with acrylic paint guarantees vibrant, even coverage and makes application easier, especially when adding texture.
Repeating shapes at different angles or overlapping them creates depth and complexity, making your pattern visually engaging. Before working on the wall, test your placements on scrap paper to gauge paint saturation and spacing.
Proper planning helps you achieve a precise, consistent look, giving your wall a professional, polished finish.
Applying Stamps Properly
To achieve clean and sharp geometric motifs, it’s essential to apply your stamps with care and consistency. First, make sure your stamps are clean and dry to prevent smudging and to get crisp lines.
When stamping, apply even pressure to create uniform shapes and avoid uneven or incomplete patterns. Practice on scrap paper to master the right amount of paint needed for sharp edges and avoid excess spreading.
Work from a consistent starting point and follow a planned pattern to keep your design aligned and symmetrical.
After stamping, clean your stamps immediately with water or the appropriate solvent to preserve their shape. This ensures you can repeat the process accurately and maintain the precision of your geometric motifs.
Enhancing With Color Layers
Adding multiple color layers with your stamped geometric motifs can transform a flat design into a visually dynamic feature. By layering different paints, you create depth and texture that catch the eye. Use contrasting or coordinating hues to introduce movement and interest, making your wall stand out.
Vary your stamping techniques, like overlapping shapes or applying different pressure, to increase complexity and richness. Choosing paints with different opacities or sheens further emphasizes the layered effect, making each motif pop.
To assure your work lasts, seal or finish the stamped areas properly, preventing smudging or fading over time. This layering approach adds dimension and sophistication, turning simple geometric patterns into captivating wall art that enhances your space’s visual appeal.
Combining Multiple Shapes for a Unique Painted Wall Pattern
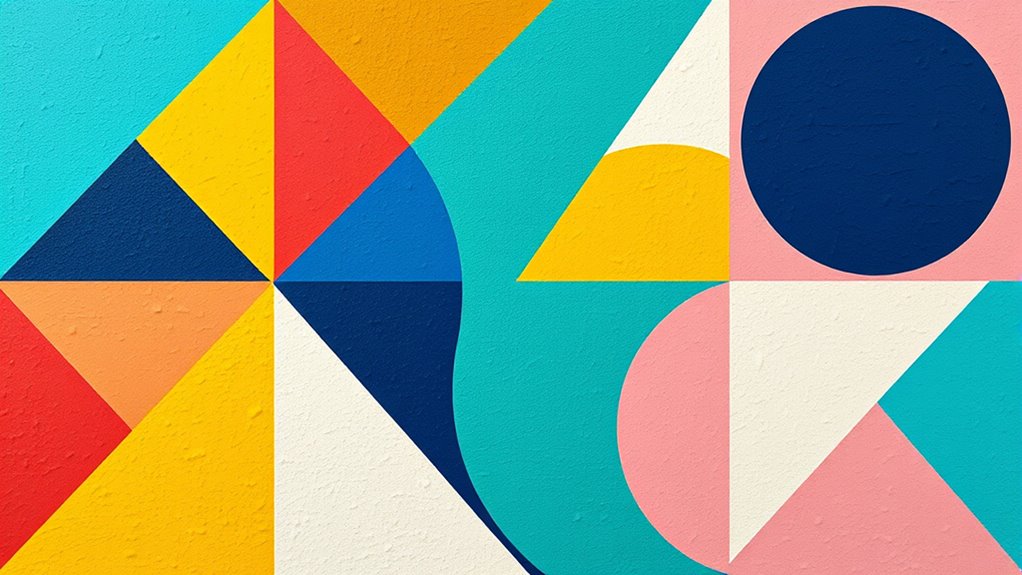
Combining multiple shapes like triangles, hexagons, and diamonds can create a lively and mesmerizing geometric wall pattern that adds depth to your space. To achieve this, plan your layout carefully by sketching or mapping out how the shapes will fit together.
Use painter’s tape or stencils for each shape to guarantee crisp edges and avoid overlaps. Vary the sizes and orientations of the shapes to introduce movement and prevent the design from feeling too uniform. This variation keeps the pattern engaging and dynamic.
Consider how the shapes interact visually, creating a sense of rhythm across the wall. With thoughtful planning and execution, your wall will stand out as a unique piece of art, full of energy and visual interest.
Choosing the Perfect Color Palette to Enhance Your Design
Selecting the right color palette can elevate your geometric wall design from eye-catching to stunning. Choose 3-4 shades that complement your room’s existing decor to create visual harmony.
Use color theory principles like analogous or monochromatic schemes to guarantee your colors work well together and enhance your geometric patterns.
Incorporate both light and dark tones to add depth and contrast, making each shape pop.
Before committing, test your colors with sample swatches or small patches to see how they interact in your space.
Stick to colors with similar undertones to maintain consistency and avoid clashing hues that could disrupt the design’s flow.
Thoughtful color selection will make your geometric wall truly stand out and feel cohesive.
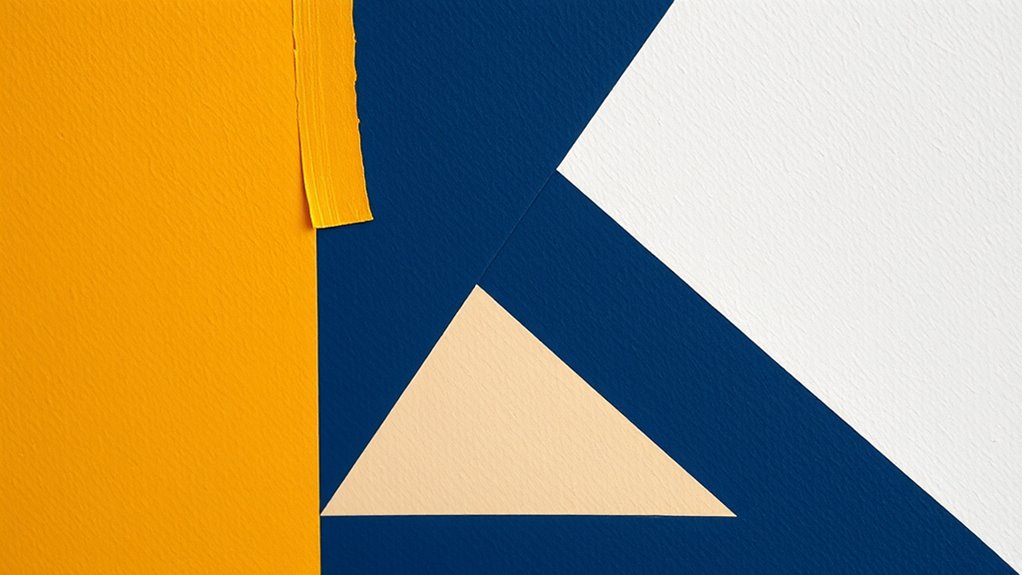
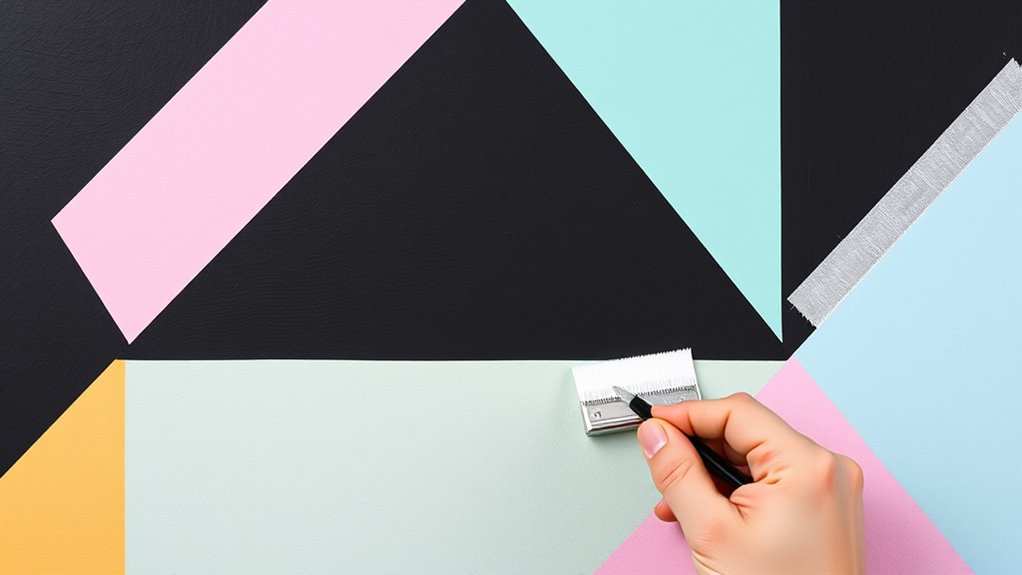
Tips for Achieving Sharp, Clean Lines and Edges
Achieving sharp, clean lines in your geometric wall painting requires careful preparation and technique. Start by choosing painter’s tape with a consistent width and press down firmly along all edges to prevent paint bleed. Seal the tape edges by painting over them with your base wall color before applying the contrasting shades; this creates a barrier that minimizes bleeding.
For precise lines, remove the tape while the paint is still slightly wet or just dried to prevent lifting dried paint. Use high-quality, fine-tipped paint pens or applicators for detailed shapes to ensure straight, crisp edges. Additionally, apply thin, even coats of paint, avoiding overloaded brushes or rollers that can cause bleeding or uneven edges, helping you achieve a professional-looking finish.
Final Steps: Removing Tape and Touching Up for a Flawless Finish
Once you’ve finished painting, it’s essential to remove the painter’s tape carefully to preserve those sharp lines. Peel the tape slowly and at a 45-degree angle while the paint is still slightly wet, which helps prevent bleeding or tearing.
If you notice paint seeping under the tape, gently lift those spots with a craft stick or a small, sharp blade for crisp edges. After removing the tape, inspect your work for any imperfections or uneven lines.
Use a fine-tipped brush dipped in wall color to touch up these areas, blending seamlessly with the surrounding paint. Wait at least 24 hours for the paint to cure fully before removing the tape completely. This ensures a clean, professional finish without smudges or smears.
Frequently Asked Questions
What Tools Are Best for Creating Clean Geometric Lines?
To create clean geometric lines, you’ll want sharp painter’s tape to define precise edges. A good quality ruler or straightedge helps guide your tape placement.
Use a small, angled brush for crisp edges and touch-ups.
A level or laser level ensures your lines stay straight across the wall.
Keep a damp cloth nearby to fix any mistakes quickly.
These tools make your lines sharp, clean, and professional-looking.
How Do I Choose Colors That Complement My Space?
When choosing colors that complement your space, consider your existing decor and the mood you want to create.
Opt for shades that enhance your furniture and accessories, balancing bold and neutral tones.
Use a color wheel to find harmonious combinations or contrasting accents for visual interest.
Test paint swatches on your wall to see how they look in different lighting.
Trust your instincts, and choose colors that make you feel comfortable and inspired.
Can I Naturally Remove Painter’S Tape Without Damaging the Paint?
You can naturally remove painter’s tape without damaging your paint by waiting until the paint is fully dry, usually 24 hours.
Gently peel back the tape at a 45-degree angle to avoid tearing or lifting paint.
If you notice any resistance, use a craft knife to lift the edge carefully.
Taking your time and pulling slowly helps make certain of clean lines and prevents damage to your fresh paint job.
How Do I Fix Mistakes or Uneven Edges After Painting?
Did you know that nearly 60% of DIY painters face issues with uneven edges? To fix mistakes, gently scrape off excess paint with a razor blade or putty knife.
Use a small, angled brush to carefully touch up uneven areas, blending them into the surrounding paint.
Always let the paint dry completely before making corrections, and take your time for a smooth, professional finish.
What Are Some Easy Geometric Patterns for Beginners?
When you’re starting out with geometric patterns, stick to simple shapes like triangles, squares, or stripes. Use painter’s tape to create clean lines, and don’t overcomplicate the design.
Start with one or two shapes, and fill in with contrasting colors for impact. Keep your lines straight by using a level, and take your time.
These easy patterns boost your confidence and make your wall stand out effortlessly.
Conclusion
Now that you’ve mastered the art of geometric wall painting, your space will look so sharp and stylish, even Picasso would be jealous. Just remember, patience is key—unless you enjoy spending hours peeling tape and touching up tiny imperfections. With your newfound skills, your walls will be so eye-catching, your guests will think you hired a pro. So go ahead, release your inner artist—your walls are begging for a bold, geometric makeover!