
To create a DIY cork board organizer for small spaces, start by gathering essentials like foam core, cork contact paper, scissors, and measuring tools. Measure your wall carefully and sketch your design before cutting and installing the cork surface. Add personal touches with labels, pockets, or decorative accents using scrapbook paper or stickers. Incorporate small storage solutions such as jars or tins to maximize space. If you keep going, you’ll discover tips to maintain and customize your organizer for long-lasting use.
Key Takeaways
- Measure wall space carefully and plan your layout to maximize organization within small areas.
- Use cork contact paper to create a customizable, space-efficient cork surface tailored to your needs.
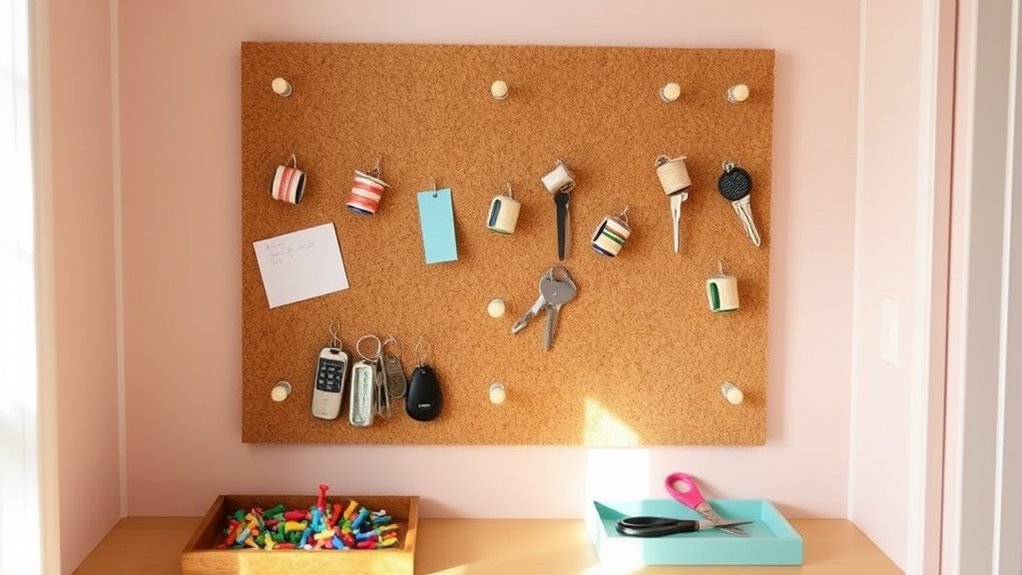
- Incorporate storage solutions like small jars, tin cans, and wall-mounted hooks to optimize limited space.
- Personalize your organizer with labels, stickers, and color-coding for easy access and visual appeal.
- Regularly clean and maintain the cork board to extend its lifespan and keep your small space organized.
Gathering Supplies and Planning Your Design
Wondering where to start with your DIY cork board organizer? Begin by gathering essential supplies: foam core, self-adhesive cork contact paper, scissors, an exact knife, and measuring tools. These will form your base and help you create a sturdy, attractive organizer. Incorporating project planning techniques can also streamline the assembly process, making it more efficient. Next, measure your available wall space carefully to determine the right size for your cork board. Once you have your measurements, cut the foam core to fit those dimensions. Planning your design layout is vital—sketch where you want the cork surface, pins, and decorative accents. This step ensures your final piece is functional and visually appealing. Don’t forget to think about additional materials like wooden push pins, tissue paper, or a frame for a polished look. Proper planning makes the assembly process smoother and more successful. Additionally, understanding nutritional advantages of green juice can inspire creative ways to incorporate healthy habits into your daily routine.
Preparing and Measuring Your Wall Space
To guarantee your DIY cork board organizer fits perfectly and looks professional, start by accurately measuring your wall space. Use a measuring tape to determine the width and height of the area where you’ll mount the board. Mark these measurements lightly with a pencil, then use a level to draw straight guide lines to ensure your cork board will hang evenly. Incorporate data-driven strategies to plan your layout more effectively and avoid mistakes. Consider the height and placement for easy access, usually at eye level or slightly below. Be mindful of wall features like outlets, switches, or molding, and plan your measurements around these obstacles for a clean, seamless installation. Double-check all measurements before proceeding to cut or attach cork contact paper, ensuring your organizer will fit precisely and look polished. Additionally, understanding spatial awareness can help optimize your layout and maximize your small space efficiently. Leveraging remote work principles, such as creating designated zones, can also enhance your organization and productivity in your workspace. To further ensure a professional finish, consider measurement accuracy to prevent misalignments and improve overall aesthetics. Incorporating visualization techniques can also assist in planning your layout and ensuring everything fits harmoniously.
Cutting and Installing the Cork Surface
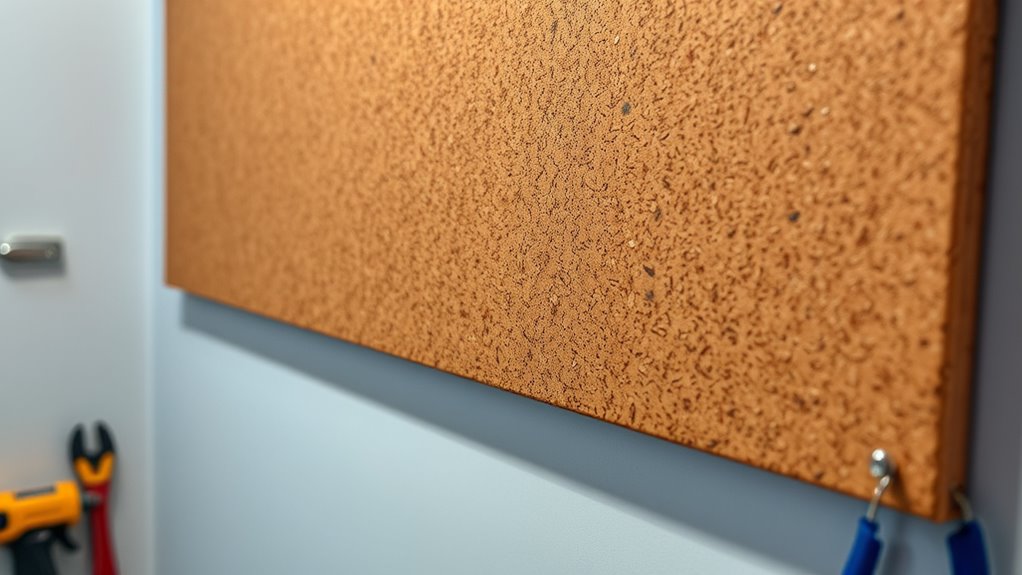
After measuring and marking your wall or foam core, it’s time to cut the cork surface to the right size. Use a sharp exact knife or rotary cutter to carefully trim the cork contact paper or sheet, ensuring clean, straight edges that match your markings. Proper cutting and careful installation are key to creating a smooth, professional-looking cork board organizer that fits perfectly in your small space. If you need to cut around outlets or switches, mark the openings precisely beforehand and cut carefully with a craft knife. When installing large cork sheets, peel back the backing gradually and press firmly to smooth out air bubbles, starting from one corner. Use a straightedge or level to keep the cork aligned during installation, preventing crooked edges. Additionally, understanding best practices for pinball machine placement can help you optimize space and gameplay in your small room. To ensure a secure and long-lasting installation, consider proper adhesive application techniques to avoid peeling or bubbles over time.
Creating Functional Add-Ons and Storage Solutions
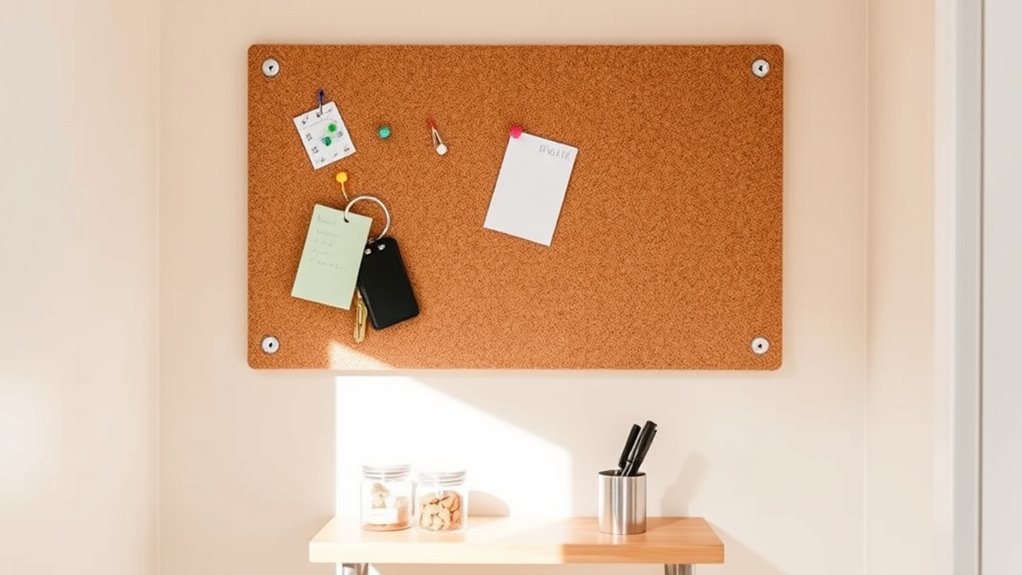
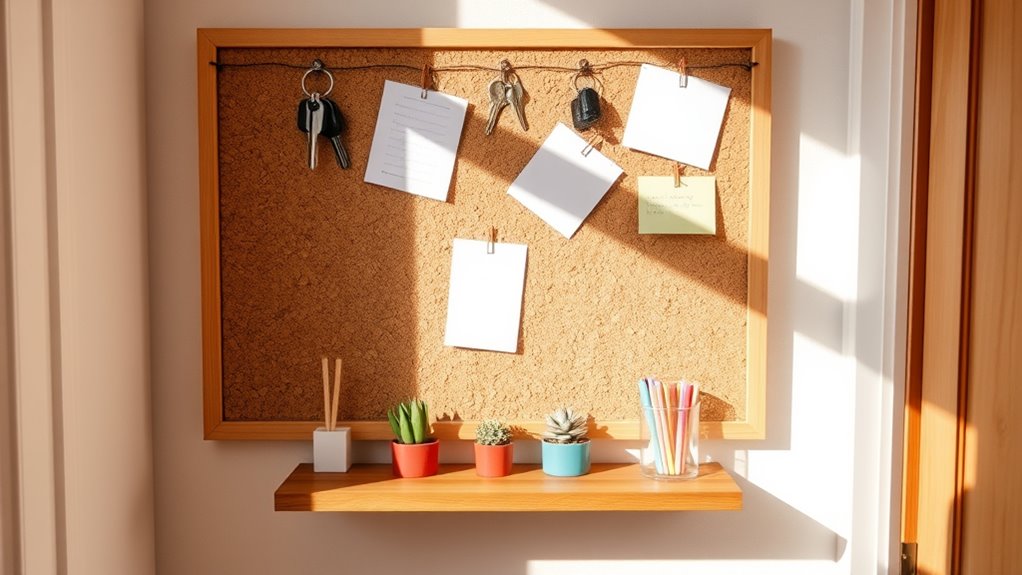
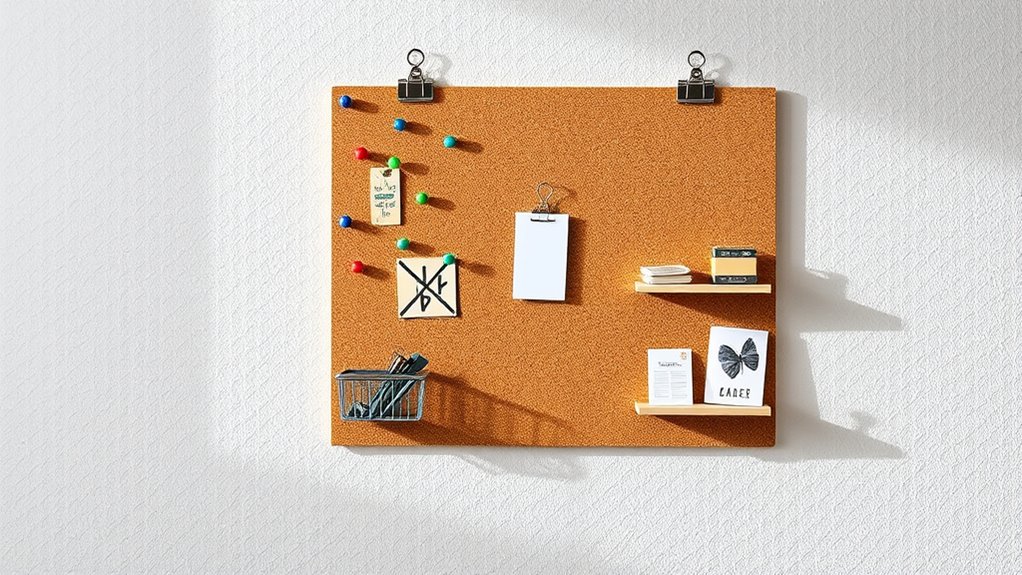
Looking to maximize your small space? A DIY cork board can be easily enhanced with creative storage add-ons. Recycled tin cans wrapped in scrapbook paper and secured with double-sided tape serve as removable, stylish storage for office supplies. Mason jars wired with metal and hung from hooks offer clear, reusable containers for pens, brushes, or small items, keeping your home organized. Incorporating vertical storage solutions can further optimize your space by making use of unused wall areas. You can also create custom dry-erase boards using photo frames and black scrapbook paper, making labels and notes easily switchable. These versatile storage options help you customize your organization system to suit your specific needs and space constraints. For flexible storage, use L-shaped brackets and metal rods with notched brackets and elastic stoppers to hold ribbons, tapes, or cords. Using multi-purpose furniture can also help maximize limited space by providing additional hidden storage. Additionally, exploring compact storage solutions designed for small spaces can significantly improve organization and accessibility. Incorporating proper ventilation can also prevent mold and keep your organized items in good condition. These DIY cork board add-ons combine functionality and eco-friendly reuse, helping you make the most of limited space while adding aesthetic appeal to your home.
Assembling and Personalizing Your Organizer
Assembling and personalizing your organizer begins with measuring and cutting cork contact paper to fit each section precisely, ensuring a neat and professional appearance. This step helps your DIY project blend seamlessly with your home decor, giving it a polished look. Incorporate sensory experiences by choosing textured or colorful contact paper to enhance tactile engagement. Use scrapbooking adhesive or double-sided tape to attach the cork securely, smoothing out bubbles for a clean finish. To add a personal touch, create custom dividers or pockets with scrapbooking paper or cardstock, attaching them with adhesive to organize different items. Decorate sections with labels or tags punched into fun shapes like hexagons, making it easy to identify contents. Consider incorporating macronutrient tracking concepts, such as color-coding sections for different categories of items, to improve functionality. Utilizing cookie categories can help you organize and categorize your supplies effectively. Additionally, selecting appropriate adhesive materials ensures your contact paper and decorations stay securely in place over time. Finish by adding small embellishments such as stickers or washi tape, tailoring your store-bought organizer to your style and making it uniquely yours.
Tips for Maintaining and Reusing Your Cork Board Setup
To keep your cork board looking its best, make sure to clean it regularly with a soft, dry cloth to remove dust and debris. You can also repurpose your cork board by repositioning pins or reapplying a fresh coat of sealant to refresh its surface. When it’s time to retire it, consider recycling the cork or reusing it for other craft projects to extend its life. Additionally, be mindful of AI vulnerabilities that can affect digital aspects of organization and security. Incorporating security awareness into your maintenance routine can help prevent potential issues with your digital organization tools. Remember that necessary cookies are essential for basic site functions if you’re managing online content or tools related to your organization.
Regular Cleaning Techniques
Maintaining your cork board regularly guarantees it stays functional and looking fresh. Start by dusting the surface with a soft cloth or brush to prevent dirt buildup that can interfere with pinning. Use a gentle vacuum with a brush attachment to remove debris from between pins and in crevices.
For stains or sticky residues, spot clean with a damp cloth and mild soap, making sure the cork dries thoroughly afterward to prevent damage. To avoid uneven wear, rotate or reposition pins periodically.
When the cork becomes excessively worn, damaged, or loses its tackiness, consider reusing or replacing that section. Consistent cleaning and maintenance will extend your cork board’s lifespan, keeping your small space organized and your setup looking neat.
Repurposing Old Cork Boards
Old cork boards can be a valuable resource for your space if you know how to repurpose them effectively. Start by inspecting your cork boards regularly for loose pins, tears, or peeling contact paper, which can affect their appearance and function.
To refresh worn surfaces, consider applying a new layer of contact paper or sealing with Mod Podge for a fresh look. You can also cut old cork boards into smaller sections to create custom pinboards or decorative accents around your space.
When repurposing, avoid overloading pins with heavy items and rotate pins regularly to prevent damage. Gently clean the cork surface with a damp cloth to remove dust without harming the material.
These simple tips will help extend your cork board’s lifespan and keep it looking new.
Frequently Asked Questions
Does Hobby Lobby Have Cork Boards?
Yes, Hobby Lobby does have cork boards. You can find a variety of options, including cork rolls, pre-cut cork sheets, and decorative panels in their home decor and craft sections.
Since availability varies by location, it’s a good idea to check online or call your local store.
Prices range from about $10 to $50, and they often offer coupons, making it easy and affordable to find the right cork board for your project.
How Do You Make a Cork Board Map?
Imagine transforming a blank canvas into a world of your own. To make a cork board map, start by cutting a cork sheet to your desired size.
Sketch or print your map outline, then carefully cut around coastlines and borders. Attach details with decoupage, seal with Mod Podge, and add textured features.
Frame or mount it on your wall, then begin pinning your adventures, memories, and dreams onto your personalized map.
How Do You Stick Things to a Cork Board?
To stick things to a cork board, you can use push pins, thumbtacks, or decorative wooden pins, which easily penetrate the cork and hold items securely.
For lightweight or temporary displays, double-sided tape or adhesive putty works well.
Small binder clips or paper clips can hang lightweight papers without damage.
Magnetic strips or magnets are ideal for metal-backed items, allowing easy repositioning.
Washi tape offers a decorative, temporary fix.
What Is the Difference Between a Cork Board and a Bulletin Board?
Imagine you’re in the 21st century, wondering about the difference between a cork board and a bulletin board. You’ll find cork boards made from natural cork, offering a soft, pin-friendly, self-healing surface perfect for pinning notes and photos repeatedly.
Bulletin boards, however, come in various materials like fabric or foam, often featuring frames and extra functions like calendars or magnets, making them more versatile for organizing and decorating your space.
Conclusion
Now, imagine your small space transformed by this DIY cork board organizer—each pin, hook, and note effortlessly blending into your daily rhythm. As you step back, see the vibrant bursts of color and thoughtful compartments that keep your life organized and inspired. With your hands, you’ve crafted a functional art piece that grows with you, a quiet anchor in your bustling days. This simple project becomes a cozy, creative haven you’ll cherish every time you glance at it.