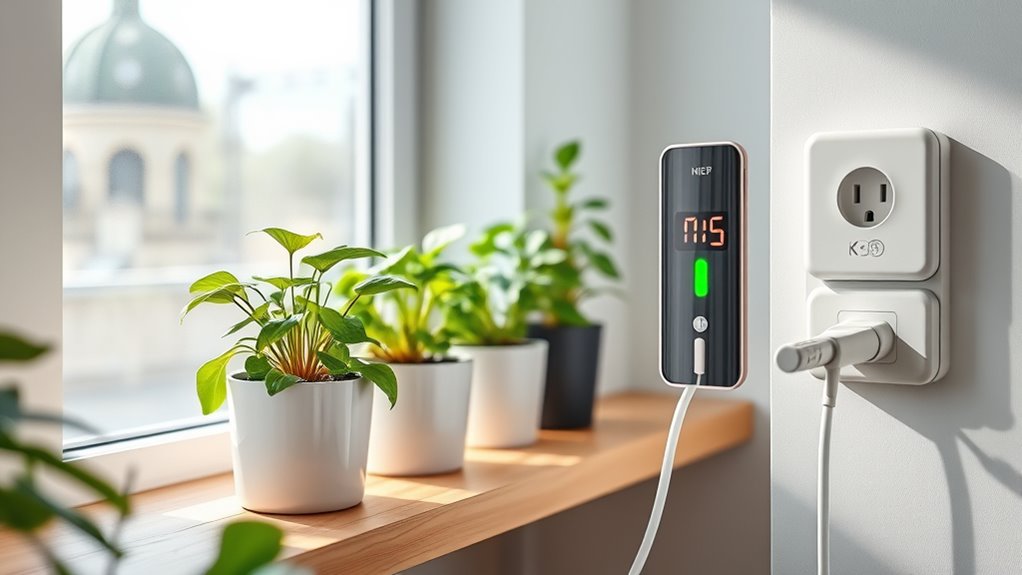

To set up automated plant watering with smart plugs, start by choosing a reliable Wi-Fi-enabled smart plug that supports your pump’s power needs and is compatible with voice assistants. Connect the pump securely to the smart plug, then schedule watering times via the app or web platform, adjusting durations to suit your plants. For enhanced control, consider integrating water level and soil moisture sensors. Keep system maintenance in mind for ideal performance as you learn more about creating an efficient irrigation setup.
Key Takeaways
- Choose a compatible smart plug supporting your pump’s power requirements and remote control features.
- Connect the water pump securely to the smart plug, ensuring proper wiring and stable Wi-Fi connection.
- Use the smart plug’s app to schedule automatic ON/OFF times based on your watering needs.
- Incorporate sensors like soil moisture or water level sensors for automated, data-driven watering adjustments.
- Regularly test and maintain system components to ensure reliable operation and prevent leaks or failures.
iGarden Robotic Pool Cleaner K Series, Cordless Pool Vacuum Robot for Inground & Above Ground Pools, Smart Navigation, Touchscreen, Self-Parking, Cleans Floor, Wall & Waterline, 150 Min
Robust Cleaning Capability: Engineered with a turbine-grade impeller, an optimized flow system, and 3 brushless motors, the cordless...
As an affiliate, we earn on qualifying purchases.
Choosing the Right Smart Plug and Pump
To guarantee your automated plant watering system works reliably, you need to select a smart plug that’s compatible with your home Wi-Fi network and supports either 2.4GHz or dual-band connectivity. This ensures you can control your water pump remotely without interruptions. Make sure the smart plug has a sufficient current and power rating for your water pump—typically at least 10A and 1200W for small pumps. If you want to monitor energy use or detect malfunctions, look for a smart plug with energy monitoring features. Compatibility with your preferred automation platform, like Alexa or Google Assistant, is essential for seamless integration. Additionally, choosing a smart plug with reliable connectivity can help prevent control issues during critical watering times. Using a smart plug with advanced safety features can further protect your system from electrical faults. Proper electrical safety is crucial when working with water and electrical devices to avoid hazards. Selecting a smart plug with robust build quality ensures durability in outdoor or humid environments, which is vital for a garden setup. Automotive Water Spot Removers can help keep your watering system’s nozzles or surrounding surfaces clean and free of residue.

(2026 Upgrade) WYBOT C1 Cordless Robotic Pool Vacuum for Inground Pools, Above Ground Pool Cleaner 4-in-1 Wall & Waterline Cleaning Up to 1,614sq.ft, 150mins Smart Navigation, App Support
Powerful Suction with Dual Brushes: Built with an upgraded independent water pump motor delivering up to 3,038 GPH...
As an affiliate, we earn on qualifying purchases.
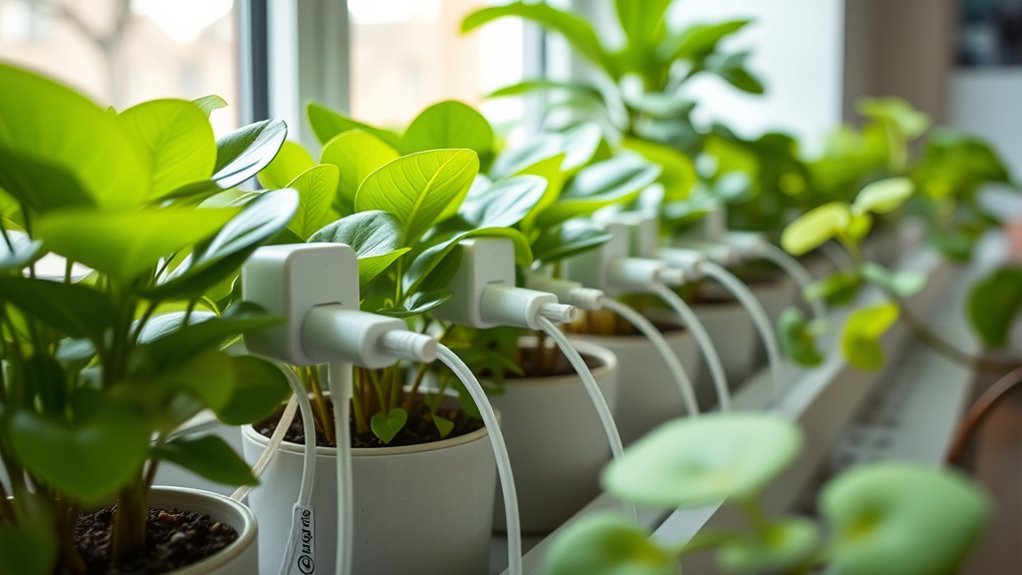
Setting Up the Watering System Components
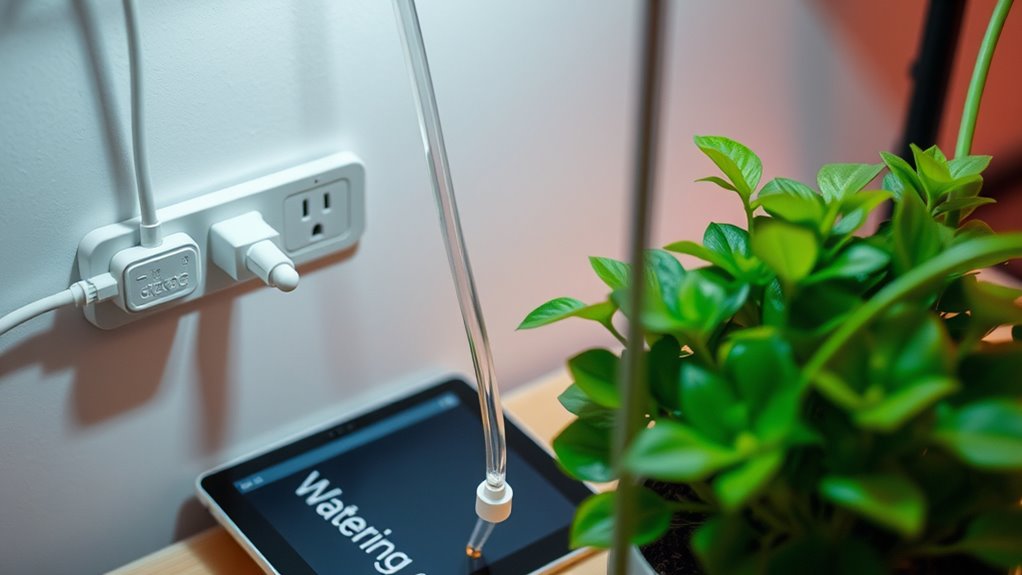
Setting up the watering system components involves connecting your water source, pump, and tubing in a way that guarantees efficient water delivery. Start by linking your water source, like a faucet or reservoir, to the pump using appropriate fittings. Attach tubing to the pump and run it to your garden or plant beds. Install emitters or drippers at each plant to ensure targeted irrigation. Make sure all connections are secure to prevent leaks. Use the right tubing and fittings for your setup to optimize water flow. Incorporate sensors or timers if needed to automate watering cycles and monitor water levels, ensuring your plants receive consistent hydration. Consider using high-quality fittings to prevent leaks and enhance the durability of your system. Properly setting up these components guarantees an effective irrigation system that keeps your plants healthy and conserves water. Additionally, selecting appropriate tubing materials can help prevent clogs and ensure long-term system performance. Paying attention to vibrational energy in your setup can also improve system efficiency by reducing disruptions caused by vibrations or misalignments. Regular inspection and maintenance of the system can further enhance its performance and reliability.

iGarden Robotic Pool Cleaner K Series, Cordless Pool Vacuum Robot for Inground & Above Ground Pools, Smart Navigation, Touchscreen, Self-Parking, Cleans Floor, Wall & Waterline, 220 Min
Robust Cleaning Capability: Engineered with a turbine-grade impeller, an optimized flow system, and 3 brushless motors, the cordless...
As an affiliate, we earn on qualifying purchases.
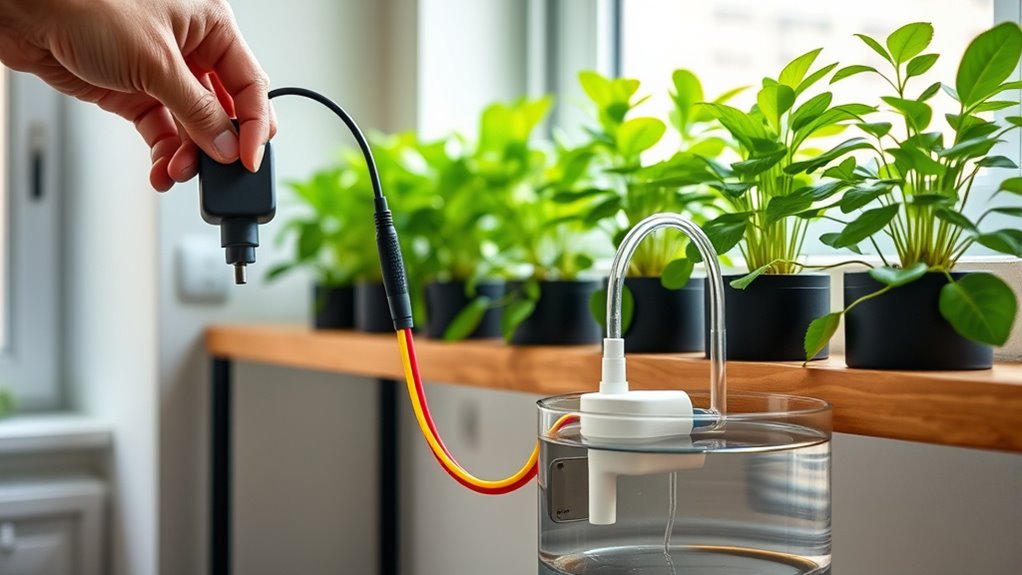
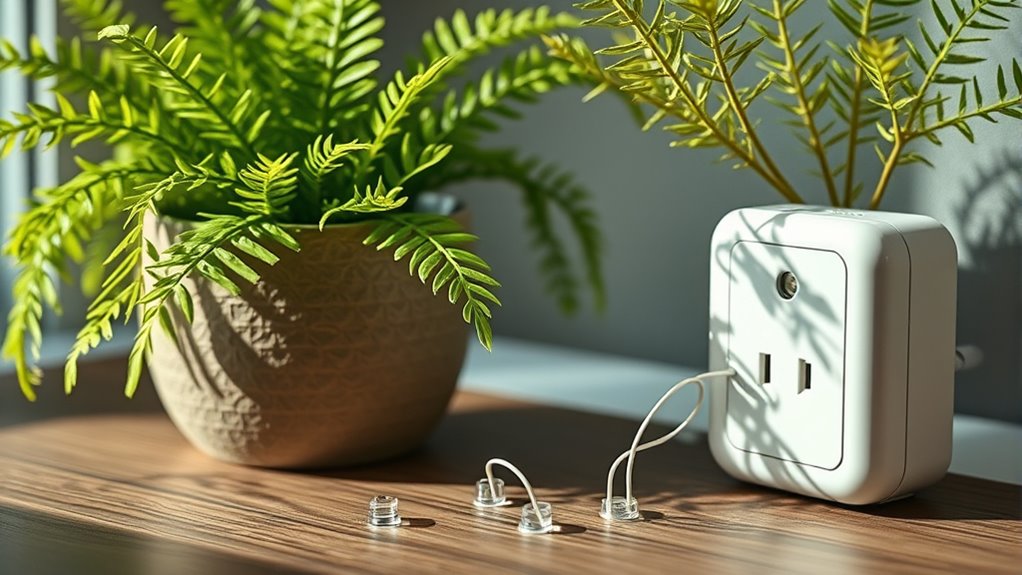
Connecting the Pump to the Smart Plug
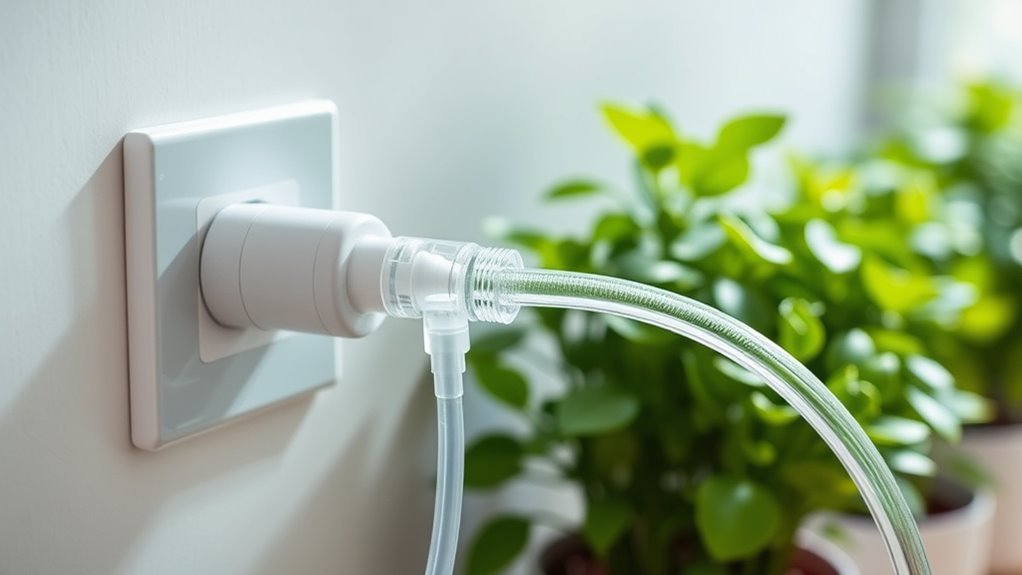
First, make sure your smart plug is compatible with your control app and can handle your pump’s power load. Additionally, selecting a smart plug with security features can help protect your system from unauthorized access. Ensuring your device supports energy management can also help optimize power usage and prevent potential overloads.
Then, securely connect the pump’s power cord to the smart plug, ensuring it’s fully inserted.
Finally, keep the setup within Wi-Fi range and test the connection to confirm everything works smoothly. To ensure reliable operation, consider power management features to prevent overloads and extend the lifespan of your equipment.
Compatible Smart Plug Models
Choosing the right smart plug is essential for reliably connecting your garden pump to your home automation system. Look for models like TP-Link Kasa, Meross, or Gosund that support Wi-Fi and app control. Make sure the smart plug can handle at least 10A or more, matching your pump’s power needs. Compatibility with voice assistants like Alexa or Google Assistant makes controlling your pump effortless. Verify that the smart plug offers scheduling and remote control features via its app to automate watering routines. Additionally, consider the power capacity of the smart plug to ensure it can safely operate your pump without risk of overload. Also, choose a smart plug with a stable Wi-Fi connection and regular firmware updates for reliable operation. Supports essential features to ensure seamless operation and integration, and selecting a model with robust build quality can enhance long-term durability. Ensuring the smart plug has security features can protect your system from cyber threats and unauthorized access. Additionally, selecting a smart plug with reliable connectivity can minimize interruptions in your watering schedule and improve overall system performance.
Proper Wiring Procedures
To guarantee your garden pump operates safely and reliably when connected to a smart plug, proper wiring procedures are essential. First, ensure the smart plug is rated for the pump’s voltage and current to prevent overloads. Connect the pump’s power cord directly to the smart plug’s outlet, making sure it’s properly seated and secure. Verify that the wiring terminals match your power source, following the manufacturer’s instructions for proper wiring. Avoid using extension cords or adapters to maintain safety. Before scheduling automation, test the setup by manually turning on the smart plug via its app or control device to confirm the pump runs correctly. Additionally, monitoring for side effects such as cognitive impairment is important when using medications like gabapentin around your setup. Ensuring the smart plug is compatible with electrical standards in your area helps prevent potential hazards. Being aware of local support hours can also be helpful if troubleshooting is needed. Always double-check the electrical connections to ensure everything is properly grounded and secure.
Power Management Tips
Connecting your pump to a smart plug requires confirming the device can handle the pump’s power requirements. Proper power management is essential to prevent overloads and ensure reliable operation. Incorporating electrical safety measures such as using a dedicated circuit can further protect your setup. Choose a smart plug that supports scheduled automation and remote control via a mobile app or voice assistant. Confirm the smart plug can handle at least 10A, matching your pump’s power rating. Connect the pump’s power cord directly to the smart plug, avoiding extension cords unless rated for outdoor use and appropriate current. Set the scheduling feature to turn the pump on and off at desired intervals, like every 8 hours for a set duration. Test the setup thoroughly, and consider using a power meter to verify startup currents, ensuring safe and efficient power management with your smart plug. Additionally, selecting high-quality smart plugs can prevent potential safety hazards and improve overall reliability.
(2026 Upgrade) Aiper Scuba S1 Robotic Pool Cleaner, Wall & Waterline Cleaning, Dual Filtration, Extended 240-Min Battery Life, Smarter Navigation with High-Precision Sensors, App Support, OTA Upgrade
Extended Runtime & Flexible Cleaning Modes: Switch to Eco Mode via the app for up to 240 minutes...
As an affiliate, we earn on qualifying purchases.
Programming the Schedule for Automated Watering
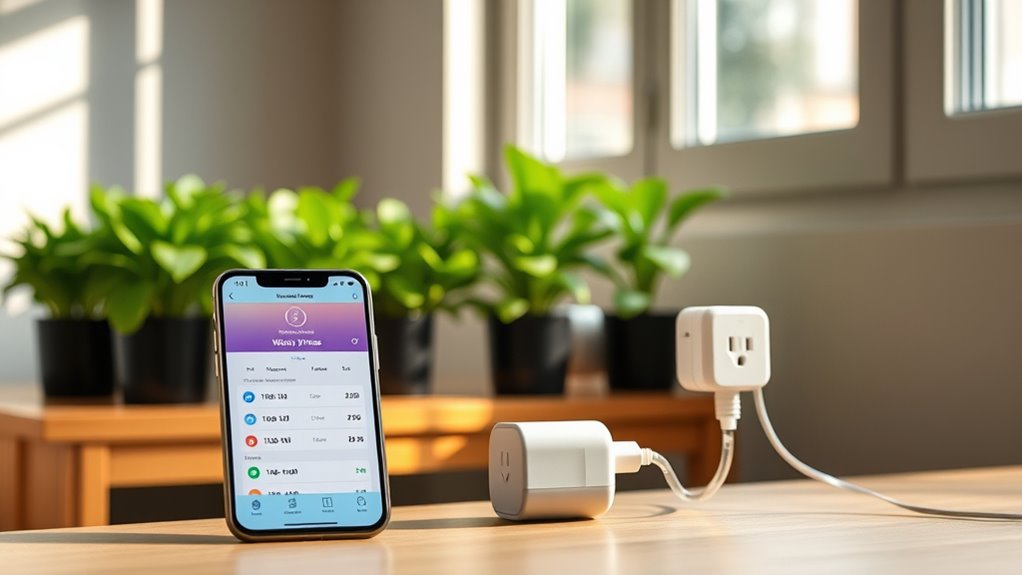
You can set your watering times easily using your smart plug’s app or web interface, choosing specific start times for each day or week.
Customizing how long the pump runs helps you meet your plants’ needs without overwatering.
Automating with scripts allows you to create multiple watering sessions and fine-tune your schedule for ideal plant health.
Setting Watering Times
Setting watering times with your smart plug involves using its companion app or physical timer to specify exact on and off periods that match your plant’s watering needs. This step is vital for establishing an effective watering schedule and guaranteeing reliable automated watering.
You can program recurring schedules to water daily, weekly, or at custom intervals, depending on your plant’s requirements. Make certain your smart plug supports precise timing features, such as duration control, to automate watering sessions accurately.
Label and document your scheduled times to avoid overlaps or conflicts with household routines. Before fully relying on automation, test your program by manually activating the smart plug.
This verification step helps ensure your watering schedule functions correctly and keeps your plants healthy and well-watered.
Customizing Duration Settings
To guarantee your plants receive the right amount of water, customizing the duration settings on your smart plug is essential. You can program your watering system’s irrigation time by adjusting the on and off times to match your plants’ needs.
Use the app or control interface to set specific durations, from a few seconds for delicate plants to several hours for larger ones.
Many smart plugs let you create recurring schedules, so your garden gets watered at fixed intervals like daily or weekly.
Some models allow you to specify the watering duration directly within the app, while others require separate on and off times.
Remember to account for your local time zone and daylight saving changes to maintain consistent irrigation time.
Automating With Scripts
Automating your watering schedule with scripts offers precise control over your garden’s irrigation. By scripting, you can finely tune when and how long your watering system runs.
You might:
- Use Python or Bash to create scheduled tasks that send commands to your smart plug’s API or control interface
- Implement cron jobs or task schedulers for consistent watering intervals like daily or hourly
- Add delay functions within scripts to manage watering durations accurately
- Use URL-based commands or MQTT messages to remotely activate or deactivate your smart plug connected to your automated watering system
Test and refine your scripts by monitoring logs, adjusting schedules, and fine-tuning durations for ideal results. This method ensures your watering system operates efficiently and reliably.
Integrating Sensors for Water Level and Soil Moisture
How can integrating sensors for water level and soil moisture enhance your automated watering system? Water level sensors, like float switches or capacitive sensors, monitor your reservoir’s water status and trigger pumps or alerts when levels are low or full.
Soil moisture sensors, using resistive or capacitive technology, measure the soil’s water content, helping you prevent over- or underwatering. When you connect these sensors to smart plugs or relays, you gain remote control and real-time monitoring via smartphone apps or automation platforms.
Proper calibration of these sensors guarantees accurate readings, so your system responds precisely. Combining water level sensors with soil moisture sensors provides a thorough view of your plant’s needs, optimizing water use and promoting healthier growth while conserving resources.
Tips for Maintaining and Enhancing the System
Regular maintenance is essential to keep your automated watering system running smoothly and reliably. To maintain ideal water flow, regularly inspect and clean filters, tubing, and emitters to prevent clogs that can disrupt watering schedules.
Regularly inspect and clean filters, tubing, and emitters to ensure reliable watering performance.
Use a reliable Wi-Fi connection and keep your smart plug firmware updated to ensure consistent operation and quick troubleshooting. Schedule periodic system checks to verify that timers, moisture sensors, and water levels are functioning correctly, adjusting settings as your plants grow.
Additionally, implement backup power solutions or manual controls to keep watering routines on track during outages or system failures. Finally, document your system configurations and maintenance routines, making future troubleshooting and upgrades easier.
- Check water flow regularly
- Clean components to prevent clogs
- Keep firmware up to date
- Verify sensor and water level accuracy
- Prepare backup power options
Frequently Asked Questions
How to Make a Circuit to Automatically Water Your Plants?
To make a circuit that automatically waters your plants, you start by connecting a microcontroller or smart relay to a water pump or solenoid valve.
You then attach soil moisture sensors or use timers to trigger the relay.
Wiring everything correctly is key, and you should include safety measures.
Program the system to turn on the pump when needed, and add manual controls for emergencies or malfunctions.
How to Set up a Self-Watering System for Plants?
Imagine your plants begging for water while you ignore their cries—until you set up a self-watering system. You’ll connect a smart plug to your water pump, install moisture sensors, and schedule watering times.
With a drip system delivering water straight to roots, you won’t have to worry about over- or underwatering. Just monitor, adjust, and enjoy lush, healthy plants without lifting a finger.
How Can I Automatically Water My Plants While on Vacation?
To automatically water your plants while on vacation, you can use a smart plug connected to a timer or scheduling app. Set the smart plug to turn on your water pump or irrigation valve at specific times.
Make sure to specify watering durations so your plants get enough water without overwatering.
Test the setup before you leave, and consider integrating it with your home automation system for added convenience.
How to Make a Smart Watering System?
Imagine your garden as a symphony, each plant waiting for the perfect moment to drink. To make a smart watering system, connect a Wi-Fi-enabled smart plug to your pump, then schedule or manually control watering via an app.
Incorporate soil moisture sensors or timers for automation, and guarantee all devices are water-resistant. For extra convenience, sync your system with voice assistants like Alexa or Google, and enjoy lush, thriving plants effortlessly.
Conclusion
Think of your garden as a gentle orchestra, each plant a essential instrument. With your smart watering system, you’re the conductor, guiding each element to harmony. As you set schedules and monitor moisture, you nurture a thriving symphony of growth. Your care transforms a simple garden into a living masterpiece—an enduring proof of your dedication. Embrace this technology as your baton, and watch your plants flourish under your attentive, loving guidance.