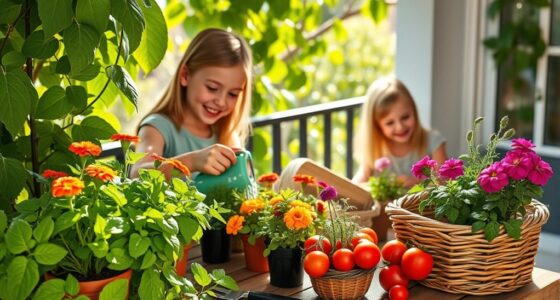
To start seeds indoors for your balcony garden, gather supplies like sterile seed-starting mix, containers with drainage, grow lights, and a spray bottle for watering. Plant seeds according to their depth and spacing guidelines, and keep soil moist but not soggy. Provide 12-16 hours of light daily and maintain warm temperatures. Harden off seedlings gradually before transplanting outdoors. Continue exploring each step to guarantee healthy, thriving plants on your balcony.
Key Takeaways
- Choose well-draining, sterile seed-starting mix and containers with drainage holes for optimal seed germination.
- Sow seeds at appropriate depths and spacing, covering larger seeds lightly and placing tiny seeds on the surface.
- Provide consistent moisture using spray bottles or bottom watering, and maintain soil at 70-80°F for successful germination.
- Use grow lights 2-3 inches above seedlings for 12-16 hours daily to promote healthy growth indoors.
- Gradually harden off seedlings outdoors before transplanting to ensure they adapt to balcony conditions.
Top picks for "start seed indoor"
Open Amazon search results for this keyword.
As an affiliate, we earn on qualifying purchases.
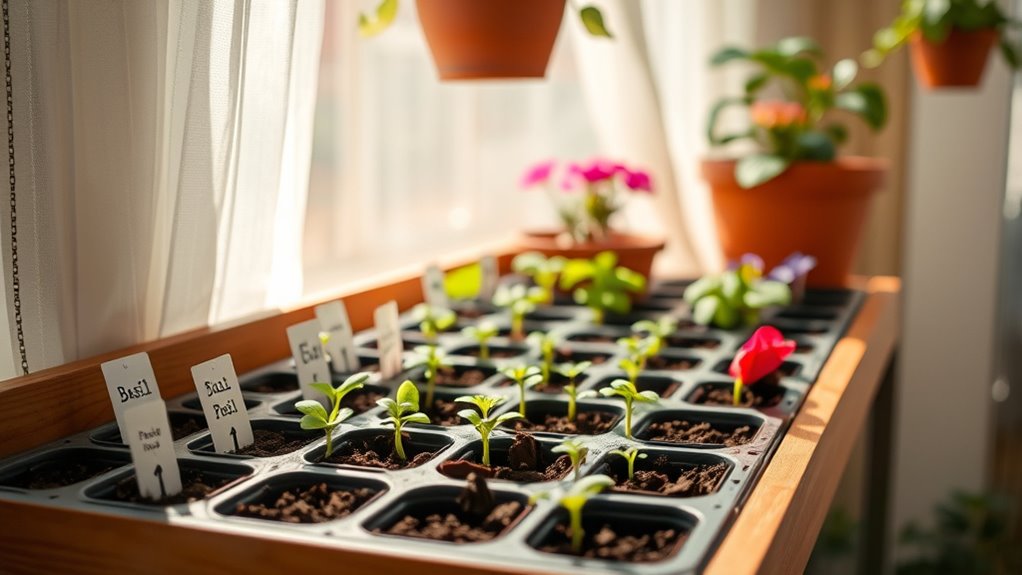
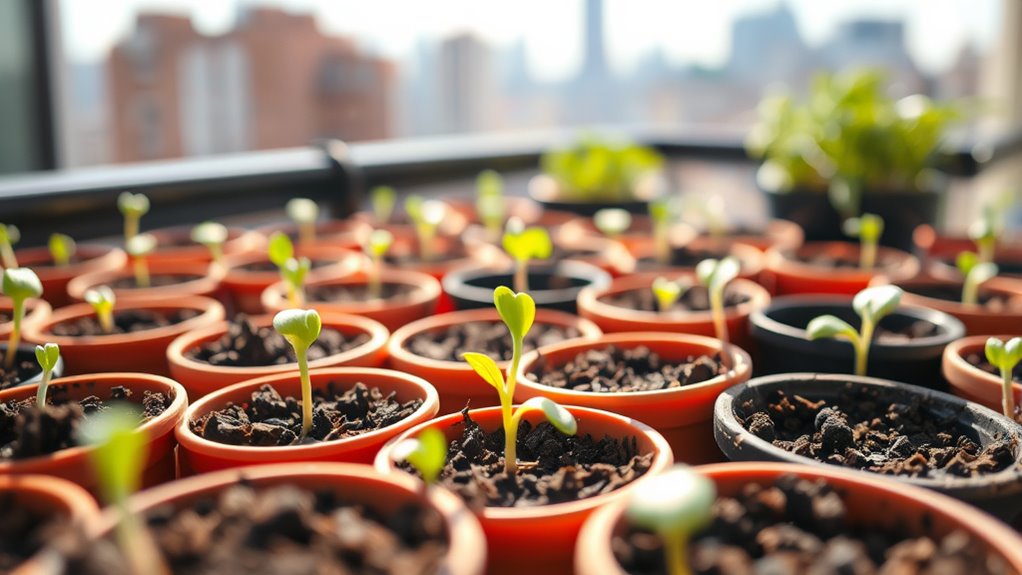
Essential Supplies for Seed Starting
To successfully start seeds indoors, you’ll need a few essential supplies. First, choose sterile seed-starting mix, which is well-draining and often contains peat, perlite, or vermiculite to promote healthy root growth. Incorporating AI-powered gardening tools can help optimize your seed starting process by providing tailored advice based on your specific conditions.
Use plastic trays or small pots with drainage holes to prevent overwatering and guarantee proper drainage. Fill your containers with pre-moistened soil, keeping seedlings moist but not waterlogged. To support germination, incorporate clear plastic covers or domes to maintain humidity, removing them once your seedlings emerge.
Proper lighting is vital; position grow lights, such as T5 LED or fluorescent bulbs, 2-3 inches above the seedlings. These lights should provide full-spectrum light for at least 12-16 hours daily to encourage strong, healthy growth. Additionally, using high-quality grow lights can significantly improve seedling development by providing the optimal spectrum and intensity needed for vigorous growth.
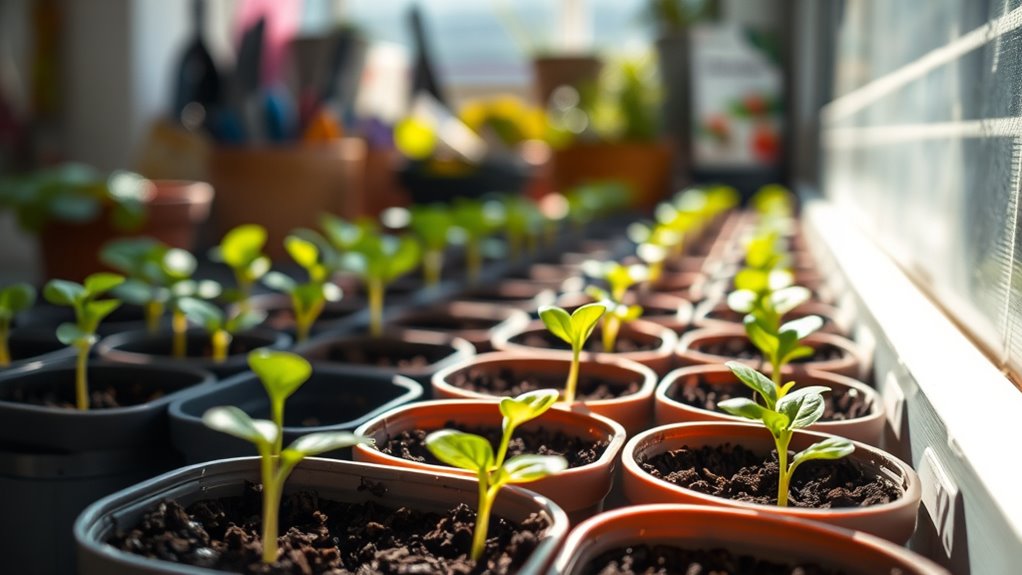
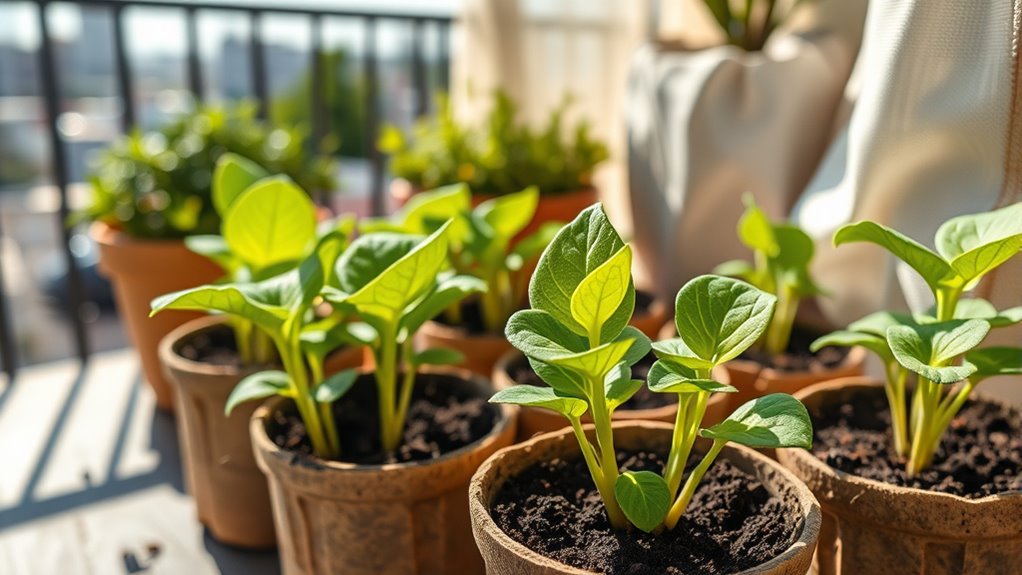
Selecting the Right Containers and Soil
Choosing the right containers and soil is essential for healthy seedling development. Select containers with drainage holes, like recycled yogurt containers or seed trays with individual cells, to prevent waterlogging and root rot. Using sterile, well-draining seed-starting mix—preferably a blend of peat moss, vermiculite, and perlite—to encourage strong root growth. Fill your containers with pre-moistened soil, ensuring consistent moisture without over-saturating, which supports even seed germination. Proper container and soil choices help seedlings develop strong roots and prepare for transplanting outside when the weather allows. Additionally, considering seedling health and proper watering practices can further improve your success rate. Incorporating water efficiency techniques, such as drip watering or self-watering containers, can also help maintain optimal moisture levels and promote vigorous growth.
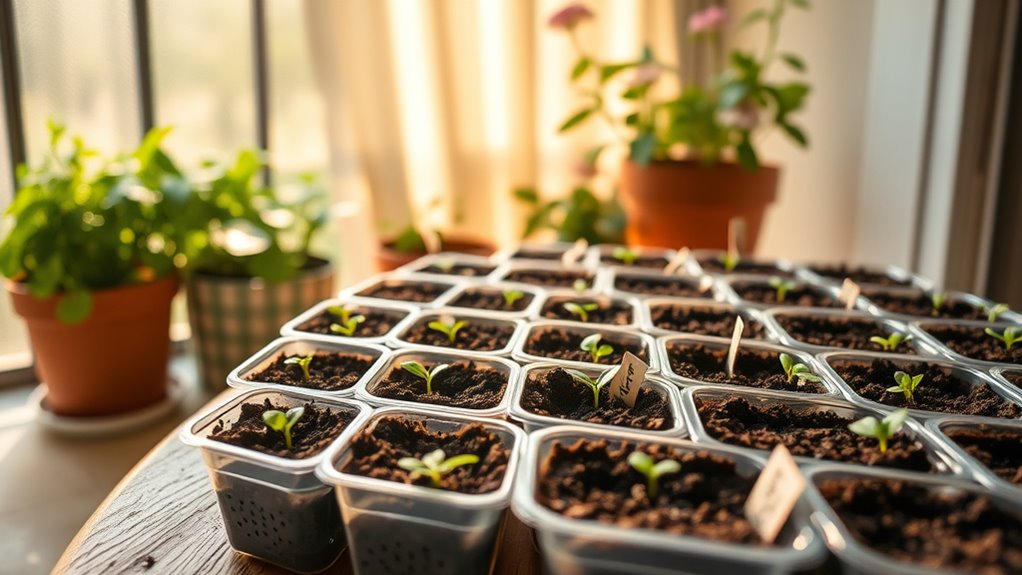
Sowing Seeds: Techniques and Tips
When sowing seeds, pay attention to the recommended depth and spacing to guarantee healthy growth. Prepare your soil with sterilized, moist seed-starting mix, and keep lighting and temperature conditions ideal for germination. Properly covering containers and maintaining consistent moisture will give your seedlings the best start. Additionally, understanding the efficient general ledger coding can help you manage your gardening expenses more effectively, ensuring your budget stays on track. Being mindful of trust issues and establishing clear boundaries can also support a more secure gardening routine by reducing stress and uncertainty.
Seed Depth and Spacing
Getting your seeds planted at the right depth and spacing is essential for healthy growth. For seed depth, follow the guideline of planting seeds at a depth roughly equal to their thickness.
Tiny seeds like basil and mustard should be sown on the soil surface and pressed lightly, as they need light to germinate.
Larger seeds, such as beans or squash, should be covered with soil or vermiculite to a depth about twice their diameter.
Proper seed spacing prevents overcrowding, giving each seedling enough room to develop strong roots.
Use a pencil or stick to create shallow furrows for sowing seeds evenly at the correct depth.
Ensuring the correct seed depth and spacing also contributes to the overall garden organization and helps maintain a tidy, accessible planting area. When planting, consider the seedling growth rate to plan for future plant size and spacing needs.
Adequate seed depth and spacing promote successful germination and ease seedling care as they grow.
Additionally, maintaining consistent seed depth and spacing can improve germination rates and reduce the need for thinning seedlings later on.
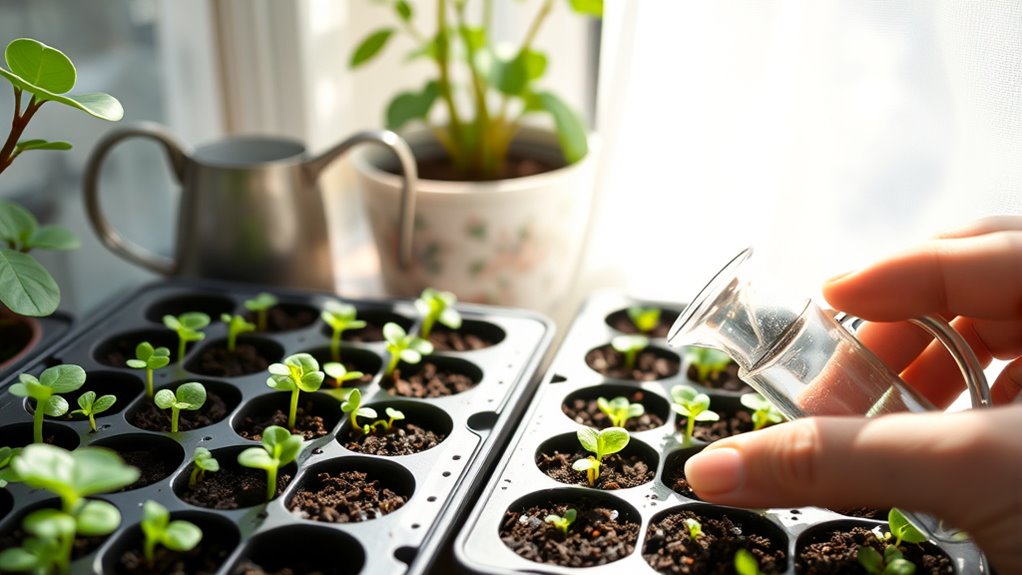
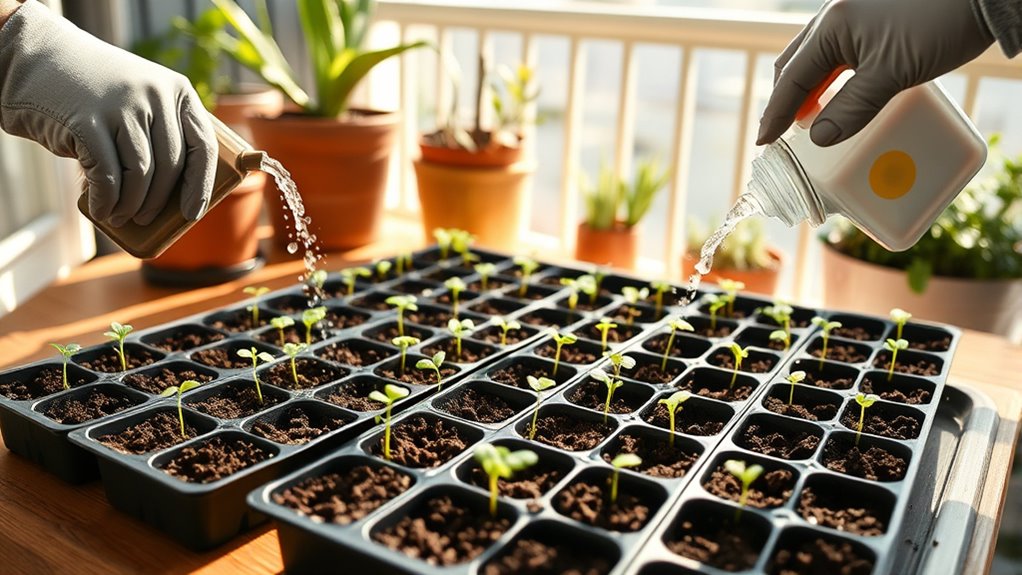
Soil Preparation and Moisture
To guarantee successful seed germination, it’s essential to prepare your soil properly and maintain the right moisture level. Use a sterile, well-draining seed-starting mix that’s uniformly moist but not soaked. Pre-moisten the soil by mixing it with water until it feels like damp sand. Fill your trays or pots with this pre-moistened mix, pressing gently to eliminate air pockets and ensure good contact with seeds. Keep the soil consistently damp using a spray bottle or bottom watering, allowing the top inch to dry slightly between waterings. To visualize, here’s a quick overview:
| Step | Action | Key Point |
|---|---|---|
| Prepare soil | Mix seed-starting mix with water | Achieve damp sand consistency |
| Fill containers | Add soil, press gently | Remove air pockets |
| Sow and cover | Place seeds, lightly cover if needed | Maintain moisture |
| Water regularly | Keep soil moist, not soaked | Use spray or bottom watering |
Additionally, using the correct microphones can help ensure clear communication and record-keeping during planting and maintenance.
Light and Temperature Needs
Ensuring ideal light and temperature conditions is essential for successful seed germination and healthy seedling growth. Most seeds germinate best between 70-80°F, which you can maintain with heat mats if your indoor temperature drops. During germination, keep light exposure minimal since seeds usually sprout in darkness or shade. Once seedlings emerge, they need 12-16 hours of bright, direct light daily to prevent stretching and promote sturdy growth. Position your grow lights 2-3 inches above the seedlings to ensure they receive enough light intensity. Consistent warmth and proper lighting encourage uniform germination and help seedlings develop strong, healthy roots and stems. Monitoring both temperature and light levels is key to a successful indoor balcony garden. Maintaining optimal environmental conditions is crucial for healthy seedling development. Additionally, using appropriate lighting equipment can significantly improve seedling vigor and growth rates. Adequate light intensity is vital for preventing etiolation and ensuring robust plant growth.
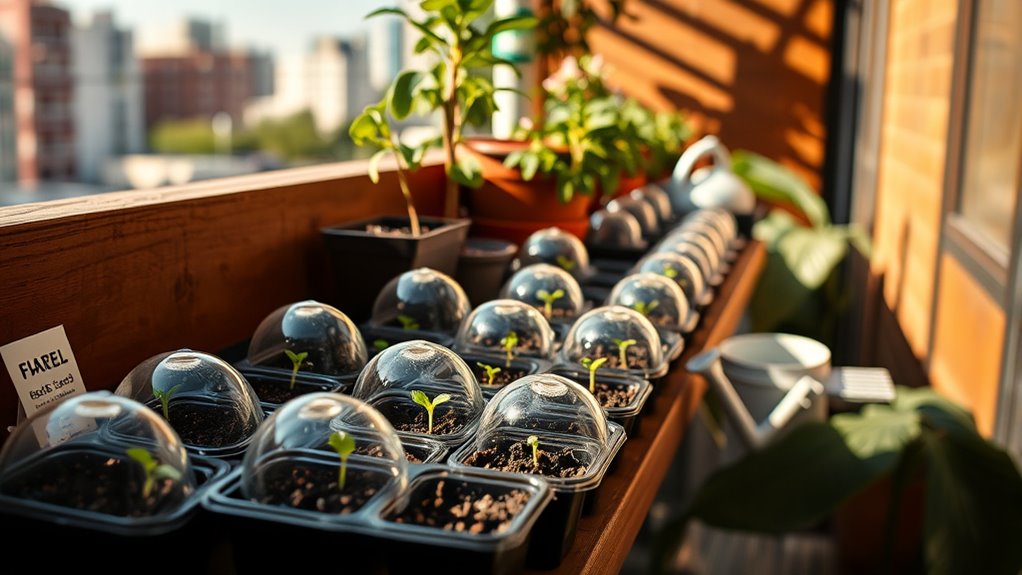
Creating the Ideal Germination Environment
Creating the ideal germination environment is essential for successful seed starting on your balcony. Start with a sterile, pre-moistened seed starting mix, which guarantees moisture retention and reduces mold risk. Use seed trays with drainage holes to keep roots healthy. To boost germination rates, place your trays on a heat mat set to maintain a consistent temperature between 70-80°F, which encourages sprouting. Cover the trays with clear plastic or humidity domes to trap warmth and moisture, creating a mini greenhouse effect. Position your trays in a draft-free, warm spot like an attic, bathroom, or laundry room. Maintaining stable temperature and moisture levels helps ensure uniform germination and gives your seeds the best start for healthy seedlings. Ensuring proper seedling environment conditions can significantly improve germination success rates. Additionally, monitoring humidity levels and adjusting watering practices as needed can further optimize growth conditions. Incorporating proper temperature control techniques is also crucial for consistent germination.
Caring for Seedlings: Light, Water, and Thinning
Providing your seedlings with the right amount of light, water, and space is essential for healthy growth.
Seedlings need about 12-16 hours of bright, consistent light daily, ideally from grow lights placed 2 inches above them. Ensuring proper lighting conditions can significantly influence seedling vigor and prevent etiolation.
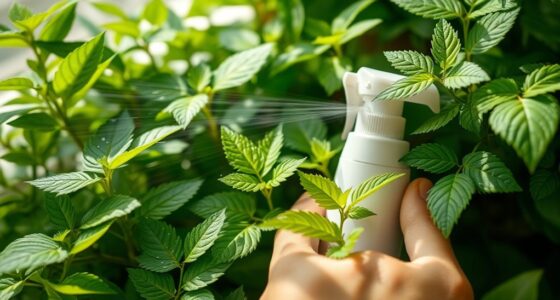
Keep the soil moist but not soggy by misting or bottom watering, letting the top dry slightly between waterings. Proper watering prevents damping-off disease and promotes strong roots.
When your seedlings develop their first true leaves, thin them out by removing all but the strongest plants. This prevents overcrowding and ensures each seedling has enough space to grow.
Thinning encourages healthy, vigorous growth, while adequate light and water keep your seedlings bright, lively, and ready for the next stage of development. Additionally, maintaining proper soil pH level is also important for optimal nutrient uptake and overall seedling health.
Monitoring environmental factors such as humidity and temperature can help create an ideal germination environment for your seedlings to thrive. Creating a stable environment supports consistent growth and reduces stress on young plants.
Additionally, maintaining proper air circulation can reduce the risk of fungal diseases and promote stronger, healthier seedlings. Proper airflow can also help regulate humidity levels around your seedlings. Good ventilation is especially important in enclosed spaces to prevent excess moisture buildup and fungal issues.
Fertilizing and Maintaining Healthy Growth

Choosing the right fertilizer and sticking to a proper feeding schedule are key to healthy seedlings. You should start fertilizing once your seedlings develop their first true leaves, using a diluted water-soluble fertilizer every two weeks. Be careful not to overdo it, and adjust your feeding as plants grow stronger or are ready to transplant outdoors. Additionally, ensuring your plants receive adequate nutrition supports overall growth and resilience. Incorporating crochet styles for locs techniques can also help protect your plants’ roots from damage during handling.
Optimal Fertilizer Choices
To guarantee your seedlings grow strong and healthy, it’s important to select the right fertilizer and apply it properly. A balanced fertilizer, like 10-10-10, provides essential seedling nutrition for ideal plant growth. Here are key tips:
- Use a dilute, water-soluble fertilizer such as fish emulsion every two weeks once your seedlings develop their first true leaves.
- Incorporate slow-release organic fertilizers into your soil at planting to ensure a steady nutrient supply.
- Monitor your seedlings’ color and growth; yellowing leaves may indicate nutrient deficiencies, signaling a need for targeted fertilization.
Avoid over-fertilizing, which can cause weak, leggy seedlings and increase disease risk. Proper fertilization keeps your balcony garden thriving.
Proper Feeding Schedule
Establishing a proper feeding schedule is essential for maintaining healthy growth in your balcony garden seedlings. Begin fertilizing once your seedlings develop their first true leaves, usually about two weeks after germination.
Use a diluted, water-soluble fertilizer or fish emulsion at half strength or weaker. Apply a liquid feed every two weeks to support steady, healthy growth.
Avoid over-fertilizing, as excess nutrients can lead to leggy seedlings or salt buildup, so watch for signs of deficiency or excess.
Once your seedlings have established a strong root system and show vigorous growth, you can shift to a slightly stronger fertilizer solution.
Remember to hold off on fertilizing immediately after transplanting; wait until the seedlings recover and resume active growth outdoors.
Hardening Off Seedlings for Outdoor Transition
Hardening off your seedlings is a crucial step to guarantee they adapt smoothly to outdoor conditions. This process helps your seedlings build resilience and reduces transplant shock during the outdoor shift.
To do this effectively:
- Start by placing your seedlings in a shaded, protected spot for 2-3 hours, avoiding direct sunlight to prevent stress.
- Gradually increase exposure by an hour each day over 7-10 days, monitoring for signs of stress like wilting or leaf scorch.
- Keep seedlings well-watered, ensuring the soil stays moist but not waterlogged, and shield them from wind and harsh weather using shade cloth or shelter.
Following these steps helps your seedlings acclimate safely, ensuring a successful transition to your balcony garden.
Proper Transplanting Methods to Your Balcony
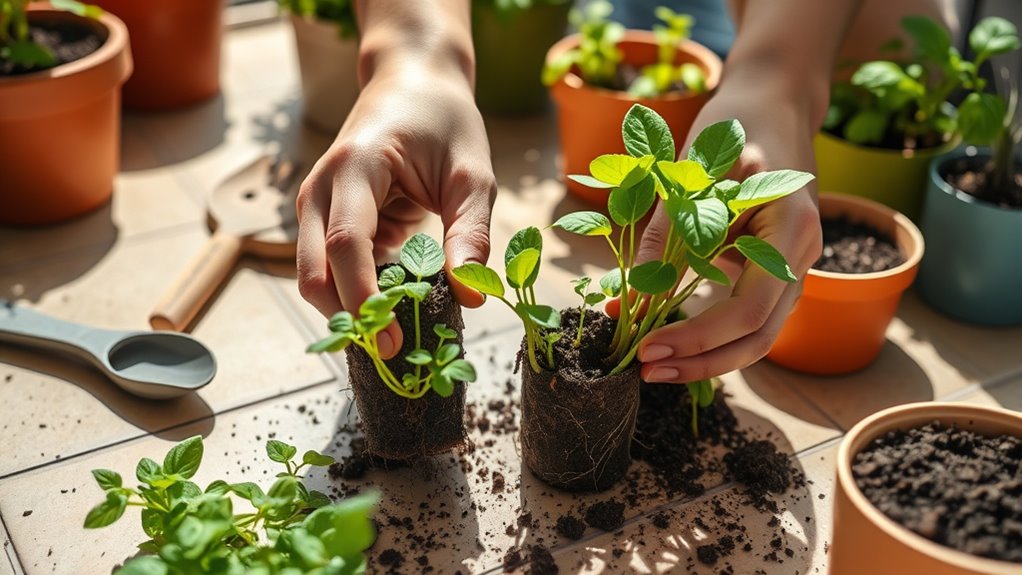
Once your seedlings have developed their first true leaves and feel sturdy enough, it’s time to carefully transplant them into larger containers or your balcony garden.
Gently remove seedlings from their trays or pots by holding the base of the stem or cotyledons to avoid damaging the root ball. Plant them at the same soil level as in their original containers, making sure the root ball is fully covered but the stem isn’t buried too deep.
After transplanting, water thoroughly to settle the soil and reduce transplant shock.
To help seedlings adapt to outdoor conditions, gradually harden them off over a week by exposing them to outdoor elements for a few hours each day.
Proper watering and careful placement are essential for healthy growth.
Timing and Best Practices for Successful Planting
Timing your seed starting is vital for a successful balcony garden. Proper planting timing ensures your seeds develop fully before transplanting outdoors. Here are key practices:
- Start seeds indoors 4 to 8 weeks before the last expected spring frost date, like May 5 in Denver, to give plants enough time to mature.
- Follow seed packet instructions for specific days to harvest, such as beginning tomato seeds in early April for a July harvest.
- Harden off seedlings gradually over a week by exposing them to outdoor conditions in increments, helping them adjust before transplanting.
Using the correct planting depth and maintaining ideal germination temperature (70-80°F) are also essential. These practices help you optimize seed starting and ensure healthy, transplant-ready plants.
Frequently Asked Questions
When Should I Start Indoor Seeds for Outdoor Garden?
You should start your indoor seeds 4 to 8 weeks before your last expected spring frost date.
For example, if your last frost is around May 5, plan to start seeds in early April.
Heat-loving plants like tomatoes and peppers need even earlier starting times, about 6-8 weeks prior.
Always check your seed packets for specific instructions to guarantee your plants are ready to transplant outside at the right time.
Can You Put Seeds Straight Into Soil Indoors?
Ever wondered if you can put seeds straight into soil indoors? Yes, you can, but it depends on the seed type. Larger, tougher seeds like beans and peas often do well sown directly into soil.
While delicate ones like carrots or herbs usually need starting in trays first. Are you prepared to maintain the right temperature, moisture, and light? Proper care guarantees successful germination and healthy seedlings.
Is It Worth Starting Seeds Indoors?
You wonder if it’s worth starting seeds indoors. Absolutely, it’s beneficial because it extends your growing season, giving your plants a head start. You’ll have access to a wider variety of plants and save money in the long run.
Plus, you control environmental factors, ensuring healthy seedlings. For long-maturing plants, indoor starting guarantees they develop fully within your outdoor season, making it a smart choice for a successful balcony garden.
What Vegetables Should Not Be Started Indoors?
You shouldn’t start root vegetables like carrots, radishes, and beets indoors because they don’t transplant well and develop better when directly sown into the garden.
Large plants like pumpkins and watermelons also prefer direct sowing since they need more space and often don’t transplant successfully.
Additionally, crops such as potatoes and sweet potatoes are better initiated outdoors from seed potatoes or slips. These methods help ensure healthy growth and better yields.
Conclusion
So, after all that fuss, you might think growing your balcony garden is easy. Turns out, it’s just about patience, the right supplies, and a little luck—because even with perfect timing, those tiny seedlings can surprise you by refusing to grow. But hey, if they thrive, you’ll feel like a gardening genius. If not, at least you’ll have a great story about the great balcony plant adventure—irony included. Happy gardening!