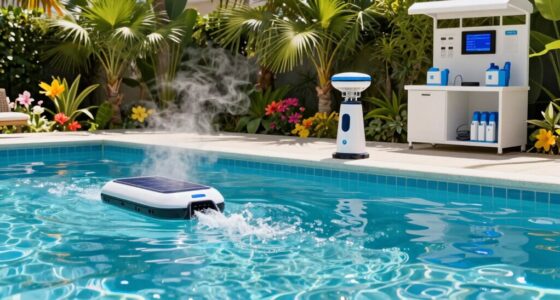

To guarantee accurate sensor readings, you should position sensors away from heat sources, direct sunlight, and moisture, avoiding local disturbances like vents or machinery. Mount them securely in stable spots that reflect typical environmental conditions and consider shielding from electromagnetic interference. Use consistent placement protocols and recalibrate periodically to maintain precision. If you want to learn more about optimizing your setup and avoiding common pitfalls, keep reading for detailed tips and best practices.
Key Takeaways
- Position sensors away from heat sources, direct sunlight, and electromagnetic interference to minimize false readings.
- Mount sensors securely in stable, representative locations that reflect typical environmental conditions.
- Avoid placing sensors near water, moisture, or airflow sources that could distort measurements.
- Use shielding or enclosures to protect sensors from external influences and environmental fluctuations.
- Perform calibration before installation and periodically recalibrate to ensure ongoing measurement accuracy.

Proper sensor placement is crucial for guaranteeing accurate and reliable data collection. When setting up sensors, you need to pay close attention to how and where you position them. The placement directly impacts the quality of the data you gather, especially when considering calibration techniques and environmental influences. If sensors aren’t placed correctly, even the most advanced calibration methods won’t be enough to compensate for inaccurate measurements. Consequently, understanding how environmental factors affect sensor readings is essential for ideal placement.
Proper sensor placement ensures accurate data by minimizing environmental influences and supporting effective calibration.
First, consider environmental influences that could skew your data. Temperature fluctuations, humidity, airflow, and electromagnetic interference are common factors that can distort sensor readings. For instance, placing a temperature sensor near a heat source or in direct sunlight can lead to falsely elevated readings. Similarly, humidity sensors placed too close to water sources or in high moisture areas may register misleading values. Electromagnetic interference from nearby electronic devices can also cause noise and inaccuracies, especially for sensors measuring electrical signals. To mitigate these effects, position sensors away from potential interference sources and in locations that represent typical environmental conditions. Shielding or enclosures can further reduce exposure to external influences that might compromise data integrity. Additionally, understanding the sensor’s environment helps optimize placement for more accurate readings.
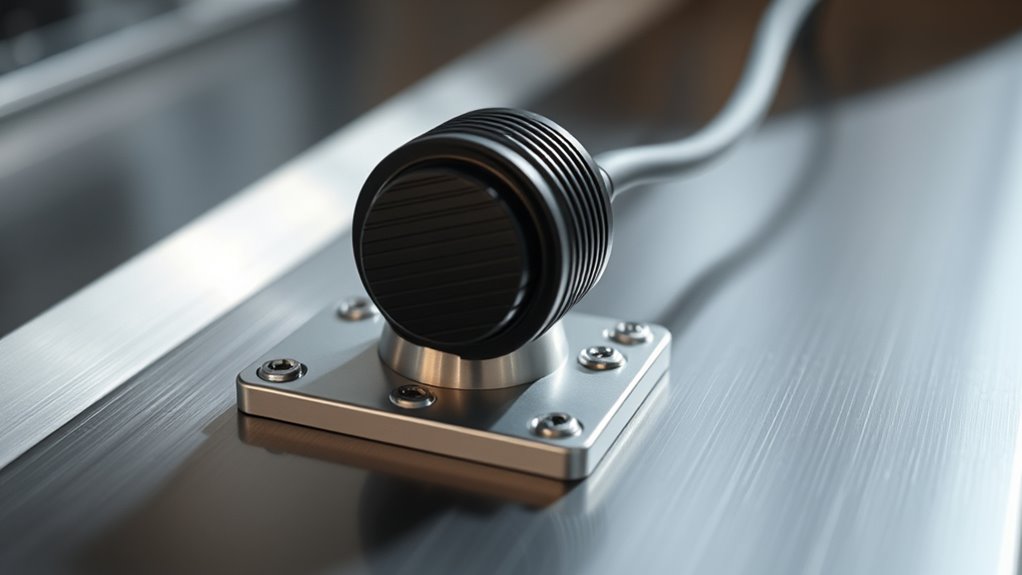
Calibration techniques are equally important during sensor placement. Proper calibration ensures that the sensor’s output aligns with actual environmental conditions. Before deploying sensors in the field, perform calibration using known standards or reference measurements. This process helps identify and correct any baseline errors, making subsequent data more trustworthy. It’s also important to periodically recalibrate, especially if sensors are exposed to harsh conditions or if their readings drift over time. When installing sensors, ensure they are securely mounted to prevent movement, which can alter calibration and introduce errors. The placement should allow for easy access during recalibration and maintenance.
Additionally, consider the sensor’s proximity to the target measurement area. You want the sensor to be close enough to capture relevant data but not so close that it is affected by local disturbances. For example, a humidity sensor placed directly next to an air vent might record artificially low or high humidity levels. Instead, position it at a representative point where environmental conditions are stable and typical of the broader area. Using consistent placement protocols helps maintain data reliability across multiple sensors and locations.
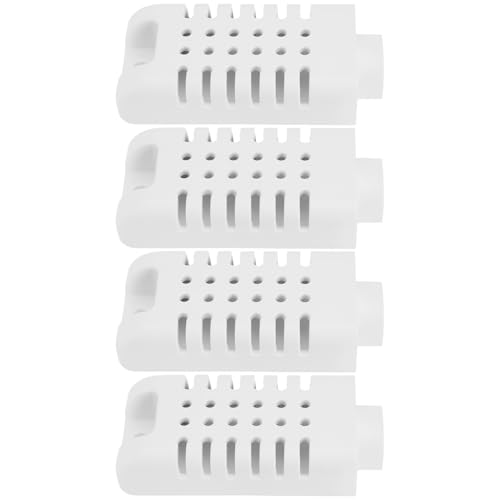
Briny River 4pcs Temperature Humidity Sensor Enclosure Housing Shell 60x27mm Compatible with AM2301 White
- Compatible with AM2301: Ensures proper positioning and protection
- Durable ABS Material: Long-term indoor and outdoor use
- Ventilated Design: Allows fast airflow for accurate readings
As an affiliate, we earn on qualifying purchases.
As an affiliate, we earn on qualifying purchases.
Frequently Asked Questions
How Does Sensor Placement Affect Data Accuracy Over Time?
Sensor placement directly impacts data accuracy over time because poor placement can lead to sensor drift, reducing reliability. If your sensors aren’t stable in their position, their readings may fluctuate or become inconsistent. To maintain accuracy, guarantee proper placement stability, avoiding interference or movement. Regular checks and calibration help, but ideal placement is key to minimizing drift and ensuring long-term precise data collection.
What Environmental Factors Influence Optimal Sensor Positioning?
Environmental factors like temperature fluctuations, humidity, and electromagnetic interference influence your ideal sensor positioning. You should consider placement ergonomics to guarantee ease of access and minimal disturbance, which helps maintain sensor calibration. By positioning sensors away from direct sunlight, moisture, and sources of interference, you enhance data accuracy. Adjust placement regularly based on environmental changes to sustain reliable readings over time.
Can Multiple Sensors Improve Measurement Reliability?
Yes, using multiple sensors can improve measurement reliability. Sensor design plays a key role, making certain each sensor accurately captures specific environmental factors. Data fusion combines outputs from all sensors, providing an extensive and more dependable reading. This approach reduces errors from individual sensor limitations and enhances overall accuracy, especially in complex environments. By strategically deploying multiple sensors, you guarantee more consistent, precise measurements, leading to better decision-making and system performance.
How Often Should Sensor Positions Be Recalibrated?
You should recalibrate your sensors regularly, ideally based on their calibration frequency recommendations, to prevent sensor drift from affecting accuracy. Check the calibration schedule provided by the manufacturer, but typically, recalibration every few months suffices, especially in stable environments. If you notice inconsistent readings, recalibrate sooner. Consistent recalibration ensures your sensors maintain precise measurements and reliable data over time.
What Are Common Mistakes to Avoid in Sensor Placement?
You should avoid common mistakes like improper placement that ignores manufacturer placement guidelines, which can skew sensor calibration. Don’t place sensors in areas with excessive movement, heat, or moisture, as these factors interfere with accuracy. Confirm sensors are securely attached and positioned at the right depth, following the placement guidelines. Regularly check and recalibrate to maintain accuracy, and avoid twisting or bending sensors, which can damage them and compromise readings.
Conclusion
So, you’ve carefully chosen the perfect spots for your sensors, thinking you’ve got it all figured out. But here’s the irony: even with the best placement, tiny environmental quirks can throw off your readings. It’s almost poetic—no matter how precise you get, nature loves to keep you guessing. So, stay vigilant, keep adjusting, and remember, sometimes the most accurate data comes from embracing a little unpredictability. After all, perfection is just a moving target.