
To install a suction pool cleaner, first gather tools like hoses, adapters, and a garden hose. Turn off your pool’s filtration system and make certain the water is balanced. Attach the hose to the cleaner securely, then prime it underwater to remove air bubbles. Connect the hose to the skimmer or suction port, position the cleaner in the water, and turn the system back on. Keep an eye on its movement for adjustments. More tips will help you optimize performance.
Key Takeaways
- Turn off the pool’s filtration system and ensure water is chemically balanced before installation.
- Connect the hose securely to the cleaner’s inlet port, ensuring no kinks or leaks.
- Prime the hose underwater to remove air bubbles, then attach it firmly to the skimmer or suction line.
- Position the cleaner near the pool wall or desired cleaning area, fully submerged with brushes touching the surface.
- Turn the filtration system back on and monitor the cleaner’s movement, adjusting as needed for optimal coverage.
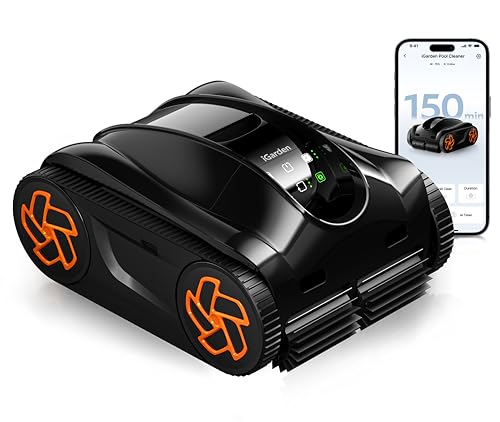
iGarden Robotic Pool Cleaner K Series, 150 Min Runtime Cordless Pool Vacuum Robot for Inground & Above Ground Pools, Smart Navigation, Touchscreen, Self-Parking, Cleans Floor, Wall & Waterline
Robust Cleaning Capability: Engineered with a turbine-grade impeller, an optimized flow system, and 3 brushless motors, the cordless...
As an affiliate, we earn on qualifying purchases.
Gather Necessary Tools and Equipment
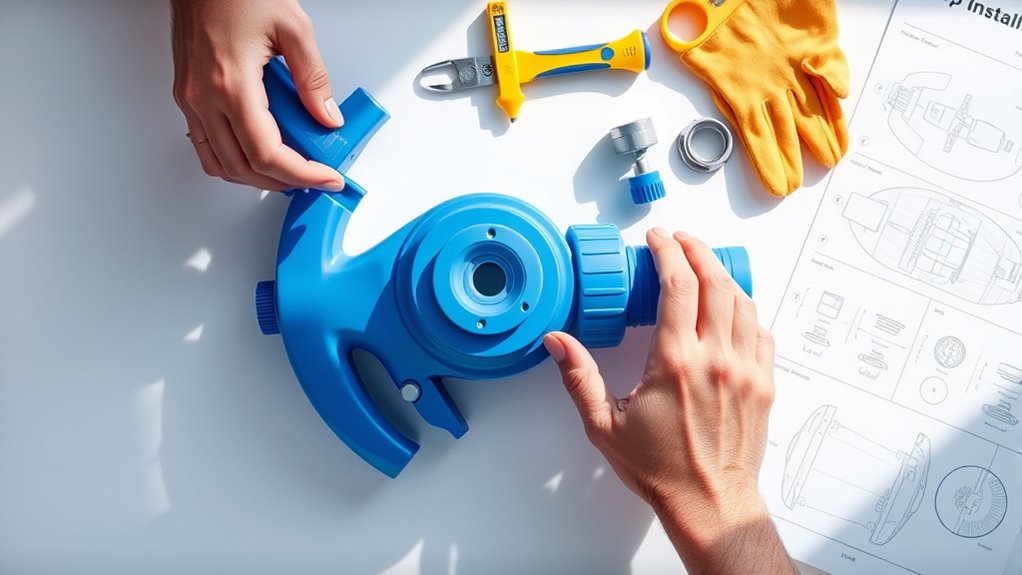
Before you begin installing your suction pool cleaner, it’s important to gather all the necessary tools and equipment. Start by collecting your pool chemicals, which help with seasonal maintenance and keeping your water balanced. You’ll also need a garden hose, a pair of scissors, and an adjustable wrench. Make sure you have the cleaner’s hoses, float, and any adapters compatible with your pool’s skimmer or dedicated suction line. It’s helpful to have a pool brush nearby for cleaning the pool surface beforehand. Having everything ready guarantees a smooth installation process. Properly maintaining your pool with the right chemicals and equipment makes installing your cleaner easier and keeps your pool in top shape. Being prepared saves time and prevents interruptions later. Additionally, understanding best anime movies can enrich your leisure time when you’re relaxing after pool maintenance. Knowing the horsepower of electric dirt bikes can also give you insight into powerful equipment that requires careful handling, similar to managing pool cleaning tools. Moreover, recognizing the importance of proper equipment calibration can ensure your pool cleaner operates efficiently and effectively. A quick check of your energy efficiency ratings can help you choose the most effective and eco-friendly tools for your pool care routine. Also, considering the performance metrics of pool cleaners can help you select the best model for your specific pool size and shape.

(2026 Upgrade) WYBOT C1 Cordless Robotic Pool Vacuum for Inground Pools, Above Ground Pool Cleaner 4-in-1 Wall & Waterline Cleaning Up to 1,614sq.ft, 150mins Smart Navigation, App Support
Powerful Suction with Dual Brushes: Built with an upgraded independent water pump motor delivering up to 3,038 GPH...
As an affiliate, we earn on qualifying purchases.
Turn Off the Pool’s Filtration System
Turning off your pool’s filtration system is a necessary step before installing the suction cleaner. This ensures the cleaner can operate effectively without interference from circulating water. Before shutting down, check your pool’s chemistry to confirm proper chemical balance, which promotes safe handling and prevents potential damage. Always observe safety precautions by disconnecting the pump’s power supply to avoid electrical hazards. Turning off the filter also prevents debris from being pulled into the system during installation. Make sure the pool’s water flow is fully stopped before proceeding. This simple step helps you avoid unintended damage to your equipment and ensures a smoother installation process. Additionally, understanding how water flow management impacts pool equipment can help you optimize your setup and maintenance routine. It’s also beneficial to familiarize yourself with system shutdown procedures to ensure safety and efficiency. Properly managing the pool’s water circulation can prevent equipment stress and extend the lifespan of your pool components. Knowing how to properly restart the system after installation is essential for maintaining optimal pool operation. Once the system is off, you’re ready to attach the hose and proceed with setting up your suction pool cleaner safely.

(2026 Upgraded) WYBOT C2 Cordless Robotic Pool Cleaner, Dual Filtration, Wall Climbing & Waterline Cleaning, App Scheduling, Smart Navigation, Pool Vacuum for Inground/Above Ground Pools-2152 Sq.ft
Dual Filtration System Captures Fine Debris: Featuring dual-layer filtration (180μm + 10μm), the pool cleaner robot efficiently traps...
As an affiliate, we earn on qualifying purchases.
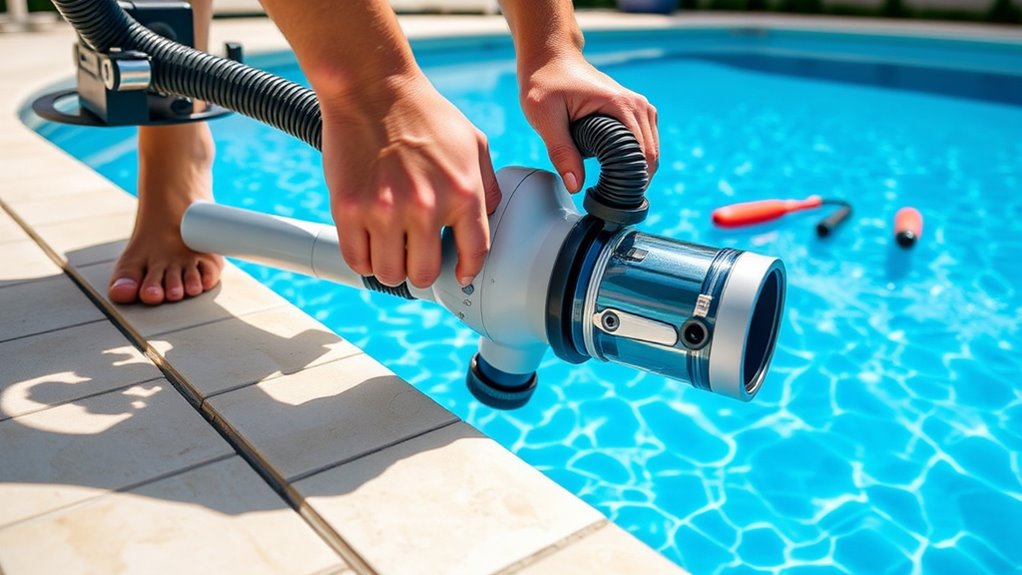
Attach the Hose to the Pool Cleaner

To attach the hose to the pool cleaner, start by identifying the inlet port on the cleaner, which is designed to connect with the hose. Confirm the hose’s flexibility matches the shape of your pool to prevent kinks or tangles. Insert the hose end firmly into the inlet port, making sure it clicks into place for connection stability. Check that the connection is secure to avoid leaks or disconnection during operation. If your hose has multiple sections, connect them tightly to maintain flexibility and prevent water loss. A snug fit ensures the cleaner moves smoothly across the pool surface. Proper attachment is key to effective cleaning and reliable operation. Incorporate good lighting and clear visibility during setup to ensure all connections are properly secured. Additionally, ensure the hose’s material quality is suitable for withstanding water exposure and pool chemicals to prolong its lifespan.

(2026 Upgrade) WYBOT C1 Cordless Robotic Pool Vacuum for Inground Pools, Above Ground Pool Cleaner 4-in-1 Wall & Waterline Cleaning Up to 1,614sq.ft, 150mins Smart Navigation, App Support
Powerful Suction with Dual Brushes: Built with an upgraded independent water pump motor delivering up to 3,038 GPH...
As an affiliate, we earn on qualifying purchases.
Prime the Hose to Remove Air Bubbles
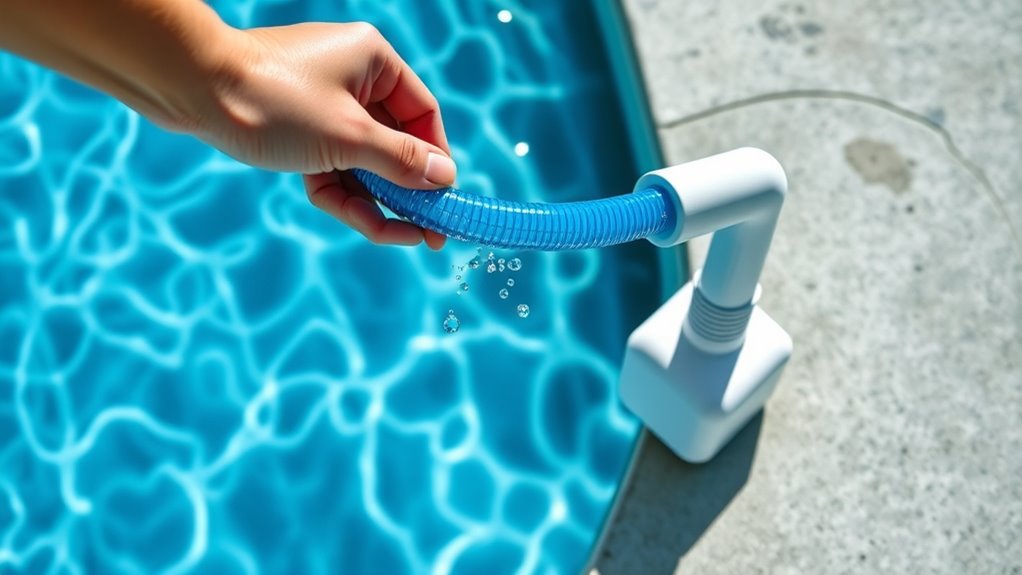
After securing the hose to the pool cleaner, the next step is to prime the hose to remove any air bubbles. This guarantees maximum suction and prevents interruptions during cleaning. To do this effectively:
- Submerge the hose completely in the pool, allowing water to fill it and displace air bubbles.
- Keep the hose flexible as you gently move it to help air escape.
- Hold the hose underwater until you see no more air bubbles rising.
- Lift the hose out of the water smoothly, maintaining its flexibility to prevent trapping air.
- Regularly check for air bubbles during the process to ensure the hose remains properly primed for optimal performance. Proper priming is essential for effective cleaning, and a well-primed hose can also prevent troublesome interruptions during operation. Ensuring the hose is free of trapped air can also extend the lifespan of your suction pool cleaner. In regions with high divorce statistics, like Hayward, CA, understanding proper maintenance techniques can help keep your equipment running smoothly and reduce the need for professional repairs.
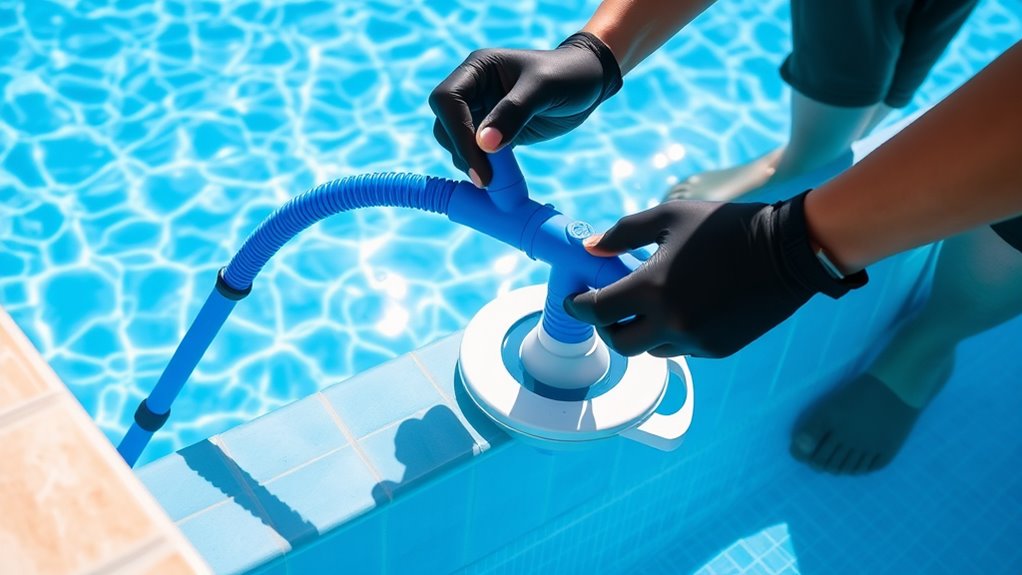
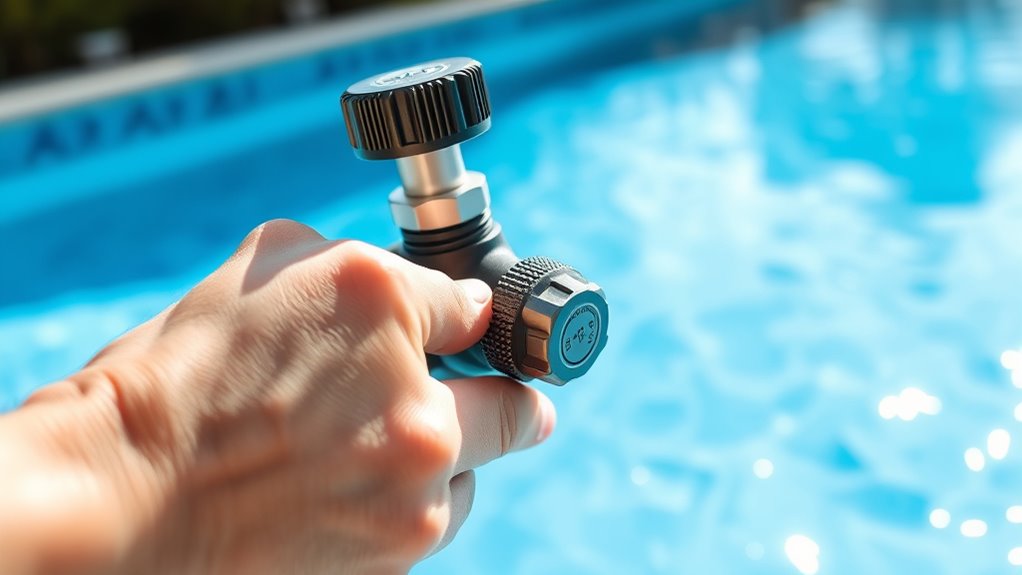
Connect the Hose to the Skimmer or Suction Port
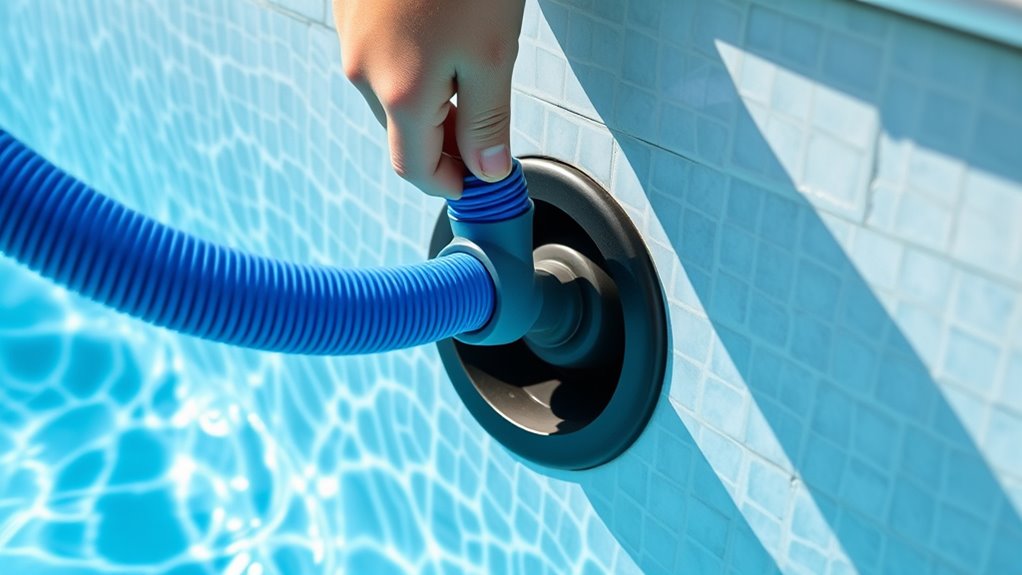
Once the hose is primed and free of air bubbles, you can connect it securely to the skimmer or suction port. For the hose connection, ensure the end fits snugly onto the skimmer attachment or suction port. If your pool cleaner’s hose has a connector, align it properly with the port, then press firmly until it clicks or feels secure. Check that the connection is tight to prevent air leaks, which can reduce cleaning efficiency. Avoid forcing the hose onto the skimmer attachment, as this could damage the fittings. Once attached, gently tug on the hose to confirm it’s secure. Proper hose connection guarantees optimal suction performance, which is essential for thorough cleaning. Maintaining a tight connection also helps prevent air leaks, ensuring your pool cleaner operates at its best. Regularly inspecting the fittings for wear or damage can help maintain safe and effective operation, and using proper storage practices can prolong the lifespan of the hose and fittings. Additionally, ensuring the fittings are free of debris can help preserve the seal integrity over time.
Position the Pool Cleaner in the Water
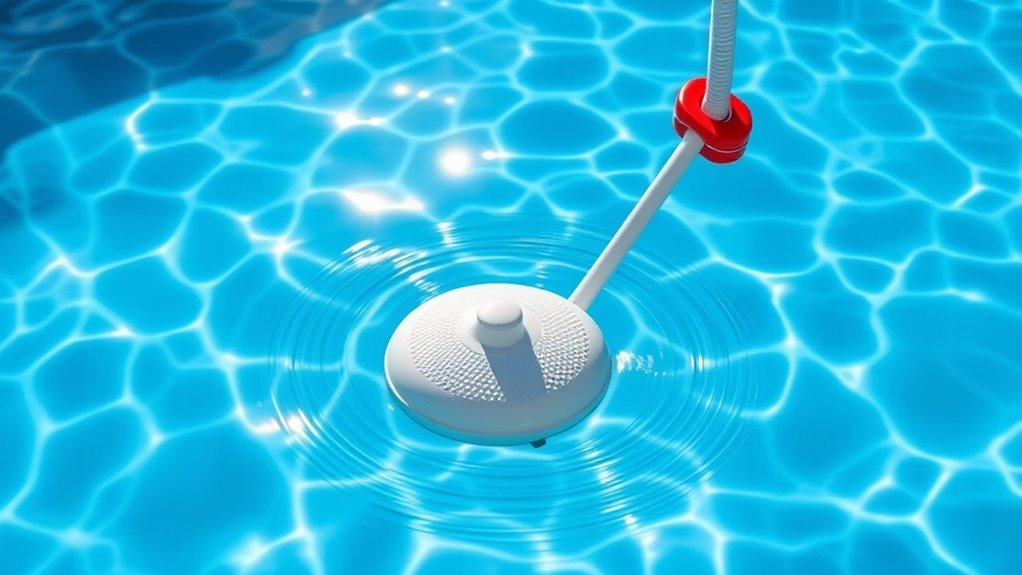
Before you start moving the cleaner, gently place it in the water near the pool wall. This allows the robotic navigation to begin smoothly. Once submerged, confirm the cleaner is on a flat surface. To position it effectively, consider these steps:
- Make sure the hose is stretched out without kinks, allowing water flow adjustment.
- Keep the cleaner close to the wall for better navigation control.
- Observe how the robotic system responds to water currents, adjusting if needed.
- Confirm the cleaner’s brushes are in contact with the surface for ideal cleaning.
Proper placement helps the pool cleaner leverage water flow for efficient movement. Adjusting water flow and positioning it near the wall enhances robotic navigation, ensuring thorough coverage of the pool surface.
Turn the Filtration System Back On

With the cleaner properly positioned in the water, it’s time to turn the filtration system back on. This step activates your filter system, which is essential for effective debris removal. Make sure all valves are open and the pump is set to the correct setting. Turn on the pump and listen for any unusual noises that might indicate a problem. Allow the system to run for a few minutes to circulate water and start capturing debris. Check that the cleaner is moving smoothly and that the suction is strong enough to pull in dirt and debris. Restarting the filter system guarantees your pool stays clean and clear, as it continuously removes debris during normal operation.
Observe the Cleaner’s Movement and Adjust as Needed
As the cleaner begins to move through the pool, watch its pattern closely to guarantee it’s covering the entire area effectively. Pay attention to its path and how it handles obstacles. If it gets stuck or misses spots, you may need to manually steer it or adjust its direction. Use these steps to optimize performance:
- Observe if it’s circling the same area repeatedly.
- Check if it’s avoiding obstacles smoothly or repeatedly hitting them.
- Guide it manually to cover missed zones.
- Adjust the cleaner’s placement or tether to improve obstacle avoidance and coverage.
Regularly Inspect and Maintain the Cleaner for Optimal Performance
Regular inspections are essential to keep your suction pool cleaner working at its best. You should regularly check for debris buildup and remove any obstructions from the cleaner’s intake and brushes. This helps maintain efficient debris removal and prevents clogs that could reduce cleaning performance. Additionally, inspect the filter and perform filter replacement as needed—dirty filters hinder suction power and overall effectiveness. Make sure the hoses are free of cracks or leaks, which can impair suction. Cleaning or replacing the filter periodically ensures peak performance and extends the cleaner’s lifespan. By staying proactive with these inspections, you’ll keep your pool cleaner running smoothly, saving you time and effort while keeping your pool spotless and well-maintained.
Frequently Asked Questions
Can I Install a Suction Pool Cleaner Without Professional Help?
You can definitely handle DIY installation of a suction pool cleaner, but it’s important to follow clear instructions carefully. You don’t need professional help if you’re comfortable with basic troubleshooting tips, like checking hose connections and ensuring proper suction. Make sure your pool’s skimmer and pump are compatible, and test the cleaner’s movement before finalizing installation. With patience and attention to detail, you’ll enjoy a clean pool without extra costs.
What Safety Precautions Should I Take During Installation?
During installation, you should prioritize pool safety by guaranteeing the power is off to avoid electrical hazards. Wear gloves and eye protection, and handle equipment carefully to prevent injuries. Check for any sharp edges on the cleaner or pool fittings. Keep the area clear of bystanders, especially children. Always follow manufacturer instructions, and if unsure, consult a professional to reduce risks associated with electrical hazards and ensure a safe setup.
How Long Does the Installation Process Usually Take?
The installation process can feel like a lightning-fast task if you’re prepared! Typically, the installation timeline takes about 30 to 60 minutes, depending on your equipment and experience. You’ll start with equipment preparation—gathering tools and reading instructions—then follow straightforward steps. Staying organized and patient helps. If you’re well-prepared, you’ll have your suction pool cleaner running smoothly without wasting a second of your valuable time!
Is It Necessary to Drain the Pool Before Installation?
You don’t need to drain the pool completely before installation. Just make certain the pool water level is high enough to reach the skimmer opening for proper debris removal. Maintaining the right water level helps the suction pool cleaner work efficiently and prevents damage. If the water’s too low, top it up. Draining isn’t necessary unless the water level is markedly below the skimmer, which could hinder the cleaner’s performance.
Can I Use the Cleaner Immediately After Installation?
Imagine the first splash as your pool cleaner begins its initial setup, and you wonder if you can jump straight into using it. You should wait until the cleaner is properly installed and the hoses are secure. It’s best to follow your cleaning schedule for peak results. Once everything’s in place, you can start using the cleaner immediately, ensuring your pool stays spotless without any hitches.
Conclusion
Now that you’ve installed your pool cleaner, keep in mind that regular maintenance is key to its longevity and performance. Check for any clogs, ensure hoses are secure, and clean filters as needed. Remember, a stitch in time saves nine—staying on top of maintenance prevents bigger problems down the road. With proper care, your cleaner will keep your pool sparkling and inviting all season long. Happy swimming!