To keep your houseplants healthy, repot when you notice roots growing out of drainage holes, soil staying dry too quickly, or growth slowing. The best time is spring or summer when plants actively grow. Carefully select a slightly larger pot with drainage and fresh soil, loosen roots gently, and fill the new container without overpacking. Afterward, water thoroughly and monitor recovery. Continue exploring step-by-step tips to guarantee your plants thrive post-repotting.
Key Takeaways
- Repot during spring or summer when plants are actively growing to minimize stress.
- Look for signs like roots emerging from drainage holes, soil drying quickly, or slowed growth indicating it’s time.
- Choose a slightly larger pot with drainage holes and fresh, well-draining soil suitable for houseplants.
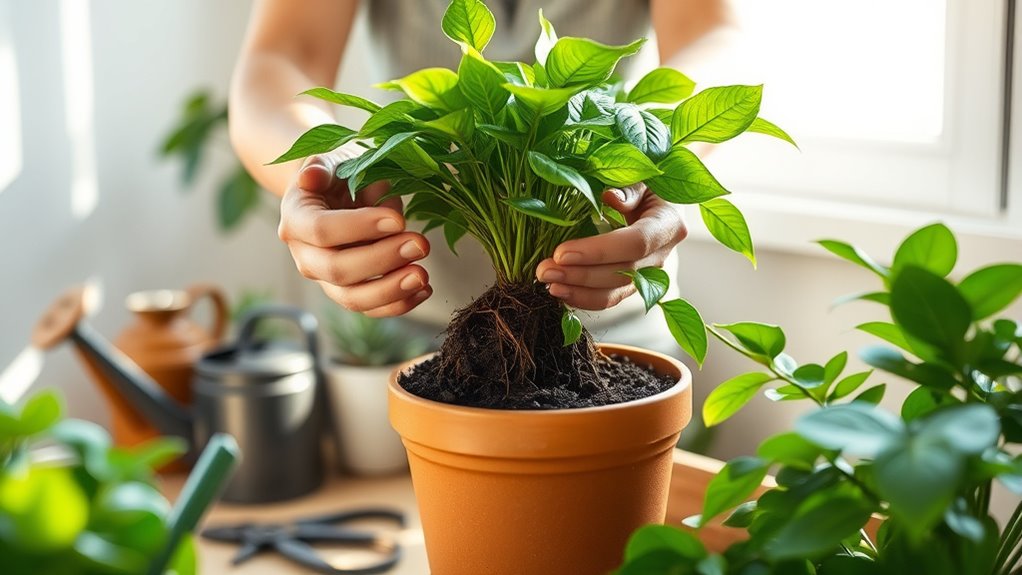
- Gently remove the plant, loosen and prune roots if necessary, then position it in the new container at the correct height.
- Water thoroughly after repotting, keep soil evenly moist, and avoid fertilizing until new growth appears.
Recognizing the Need for Repotting
Recognizing when your houseplant needs to be repotted is essential for its health. Look for roots growing out of drainage holes or circling the top of the soil—these signs indicate the plant is overgrown and root-bound.
When roots are protruding from the bottom or visible on the surface, it’s a clear sign the roots have become crowded. If the soil dries out quickly after watering, the plant likely needs more space to grow.
An overgrown plant may also sink deeper into the pot or appear top-heavy, suggesting it’s outgrown its current container. If you notice slowed growth or a lack of new leaves, root congestion could be restricting water and nutrient absorption.
Understanding the safety and quality considerations involved in repotting, including potential expenses for soil, new containers, or professional help, can help you plan effectively. Addressing these signs promptly helps keep your houseplant healthy and thriving.
Choosing the Right Time of Year for Repotting

Timing your repotting efforts can make a significant difference in how well your houseplants adapt and thrive. The best time to re-pot is during spring and summer when your plants are entering or in active growth phases.
Repotting during dormancy, like winter, can stress plants and slow recovery. To avoid root-bound issues and promote healthy growth, repot your houseplants before they outgrow their current containers. Additionally, choosing the right soil quality can greatly influence root health and plant vigor.
Spring is ideal because it allows plants to establish in fresh soil and containers before their peak growing season. However, don’t repot when your plant is stressed, sick, or flowering, as this can hinder recovery. Additionally, understanding the growth cycle of your houseplants can help determine the optimal repotting time for maximum health.
Being mindful of the vibrational energy of your environment and plants can also support their overall vitality and growth. Incorporating positive environmental factors such as light, humidity, and airflow can enhance the success of repotting. Recognizing the importance of proper watering and soil quality is also crucial for healthy root development. Repeating this process every year or so ensures your houseplants stay healthy and vigorous.
Identifying Signs Your Houseplant Is Root Bound
You might notice roots emerging from the drainage holes or surfacing on the soil’s surface, signaling that your plant is root bound. If the soil dries out quickly after watering, it’s another clue that roots are taking up most of the space. These signs mean your plant needs a bigger pot to grow healthily. Additionally, using essential oils for plant health can help improve your plant’s vitality and prevent issues associated with being root bound. Incorporating proper air circulation around your plant’s roots through repotting can significantly promote healthier growth. Regular repotting ensures your plant maintains proper air circulation around its roots, promoting healthier growth. Monitoring for root congestion can help you determine the optimal time to repot and support your plant’s overall health. Recognizing the importance of exploration and discovery can inspire gardeners to seek new techniques and solutions for plant care.
Roots Emerging From Drainage Holes
Have you noticed roots poking out of your plant’s drainage holes? This is a clear sign your houseplant is root bound and needs repotting. When roots grow densely and start pushing through the drainage holes, it indicates the plant has outgrown its current pot.
Visible roots often form a circular pattern along the pot’s perimeter, signaling restricted space. If left unaddressed, the roots can limit water and nutrient absorption, harming your plant’s health. Seed allergies can sometimes be mistaken for other plant-related issues, so understanding plant health signals is crucial. Additionally, recognizing other signs such as slowed growth or yellowing leaves can help determine when repotting is necessary.
To fix this, carefully repot your houseplant into a slightly larger container. Gently loosen or prune any tightly wound roots to encourage healthy growth. Using the right potting mix can also promote better root development and overall plant vitality. Incorporating appropriate watering practices after repotting helps the roots establish more quickly and reduces transplant shock.
Addressing roots emerging from drainage holes promptly ensures your plant has enough space to thrive and prevents further stress or damage.
Soil Dries Quickly
When a houseplant becomes root bound, the soil tends to dry out faster than usual because the dense network of roots absorbs water more quickly. This rapid soil drying indicates that the plant’s root system is congested, reducing its ability to retain moisture. Roots tightly circling the root ball and soil drying out faster than before are common signs, along with the need for frequent watering despite consistent checks. Roots emerging from drainage holes also signal root congestion. To address this, consider repotting into a larger container with fresh soil to improve water retention and prevent quick soil drying. Additionally, understanding size restrictions for tiny houses can help ensure your plant’s container size complies with local regulations if you plan to keep it outdoors or in specialized structures. Recognizing root bound plants early can save your houseplant from stress and promote healthier growth. Proper repotting can rejuvenate your plant and promote healthier growth, especially when it shows signs of being root bound.
Selecting the Appropriate Container and Soil

Choosing the right container and soil sets the foundation for healthy houseplants. Select a pot with drainage holes that’s only 1 to 2 inches larger in diameter than the current one to prevent overwatering and guarantee proper moisture control. Materials like plastic, terra cotta, or ceramic are ideal because they offer good drainage and aesthetic appeal. Fill the container with a high-quality potting mix, which should combine peat-free compost with bark, charcoal, and perlite for excellent drainage and aeration. Avoid garden soil, as it can be too heavy and may introduce pests or weed seeds. Make sure the soil is evenly moist but well-drained to support healthy root growth and prevent waterlogging after repotting. Proper hydration and nutrition are crucial for preventing the plant from running dry and maintaining its vitality. Additionally, selecting the right soil ensures the soil drainage necessary for preventing root rot and other issues.
Preparing Your Tools and Workspace
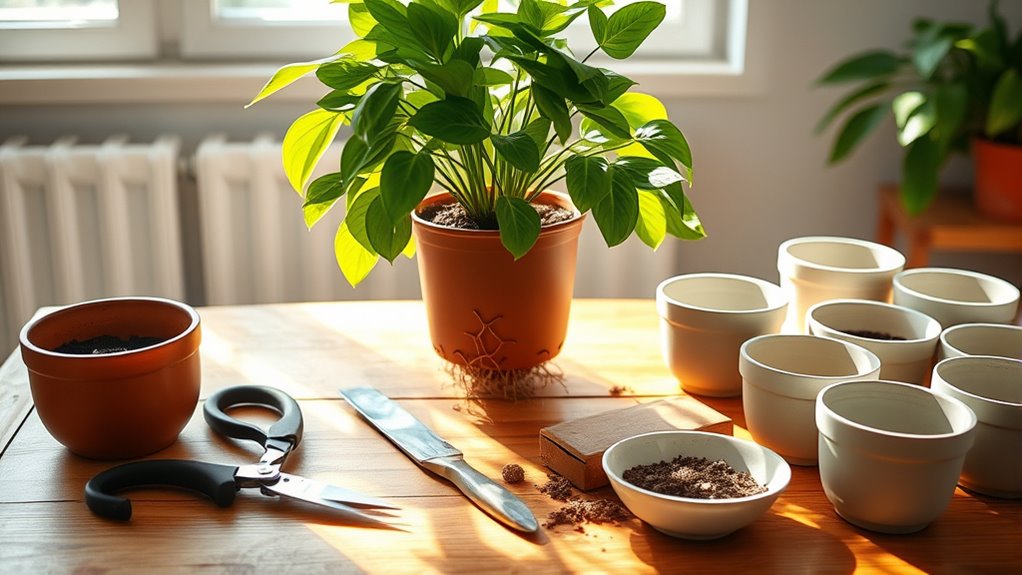
Start by gathering all the essential tools you’ll need, like a new pot, potting mix, and a small shovel. Clear your workspace of clutter and set it up outdoors or over newspaper to catch soil spills.
Have your watering can ready to guarantee your plant stays hydrated during the process.
Gather Essential Supplies
Are you ready to gather the supplies needed for repotting your houseplants? First, pick a clean, flat workspace covered with newspaper or a tarp to catch soil spills.
You’ll need a new pot with drainage holes, slightly larger than the current one, to prevent overwatering. Prepare fresh soil suited for your plant and have water nearby to hydrate the plant after repotting.
Use a trowel or small shovel to handle the soil easily, and keep pruning shears handy for trimming roots if necessary. To improve drainage, consider having lava rocks or gravel on hand if the new pot lacks drainage holes.
Make sure all tools are sanitized beforehand to avoid pests or disease transfer. This preparation ensures a smooth repotting process.
Clear Workspace Area
Before you begin handling your houseplants, it’s important to prepare your workspace to keep the process clean and efficient. Clear a flat, stable area outdoors or lay down newspapers or a tarp to contain soil spills. Remove any decorative or cache pots to access the main container easily. Gather all the tools you’ll need, such as a new pot with drainage holes, fresh soil, and a watering can, so nothing is left to hunt for mid-process.
Confirm your workspace is well-ventilated and protected from wind or harsh sunlight to prevent accidents. A tidy, organized workspace not only makes the repotting smoother but also minimizes mess, helping you work quickly and effectively. Proper preparation sets the stage for successful houseplant repotting.
Prepare Watering Equipment
To guarantee your watering process goes smoothly, gather clean watering cans or spray bottles to provide gentle, even moisture to your plant before removing it from its pot. This ensures the soil is adequately hydrated, making repotting easier and reducing stress on the plant.
Prepare your workspace with newspaper or a plastic sheet to contain soil mess and protect surfaces.
Have a watering can filled with lukewarm water ready to hydrate the plant prior to removal, which helps loosen the soil.
Additionally, ensure all necessary tools, like trowels, root pruners, and gloves, are clean and within reach to streamline the process.
Set up a drainage tray or saucer beneath your workspace to catch excess water during watering, preventing spills and maintaining a tidy area.
- Use watering cans or spray bottles for gentle watering
- Prepare a clean, protected workspace to contain soil mess
- Keep tools and gloves ready for efficient work
- Have drainage materials to catch excess water
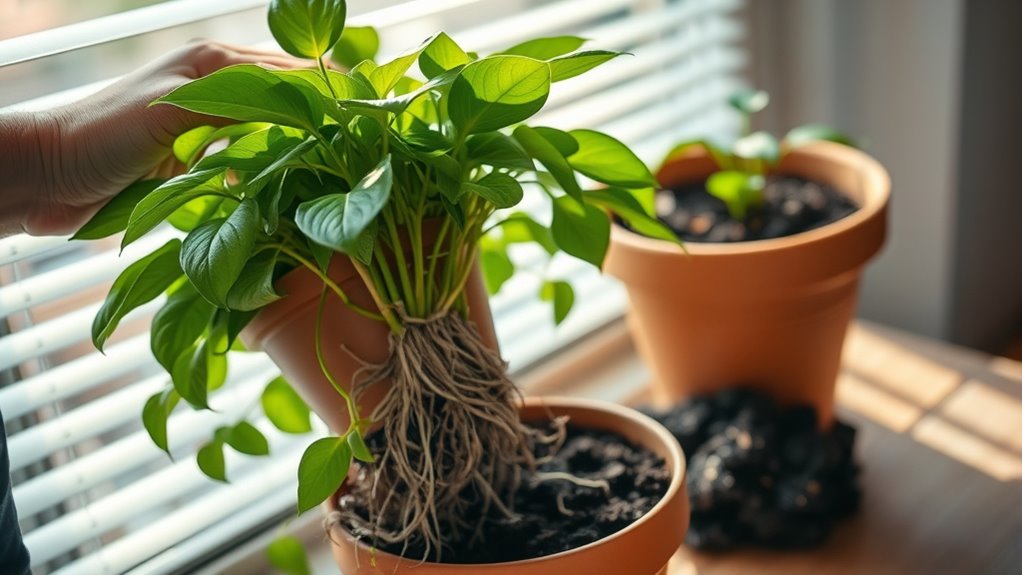
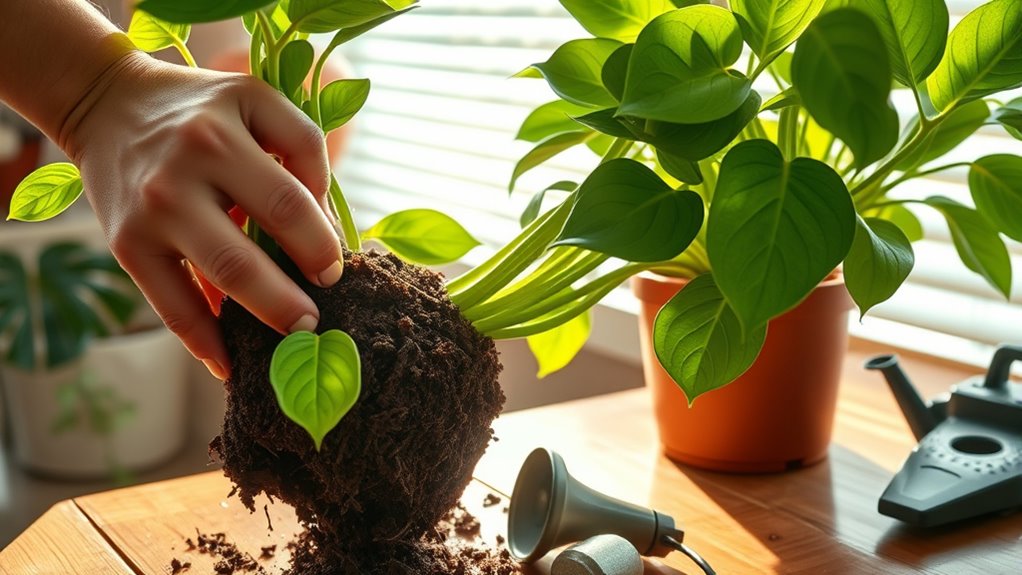
Carefully Removing the Plant From Its Current Pot

Gently loosening the soil is essential before removing your plant from its pot. Start by gently squeezing the sides of a plastic pot or tapping its rim to loosen the potting soil.
Support the base of the plant with one hand, then carefully tip the pot on its side to gently remove the root ball.
Use a small shovel, butter knife, or your fingers to loosen soil around the edges of the plant, making extraction easier.
Watch for roots growing out of drainage holes or circling the pot’s interior, as these indicate it’s time to loosen or prune them.
Avoid pulling or yanking the plant forcefully; instead, aim for a smooth, controlled removal to prevent damaging the roots and ensure a healthy transition to its new pot.
Loosening and Pruning the Roots
When loosening your plant’s roots, look for tangled or circling roots that need gentle separation. Use sharp scissors or pruning shears to trim any overly long or damaged roots, helping the plant grow stronger.
Removing up to one-third of the root mass can improve soil absorption and promote healthier growth.
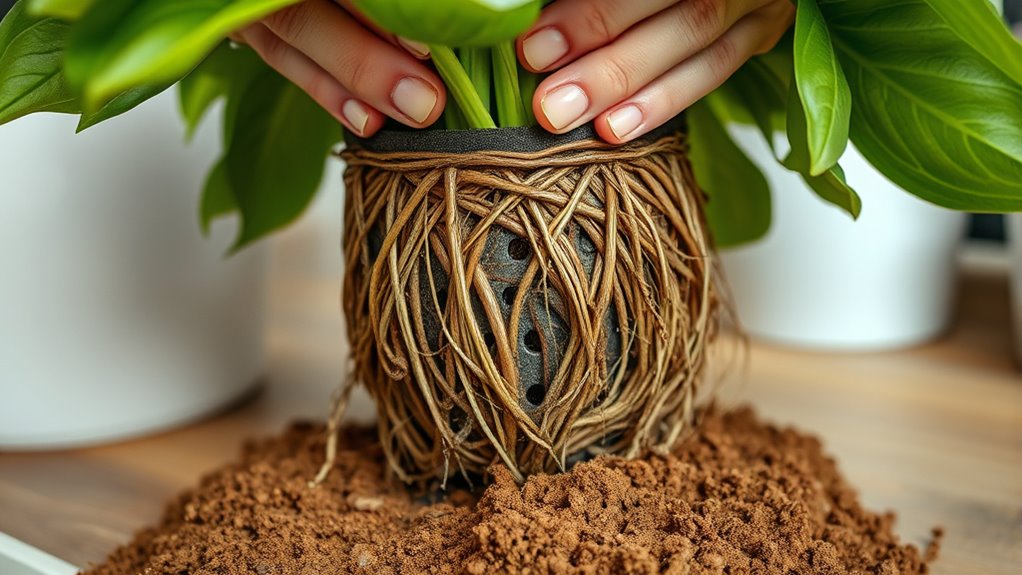
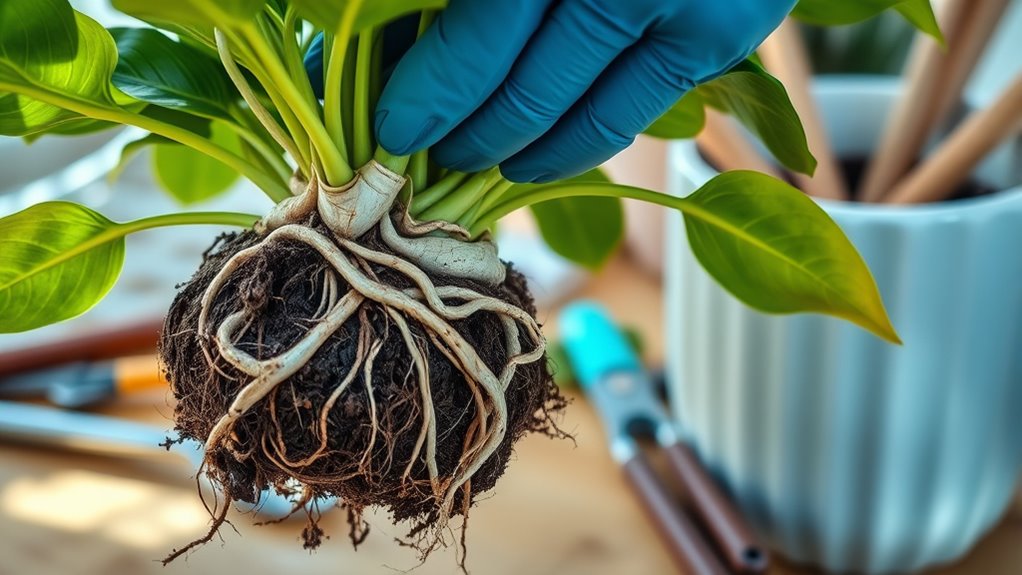
Identifying Overgrown Roots
Overgrown roots often reveal themselves when you remove a houseplant from its pot. Look for roots that circle tightly around the root ball, protrude through drainage holes, or appear excessively dense. These signs indicate overgrown roots, signaling that it’s time for root pruning during repotting.
Gently loosen the roots by massaging the root ball to encourage outward growth. Trim any dead, damaged, or overly long roots with clean, sharp shears, especially those circling tightly. Remember, don’t remove more than one-third of the root mass to avoid stressing the plant.
Proper identification of overgrown roots ensures healthy growth and easier repotting, setting the stage for revitalized, vigorous plants. Regularly inspecting roots helps maintain a healthy, balanced root system.
Proper Root Trimming Techniques
During the process of repotting, properly managing root trimming is essential to guarantee your plant’s health and growth. Use gentle techniques to loosen roots by massaging them, which encourages outward growth and prevents circling roots.
When pruning, focus only on dead, damaged, or excessively long roots, using clean, sharp scissors or pruning shears. For severely rootbound plants, you can prune up to one-third of the roots after removing the plant from its old pot.
Be careful not to damage the main root mass or cut healthy roots unnecessarily, as this can stress your plant. Keep root trimming minimal for young or healthy plants, concentrating on problematic or circling roots to maintain healthy roots and promote strong development.
Promoting Healthy Root Growth
Ever wonder how to give your houseplant’s roots a healthy boost? The key is gentle root work during repotting. Start by carefully loosening the root ball with your fingers, encouraging outward growth and preventing circling roots.
If you notice overly long or circling roots, prune them with clean, sharp scissors or pruning shears—this promotes healthy development. Removing up to one-third of the root mass during repotting reduces transplant shock and stimulates new root growth.
Carefully untangle and straighten the roots to improve soil contact, which helps with nutrient absorption. Remember, avoid damaging or tearing roots during pruning, as this can impair your plant’s ability to absorb water and nutrients.
Proper root pruning supports the growth of healthy roots and overall plant vigor.
- Loosen roots gently to encourage outward growth
- Prune circling or overly long roots for healthier roots
- Remove up to one-third of root mass during repotting
- Straighten and untangle roots for better soil contact
Positioning and Filling the New Pot
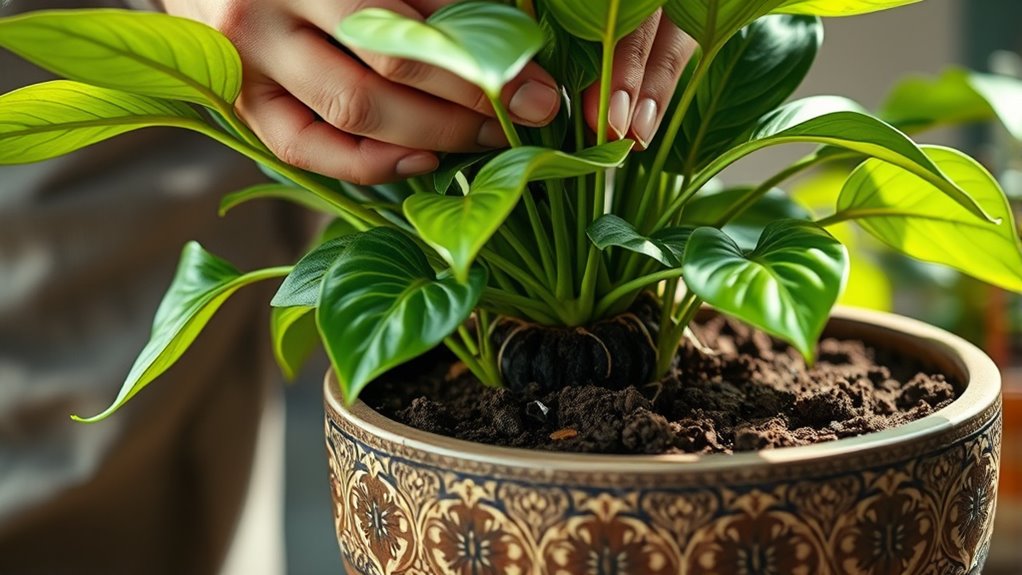
Before placing your houseplant into its new pot, fill the bottom third with fresh soil to support proper root placement. This guarantees the plant in the pot sits at the right height and receives stability.
Position the plant so that the base of the stem is about 1/4 to 1/2 inch below the rim, which provides proper support and allows space for watering. Adjust the soil underneath as needed to achieve evenness and the correct height.
Loosely hold the stems together to guide the filling process and keep the plant stable. Fill all gaps around the roots with soil, then gently pat down to eliminate air pockets. This secures the plant firmly in place and promotes healthy growth while meeting the plant needs effectively.
Watering and Post-Repotting Care
After repotting, it’s important to water your houseplant carefully to help the soil settle around the roots. Water slowly until excess water drains from the bottom, ensuring thorough moisture absorption.
Check the soil’s weight or feel the topsoil regularly to determine when to water again. Avoid overwatering immediately after repotting, as fresh soil retains moisture longer and the plant may be sensitive to excess water.
Adjust watering frequency seasonally—less during dormancy, more during active growth.
Watch for signs of overwatering, such as yellowing leaves or root rot, and modify your watering schedule accordingly. Proper watering helps your plant recover and establish in its new pot without risking water-related issues.
- Water gradually to prevent waterlogging
- Check soil moisture frequently
- Avoid excess water after repotting
- Adjust watering based on season
Monitoring Your Plant’s Recovery and Growth
Monitoring your plant’s recovery involves keeping a close eye on its appearance and growth over the first several weeks. Look for new leaf development and increased vigor as signs of healthy plant recovery.
During this period, guarantee the soil stays evenly moist but not waterlogged to support root health and stability. Watch for yellowing or wilting leaves, which may signal stress or overwatering; adjust your watering schedule if needed.
Avoid fertilizing until you see active new growth to prevent damaging sensitive roots.
Every few months, gently inspect the soil surface to check root health—make sure roots aren’t constricted or rotting.
Consistent monitoring helps you catch issues early, ensuring your plant continues to recover well after repotting.
Frequently Asked Questions
How and When to Repot Houseplants?
If you notice roots growing through drainage holes, your plant sinking, or soil drying out fast, it’s time to repot.
You should do this during spring or early summer when your plant’s actively growing.
Choose a slightly larger pot, about 1-2 inches wider, and carefully remove the plant, loosen the roots, and add fresh soil.
Water thoroughly afterward to help your plant settle in.
Do Indoor Plant Pots Need a Hole in the Bottom?
Did you know that over 70% of indoor plant problems stem from poor drainage? Yes, your plant’s pot should have a hole in the bottom. It allows excess water to escape, preventing root rot and fungal issues.
Without drainage, water pools and harms roots. If your decorative pot lacks a hole, add gravel or use a separate inner pot with drainage for healthy growth.
Should You Untangle Roots When Repotting?
When you repot your houseplant, you should only untangle the roots if they’re heavily circling or intertwined. Gently loosen them with your fingers or a sterilized tool to encourage healthy growth, but avoid excessive disturbance.
If the plant is only lightly circling or looks healthy, it’s best to leave the roots alone. Remember, minimal root disturbance helps your plant recover faster and reduces stress during repotting.
Should You Water a Plant Right After Repotting?
They say, “A stitch in time saves nine,” and watering right after repotting proves true. When you water immediately, you help settle the soil and reduce transplant shock.
Just be careful not to overdo it—water enough to moisten the soil without waterlogging. Gently pour water around the roots, allowing excess to drain, and your plant will recover faster and grow healthier.
Conclusion
So, now you’re a repotting pro—congratulations! Just remember, your houseplants probably aren’t plotting to overthrow you, even if they look a little stressed. With your newfound skills, you can keep them thriving and maybe even impress your plant-obsessed friends. Or, at the very least, avoid the dreaded “mysterious brown leaves” crisis. Happy repotting—your plants will thank you, and who knows, maybe they’ll start sending you thank-you notes.