
Propagating houseplants in water is a simple, effective way to grow new plants. First, select healthy stems with visible nodes and cut just below a node using clean tools. Place them in a clear container filled with room temperature water, and position in bright, indirect light. Change the water frequently, and wait until roots are 3-5 inches long before transplanting into soil. If you’re interested in learning more tips to boost success, keep exploring this guide.
Key Takeaways
- Select healthy, non-blooming stems with at least one node and cut just below the node using clean, sharp tools.
- Remove excess leaves near the cut site and let the cut ends callous for 2-3 days in a shaded area.
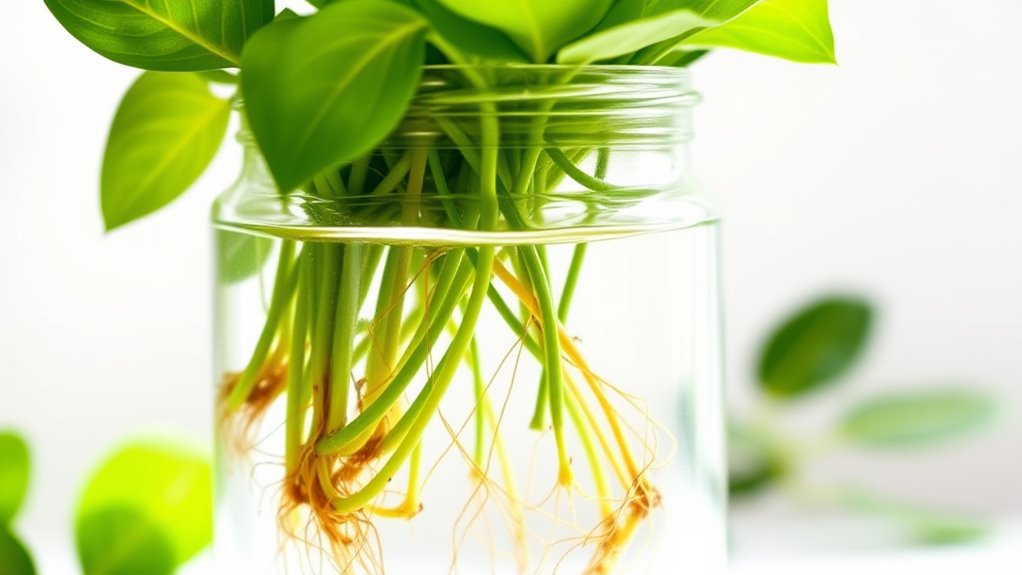
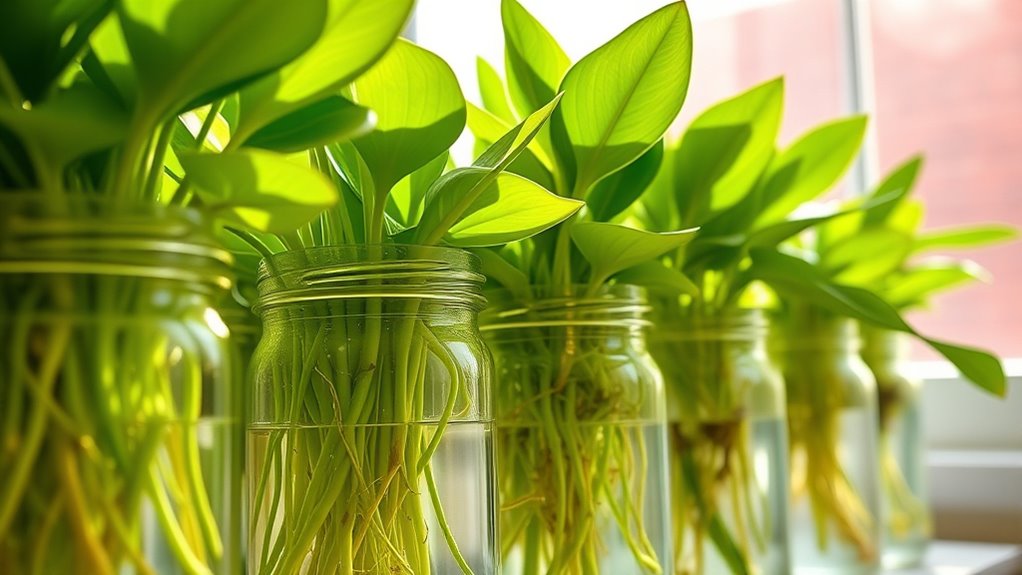
- Place the cuttings in clear, sterilized water at room temperature, ensuring nodes are submerged.
- Change the water every 3-5 days and rinse roots gently to prevent bacterial buildup.
- Transplant when roots are 3-5 inches long and healthy, then plant in well-draining soil for continued growth.
Selecting the Right Plants for Water Propagation
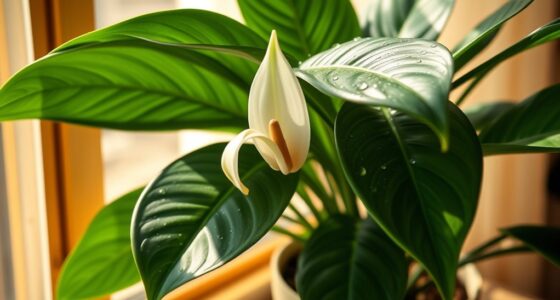
When choosing plants for water propagation, focus on species with adaptable stems and prominent nodes. Many tropical houseplants, like pothos, philodendron, and monstera, root easily in water because their stems are flexible and have visible nodes where roots can develop. Plants with prominent nodes, such as sansevieria and dracaena, are ideal because roots often emerge directly from these points. Foliage plants like peperomia and ZZ plants can also be propagated from leaves in water, especially when cut below a joint or “Y” on the stem. Additionally, self watering plant pots can be an excellent tool to maintain consistent moisture levels for propagated cuttings, increasing their chances of successful rooting. Proper watering techniques are essential, especially considering that water propagation requires careful attention to prevent rot. To improve success rates, it’s helpful to understand the rooting process and how different plants respond to water environments. Understanding the plant’s natural growth habits can also guide you in selecting the most suitable species for water propagation. However, not all plants can be propagated with water—cacti and succulents like cassula ovata tend to rot if kept in water too long. Choose adaptable plants with clear rooting points for successful water propagation.
Gathering Tools and Materials Needed
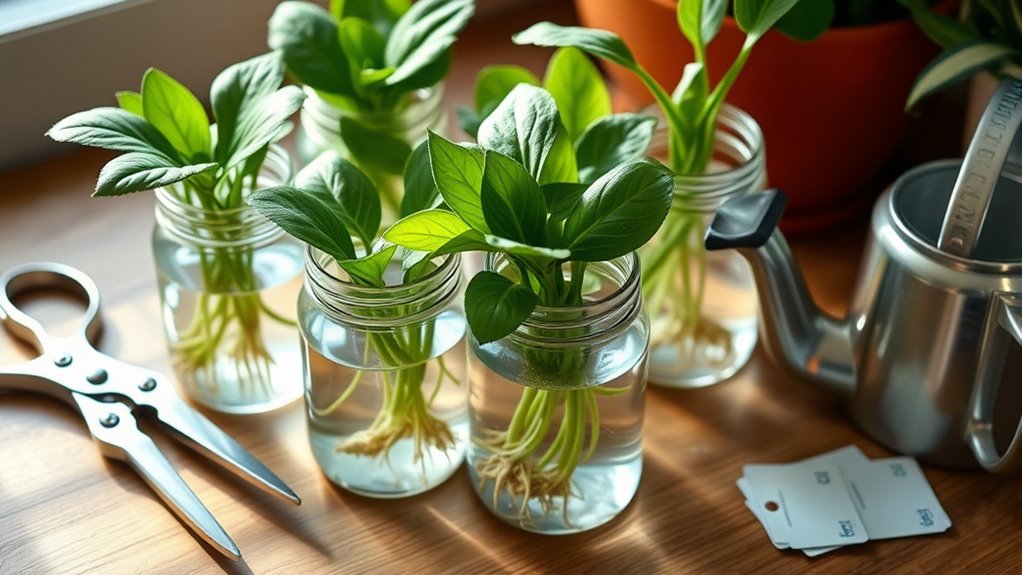
To successfully propagate your houseplants in water, you’ll need essential tools like sharp scissors or a knife for precise cuts. Choose clear containers that let you monitor root growth and fill them with room temperature water, adding hydrogen peroxide if desired. Make sure your tools are sanitized and gather any optional supplies like rooting hormone and labels to keep everything organized. Choosing the right container can influence root development and overall plant health. Additionally, understanding plant propagation techniques can help improve your success rate with water propagation. Proper root development is crucial for healthy plant growth and successful transplantation later on. Using knowledge of automation in business can also help streamline your propagation process by setting up efficient systems for watering and monitoring.
Essential Propagation Tools
Having the right tools is essential for successful water propagation. For the water method, you’ll need a sharp knife or clean scissors to make precise cuts on healthy stems. This ensures clean breaks that promote root growth. Using sound therapy techniques can even enhance relaxation during the propagation process, creating a calming environment. Clear glass containers or jars are ideal because they let you easily monitor root development and water levels. Using distilled or filtered water prevents mineral buildup, supporting healthier roots. A small funnel or pipette can help you add water without disturbing the cutting or introducing contaminants. Proper water quality is crucial for preventing root rot and encouraging healthy growth. Additionally, maintaining optimal water temperature can accelerate root development, making your propagation more successful. Monitoring water levels regularly ensures your plants are always submerged properly and prevents the roots from drying out. Optional tools like rooting hormone, hydrogen peroxide, and labels can boost your success rate and help you keep track of different plants. Gathering these essential tools before starting ensures a smoother, more effective propagation process.
Suitable Containers Selection
Selecting the right container sets the foundation for successful water propagation. Opt for clear containers like glass jars, vases, or recycled bottles so you can easily monitor root growth. Using durable materials ensures your containers last through multiple uses and resist damage. Make sure the container is large enough to hold the cutting comfortably and give roots room to grow without crowding. Choose containers with stable bases to prevent tipping, especially for taller or heavier cuttings. Avoid porous materials such as terracotta or unglazed clay, as they absorb water and can promote bacterial growth. It’s also important to select containers that are easy to clean and sterilize between uses to keep your plants healthy. Additionally, selecting appropriate containers can help protect your investment by providing a stable environment that minimizes the risk of contamination or damage. Proper water quality used in the containers also plays a crucial role in healthy root development and preventing disease. Maintaining container cleanliness is essential for successful propagation and preventing fungal or bacterial issues. Proper container choice is especially important when aiming for a healthy root system to ensure successful propagation.
Preparing Cutting Materials
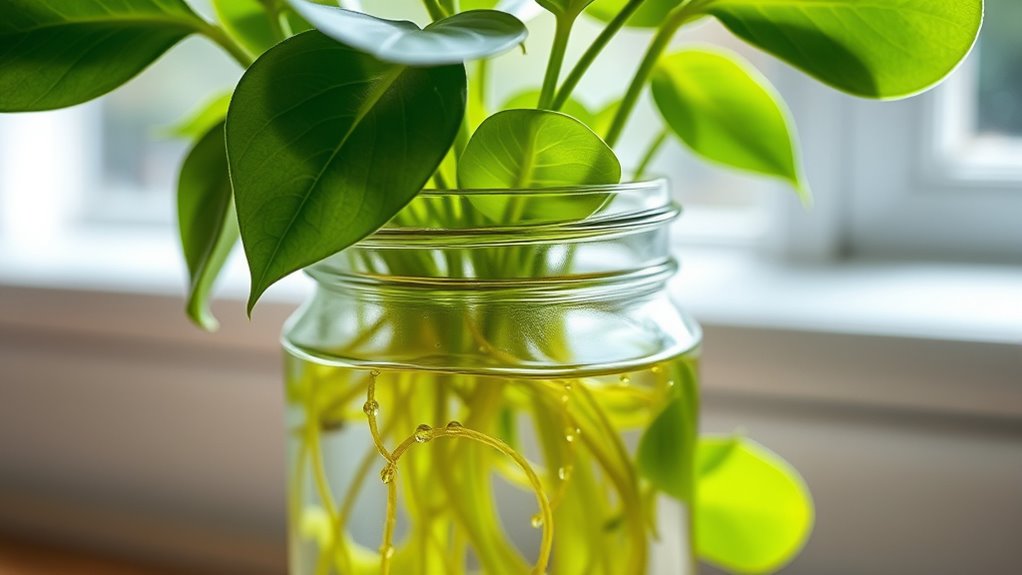
Before you begin, gather all the tools and materials you’ll need to guarantee a smooth propagation process. Make sure you have sharp scissors or pruning shears to make clean cuts that won’t damage the plant. Choose healthy, disease-free cuttings with at least one visible node, and remove excess leaves near the cut to prevent rot. Prepare a clean glass jar or vase, ensuring it’s thoroughly washed to prevent bacterial growth. Fill the container with room temperature water, enough to submerge the stem but keeping leaves above water. Optional: have rooting hormone handy to boost root development, especially for more stubborn plants. Properly preparing your cutting materials helps ensure successful propagation and healthy root growth. Additionally, understanding the value of home security systems can help you protect your new plants and your home from potential threats. Utilizing proper water quality can further enhance root development and plant health during propagation. Moreover, selecting the right plant species for water propagation can significantly improve your success rate and overall experience. Being aware of the seasonal considerations for planting can also increase the chances of successful root establishment and growth.
Cutting and Preparing Your Plant
Choose healthy, disease-free stems with at least one leaf node for the best chance of success. Use a sharp, clean knife or scissors to make a precise cut just below the leaf node, and remove excess leaves near the cut to prevent rot. Let the cut end callous over for several hours or a day before placing it in water to reduce the risk of infection. To ensure successful propagation, consider the plant’s specific watering techniques and environmental needs to promote healthy root development. Additionally, maintaining proper humidity levels can support root growth and overall plant health during propagation. Recognizing the importance of cultural narratives in plant choice can also enhance your propagation success. Monitoring local building codes and permits can help ensure your propagation setup complies with safety standards when using specific containers or lighting.
Selecting Healthy Cuttings
To start propagating your houseplants in water, guarantee you take healthy, disease-free stems with at least one visible node, as these are key for successful rooting. Choose healthy cuttings that are free from damage or pests, and cut just below a leaf node using sharp, clean scissors or a knife. Removing excess leaves near the cut site helps prevent rot and encourages roots to grow.
Select stems from non-blooming parts of the plant to conserve energy and increase rooting chances. After cutting, let the stems callous over for a few hours to days, reducing the risk of rot when placed in water.
Proper Callusing Techniques
Allow freshly cut plant stems to callous over in a dry, shaded area for several hours to a few days before placing them in water. This callusing process seals the plant cuts, reducing rot risk and promoting healthy root growth. Use sharp, sterile scissors or a knife to make clean cuts just below a leaf node. Let the cut area dry until it forms a hardened, slightly scabby surface. Proper callusing helps seal the wound, prevents pathogens, and directs energy toward root formation. The duration varies by plant species:
| Plant Type | Callusing Time | Notes |
|---|---|---|
| Succulents | 24-48 hours | Keep dry, avoid moisture |
| Foliage Plants | 2-3 days | Ensure dry, calloused surface |
| Flowering Plants | 2-3 days | Promotes quick rooting |
Choosing the Perfect Container for Rooting
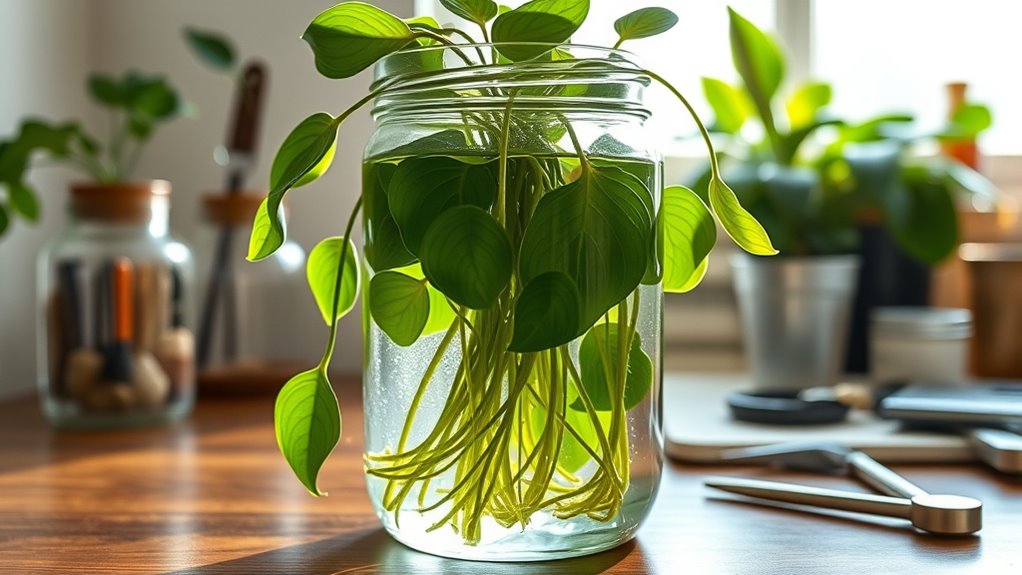
Selecting the right container is essential for successful water propagation, as it provides a stable environment for your cuttings to develop roots. Clear glass containers are ideal because they let you easily monitor root growth and detect any issues early.
Make sure the container is thoroughly clean, free of residues or soap, to prevent contamination that could hinder root development. Choose a size that comfortably supports your cutting’s length without overcrowding or submerging leaves; roots need space to grow freely.
Avoid opaque or dark-colored containers, as they make it difficult to see how roots reach and develop. A stable base is also important to prevent tipping over, which could damage delicate roots during the rooting process.
Proper Placement and Lighting Conditions

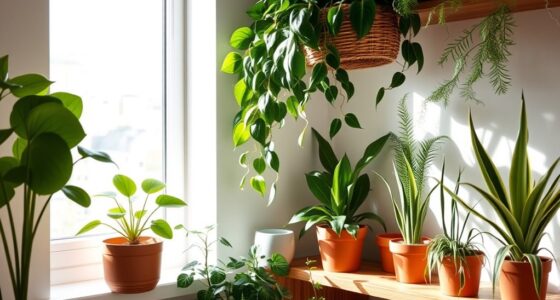
Placing your water-propagated cuttings in the right location is essential for healthy root growth. You want bright, indirect light, ideally receiving 6–8 hours daily. Position your plant in soil near a north or east-facing window, or use sheer curtains to diffuse direct sunlight. Avoid direct sun, which can stress the plant or scorch leaves.
Keep the water container away from drafts, temperature swings, and heat sources to prevent stress and promote steady root development. If natural light is limited, supplement with fluorescent or LED grow lights to keep your plant thriving.
Regularly check that leaves aren’t touching windows or surfaces, ensuring even light exposure. Proper placement and lighting conditions are key to successful propagation and healthy growth.
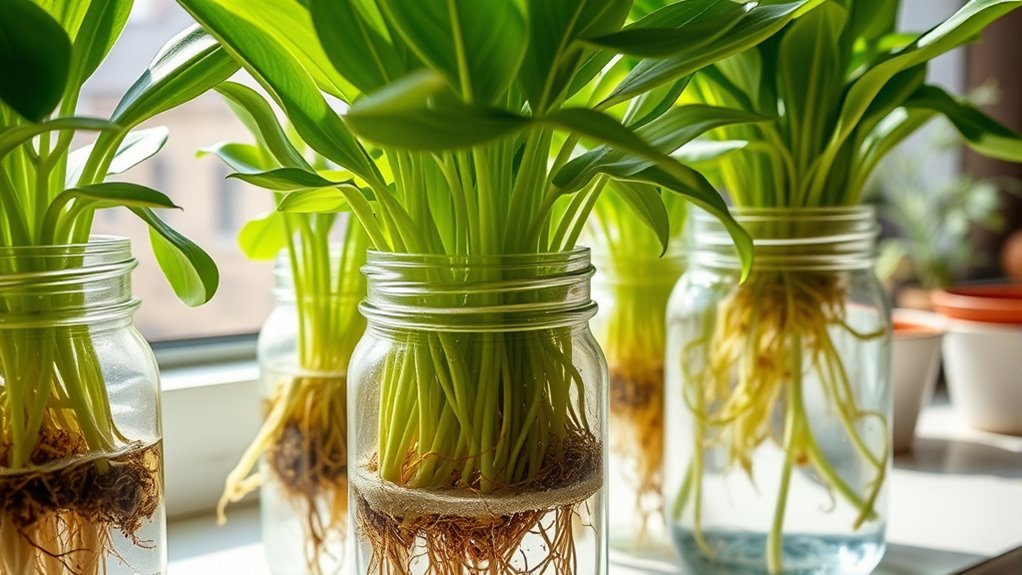
Monitoring and Changing Water Regularly
Regularly monitoring and changing the water in your propagating container is essential to prevent stagnation and keep roots healthy. You should do a water change every 3 to 5 days, as this reduces bacterial growth and prevents mucky buildup.
When changing the water, gently rinse the roots and wipe away any film to promote healthy development. Use room temperature, filtered, or distilled water to avoid impurities that can hinder root growth.
Keep an eye on water levels, ensuring the nodes and roots stay submerged without covering the leaves, which can cause rot. Also, monitor root color and growth; brown or black roots signal it’s time for a water change or other adjustments.
Consistent monitoring and timely water changes help your houseplant propagate successfully.
Recognizing When Roots Are Ready for Transplanting
You’ll know it’s time to transplant when the roots reach about 3 to 5 inches long. Check that they’re healthy, white, and firm—brown or black roots signal trouble.
Make sure the roots are well-developed with a few mature ones before you move your plant to soil.
Root Length Indicators
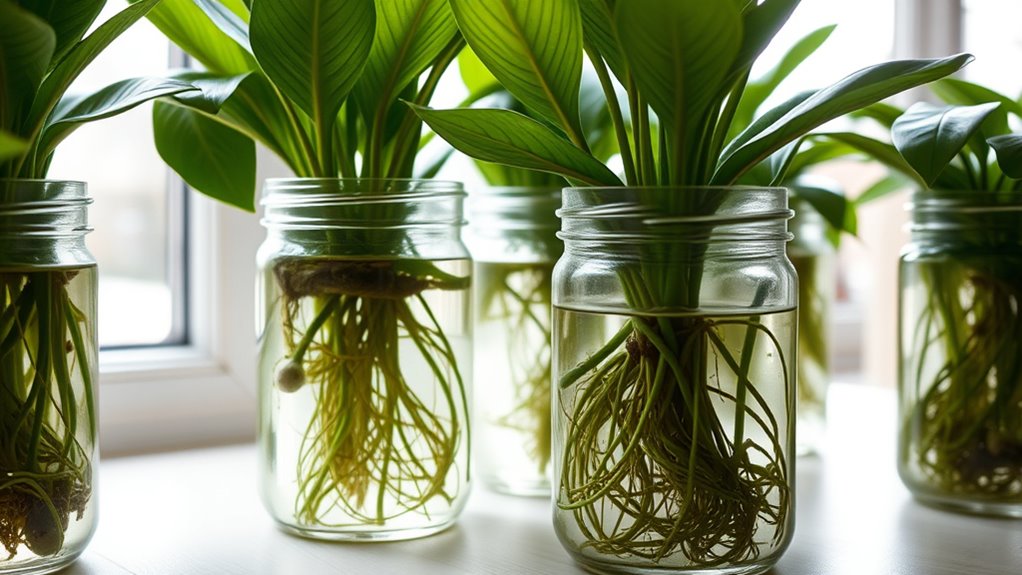
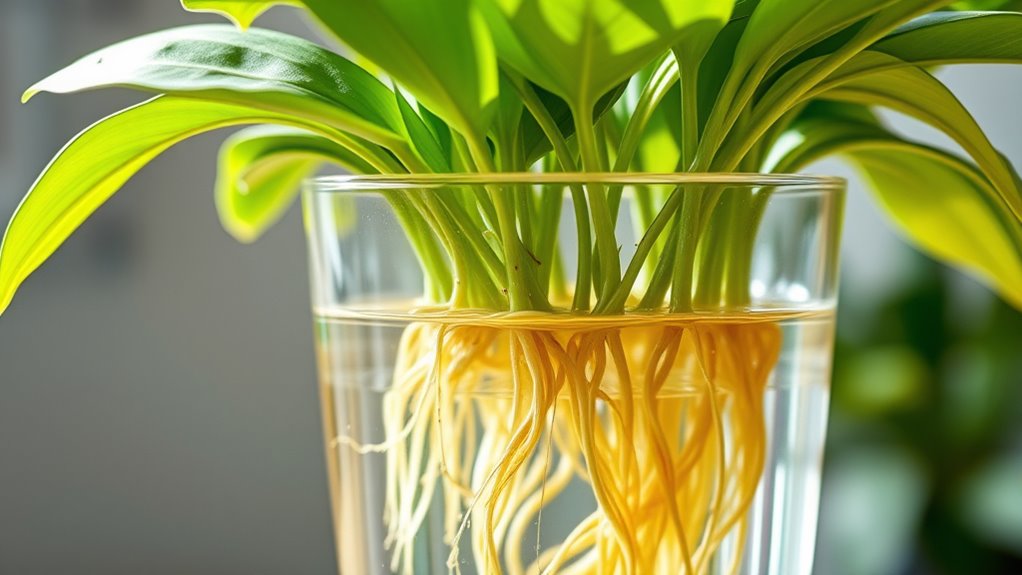
How can you tell when houseplant roots are ready for transplanting? Look for a root length of about 3-5 inches, which indicates they’re strong enough to move to soil. Healthy roots in a plant in water are usually white or light-colored, firm, and slightly thickened.
Check that there are no brown, black, or mushy sections—these signals show the roots are unhealthy. You’ll also notice at least one or two new, finer roots emerging from the main root, a good sign the plant is ready.
Avoid transplanting if roots are overly long or tangled; wait until they’re well-developed but manageable. This ensures your plant’s roots are at the right length to thrive in its new environment.
Healthy Root Appearance
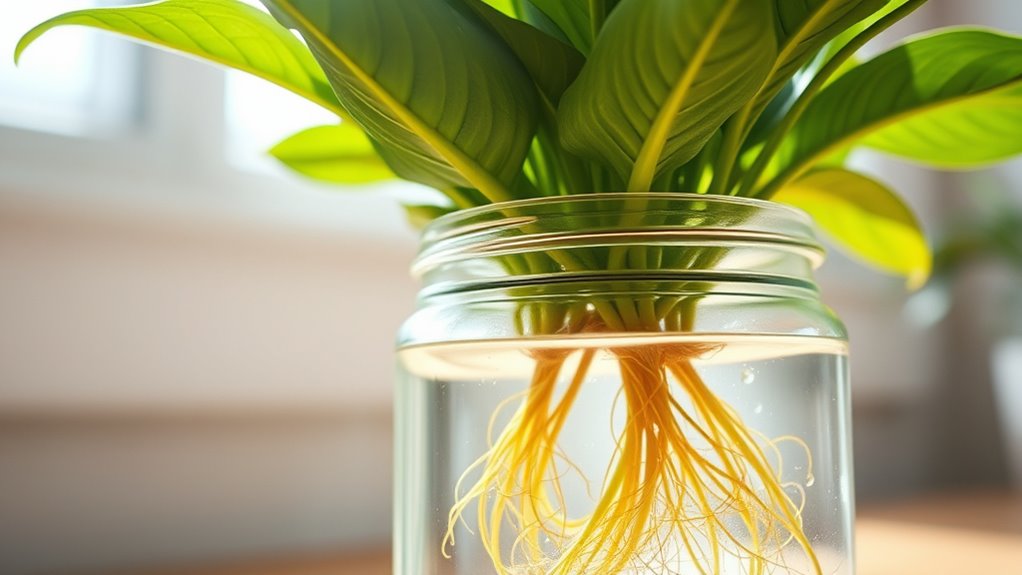
When evaluating if your houseplant’s roots are ready for transplanting, look for roots that are white or light tan in color, firm to the touch, and free from brown or black patches. Healthy roots should be thick, sturdy, and often have multiple branches, indicating strong development.
Gently tug on the roots—resistance shows they’re well-established and ready for transplanting. If the roots are healthy, they’ll resist without tearing.
Before moving your plant, rinse the roots to remove any mucky film and check for disease. Using a rooting hormone can encourage healthy root growth and strengthen the roots before transplanting.
Wait until the roots are about 3-5 inches long and look vibrant. These signs ensure your houseplant will adapt quickly to its new environment.
Transferring Rooted Cuttings to Soil
Once the roots of your houseplant cuttings reach at least 3 to 5 inches and are well-developed, it’s time to transfer them to soil. This step is vital to guarantee your plant continues growing strong and healthy.
Carefully remove the rooted cutting from water, handling the delicate roots gently to avoid damage. Prepare a well-draining potting mix suitable for your plant, often with added sand or perlite for better drainage.
Gently lift the rooted cutting and prepare a well-draining soil mix for transplanting.
Plant the cutting slightly deeper than the root ball. After planting, water thoroughly to settle the soil around the roots. Remember, transferring cuttings in water is just the beginning—show your plant love during this changeover, and place it in bright, indirect light.
Keep the soil moist and avoid direct sunlight to help it settle into its new home.
Caring for Your Newly Transplanted Plant

After you transplant your houseplant into soil, it’s important to give it proper care to help it settle in. Water the plant thoroughly and keep the soil consistently moist, but not waterlogged, for the first few weeks. This supports root establishment and prevents stress.
Place the plant in bright, indirect light to encourage healthy growth and avoid leaf scorch. Avoid fertilizing immediately after transplant; wait at least four to six weeks to prevent root shock.
Regularly monitor your plant for signs of stress, such as yellowing leaves or wilting, and adjust watering and lighting accordingly. With attentive care during this initial period, your houseplant will adapt better and thrive in its new environment.
Troubleshooting Common Propagation Challenges
Troubleshooting common propagation challenges requires careful attention to your cuttings and water conditions. If roots aren’t developing, check if your cuttings come from healthy plants and are cut at proper nodes.
Using contaminated water or neglecting to change it can cause rot and blackening, preventing roots from forming. Roots that turn brown or mushy often mean overwatering or poor water quality. Ensure your water is clean and refreshed regularly.
Contaminated water causes rot; refresh it regularly to prevent root blackening and mushiness.
Additionally, if your cuttings aren’t calloused properly, they’re more vulnerable to rot before roots develop. Some plants or stem cuts may resist rooting in water, requiring alternative methods like soil propagation or rooting hormones.
Pay close attention to your plant’s specific needs to troubleshoot these common issues effectively.
Frequently Asked Questions
How to Propagate Indoor Plants in Water?
To propagate indoor plants in water, start by selecting healthy stems with at least one node. Cut just below the node with clean scissors, then remove excess leaves near the cut.
Place the stem in a transparent container with room-temperature water, ensuring the nodes are submerged. Keep it in bright, indirect sunlight and change the water every 3-5 days.
Roots should develop within a few weeks, ready for transplant into soil.
What Is the Fastest Way to Root Plant Cuttings in Water?
Think of rooting cuttings like catching a wave—timing and technique matter. To do it fast, pick healthy stems with a node, cut just below it, and call the cut end to prevent rot.
Place them in bright, indirect light and add a splash of hydrogen peroxide to boost oxygen.
Change the water every 2-3 days to keep it fresh, and roots will appear within a week or two.
What Is the Easiest Plant to Propagate in Water?
You’re wondering which plant is easiest to propagate in water. Pothos (Epipremnum aureum) tops the list because it’s hardy and roots quickly with minimal effort.
Philodendrons, especially heartleaf varieties, are also simple to root in water within a few weeks. Both require little care, making them perfect choices for beginners.
With just a few cuts and patience, you’ll have new plants growing in water in no time.
What Does Cinnamon Do for Propagation?
You might be surprised, but cinnamon actually helps your propagation efforts by acting as a natural rooting hormone. When you apply cinnamon to the cut end of a stem, it encourages healthy root development and speeds up the process.
Plus, it prevents fungal infections, reducing the risk of rot. So, next time you propagate, sprinkle some cinnamon—it’s a simple, natural way to boost your success rate.
Conclusion
Now that you’ve mastered water propagation, you’re practically a botanical wizard—minus the robes, of course. Just remember, patience is key, even if your plants seem to mock you with their slow roots. Keep your sense of humor intact as you nurture your green friends, and soon you’ll be the proud parent of lush, water-born foliage. Who knew that turning your thumb green could be so effortlessly stylish? Happy planting!