
To create DIY LED cove lighting, start by planning your layout and measuring the space. Choose the right LED strips based on your preferred colors and ambiance, and pick a suitable power supply that matches the strip’s wattage. Install the strips securely with adhesive or clips, wiring everything carefully to guarantee safety and flicker-free light. Test your setup before sealing everything in place. If you stay with it, you’ll discover all the tips to perfect your project.
Key Takeaways
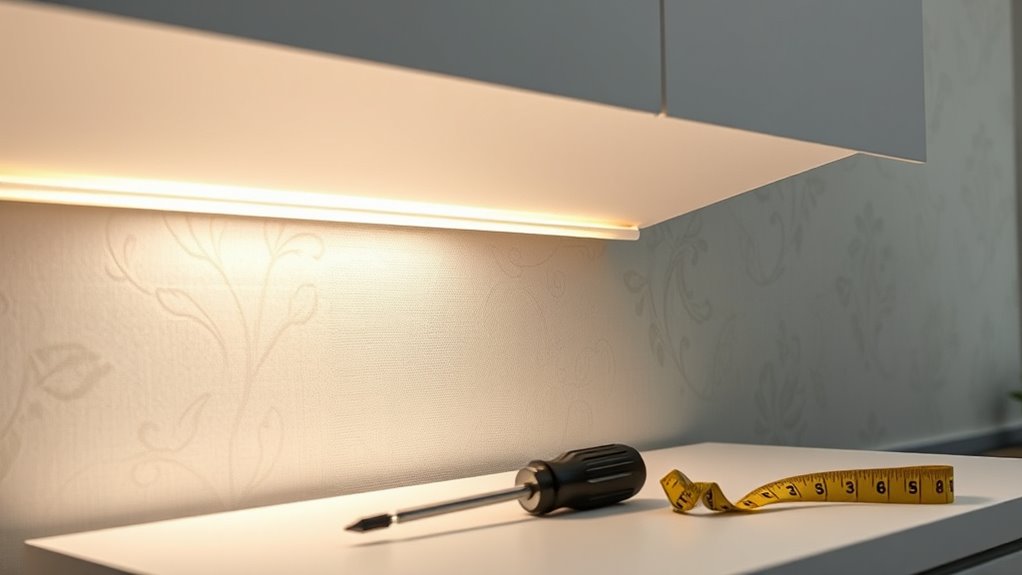
- Measure and plan the layout, selecting suitable LED colors and lengths before cutting the strips.
- Choose a compatible power supply with at least 20% extra wattage and ensure proper voltage regulation.
- Connect the LED strips to the power supply using connectors or soldered joints, following polarity guidelines.
- Mount the strips securely with adhesive backing or clips, and conceal wiring for a clean finish.
- Test all connections for proper lighting and flicker-free operation before sealing and finalizing the installation.
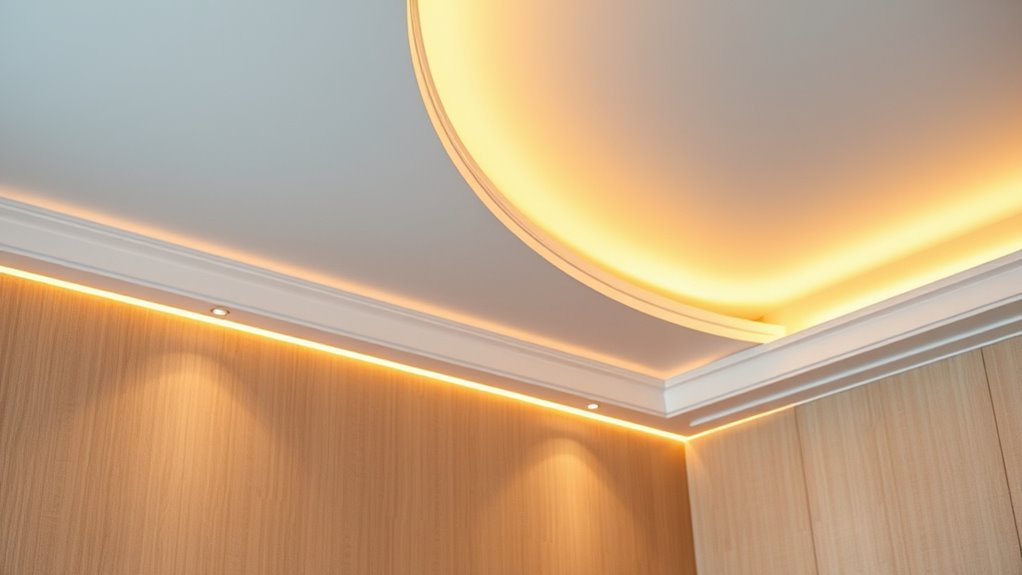
Creating your own LED cove lighting can transform a room by adding subtle, energy-efficient illumination that enhances the ambiance. One of the first decisions you’ll face is choosing the right LED color options. LEDs come in a wide array of colors, from warm whites that create cozy atmospheres to vibrant RGB lights that let you change hues for different moods or occasions. If you want a simple, elegant glow, warm or cool white LEDs may suffice. But if you’re aiming for versatility and dynamic lighting effects, RGB or color-changing LEDs are a great choice. Consider the mood you want to set and select LEDs that match. Keep in mind, some LED strips come with remote controls or smartphone apps, allowing you to switch colors and adjust brightness conveniently.
Once you’ve picked your LED color options, you need to pay close attention to power supply considerations. Your LED strips require a compatible power supply that can handle their voltage and wattage demands. Most LED strips operate on 12V or 24V DC power, so it’s essential to match the power supply to your LED specifications to prevent issues like dimming or damage. Calculate the total wattage of your LED strips by multiplying the length of the strip by its wattage per foot or meter. Then, choose a power supply that offers at least 20% more wattage than your total load, providing a safety margin and ensuring reliable operation. Good power supply considerations also include ensuring proper voltage regulation and quality to prevent flickering or early failure.
Choose a power supply with 20% more wattage than your LED strip’s total to ensure reliable, flicker-free lighting.
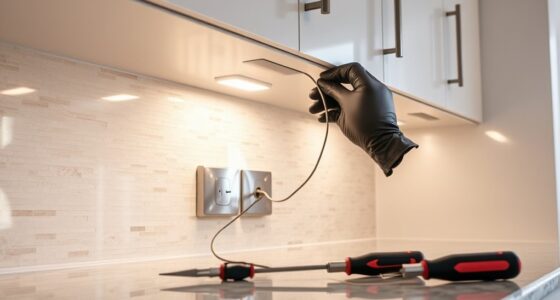
Installation begins by planning your cove’s layout, measuring the length, and cutting your LED strips accordingly. Before wiring, make sure your power supply is unplugged. Connect the strips to the power supply following the manufacturer’s instructions, often involving a simple connection of positive and negative terminals. Use appropriate connectors or solder joints for a secure connection, and consider installing an inline fuse or dimmer switch for additional control and safety. When mounting the LED strips inside the cove, use the adhesive backing, or if needed, mount them with clips for extra security. Make sure the power supply is placed in a well-ventilated area, away from moisture or extreme heat, to prolong its lifespan. Additionally, incorporating proper wiring techniques will help ensure safety and durability of your setup.
Finally, test your setup before sealing everything in place. Turn on the power, check the lighting’s color and brightness, and ensure the power supply provides consistent, flicker-free illumination. Once satisfied, conceal the wiring and power supply, and enjoy your custom-made LED cove lighting, which will add a sleek, modern touch to your space.
Frequently Asked Questions
What Tools Are Essential for Installing LED Cove Lighting?
You’ll need basic tools like a drill, screwdriver, measuring tape, and wire strippers for installing LED cove lighting. A voltage tester helps verify safe installation, especially when working with power supply options. Safety is key, so wear gloves and goggles, and turn off the power before wiring. These tools help you achieve a professional look while prioritizing installation safety and proper electrical connections.
How Do I Choose the Right LED Strip Length?
You should measure your cove space accurately to determine the LED strip length. Consider the desired color temperature for ambiance—warmer tones create coziness, while cooler ones add brightness. Confirm the LED strip’s adhesive strength matches your cove’s surface for secure installation. Always buy a bit extra to account for cuts or adjustments, so you won’t run short and can maintain consistent lighting without gaps.
Can LED Cove Lighting Be Installed Outdoors?
Did you know outdoor lighting can extend your space by 20%? Yes, LED cove lighting can be installed outdoors if you choose waterproof-rated strips with an IP65 or higher. Weather considerations are key, so guarantee your lights are protected from rain, snow, and humidity. Proper waterproof ratings prevent damage and ensure safety, making your outdoor ambiance both beautiful and durable. Always verify the IP rating before installation.
What’s the Best Way to Hide Wiring and Connectors?
To hide wiring and connectors effectively, use wire concealment techniques like running cables behind moldings or within ceiling cavities. You can also hide connectors behind trim or within custom-designed fixtures. Conceal wires by securing them neatly along surfaces with clips or adhesive channels, minimizing visibility. For connectors, opt for discreet covers or hide them behind panels. This approach keeps your cove lighting clean and seamless, enhancing the overall aesthetic.
How Do I Troubleshoot Common LED Strip Issues?
To troubleshoot common LED strip issues, first check your power supply compatibility to make sure it matches the strip’s voltage and wattage needs. Next, examine the adhesive tape quality; poor adhesion can cause disconnections. Inspect the connections for loose or damaged wires, and test the strip with a different power source if needed. Replacing faulty sections and ensuring proper installation often resolve most issues quickly.
Conclusion
So, now you’re officially a cove lighting wizard—who knew a few LEDs and some elbow grease could transform your space? Just remember, with great lighting power comes great responsibility (and maybe a little obsession with perfect angles). Sit back, admire your handiwork, and pretend you’re on a fancy home makeover show. Who needs a professional when DIY lighting makes you look like one? Now go ahead, bask in your brilliantly lit glory—you earned it!