To create a stylish DIY peg rail wall, start by planning your design and choosing durable materials like hardwood or high-quality pine. Measure carefully and install level pegs for a polished look, using the right fasteners for your wall type. Personalize with decorative accents and adjust as needed for changes. Regular maintenance keeps it looking great and guarantees safety. Curious how to make your space both functional and attractive? There’s more to explore if you keep going.
Key Takeaways
- Plan and sketch the design, choosing appropriate colors, textures, and decorative accents to match your aesthetic goals.
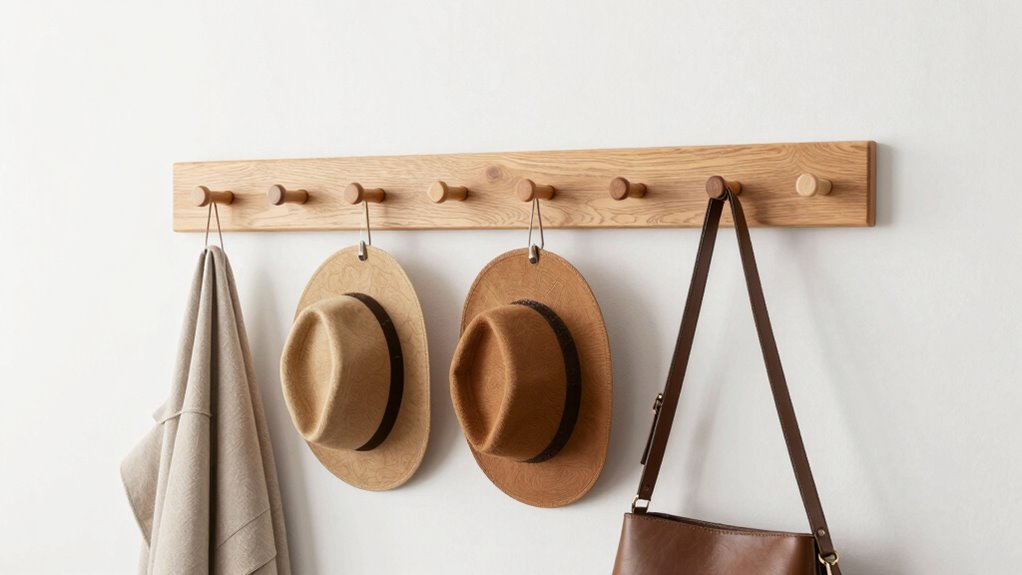
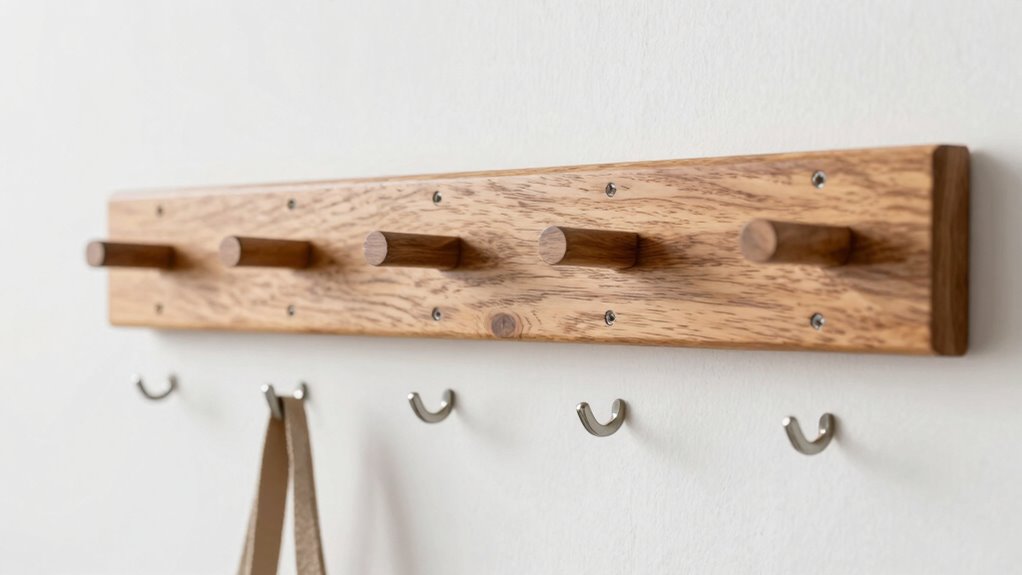
- Select durable materials like hardwood or high-quality pine, ensuring proper fasteners and level installation for stability.
- Customize peg spacing and placement to fit your storage needs and enhance visual appeal.
- Regularly inspect and maintain pegs and rails, tightening or replacing components as needed for safety and longevity.
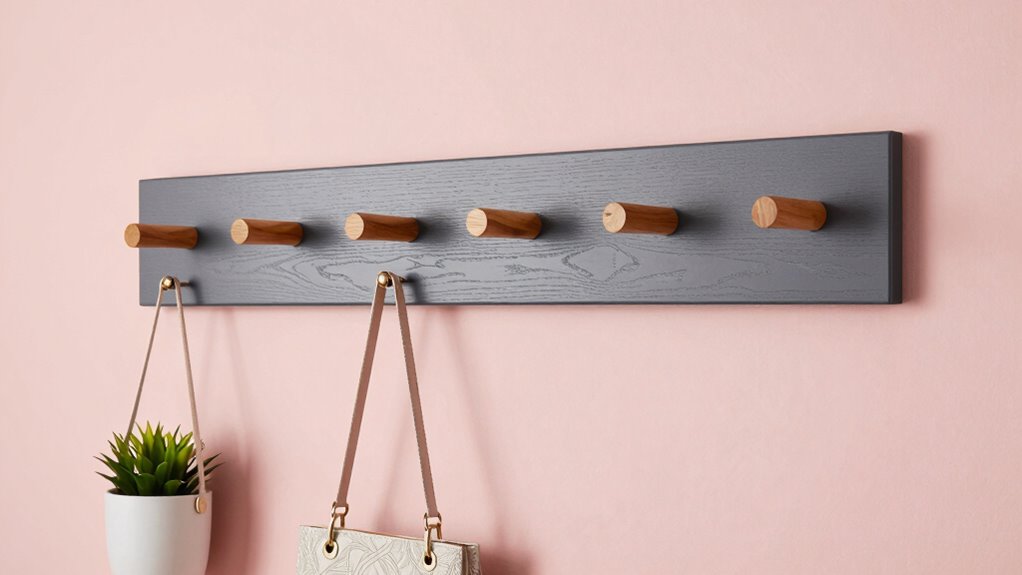
- Use the peg rails creatively to hang decorative items, small planters, or everyday essentials for stylish, functional storage.
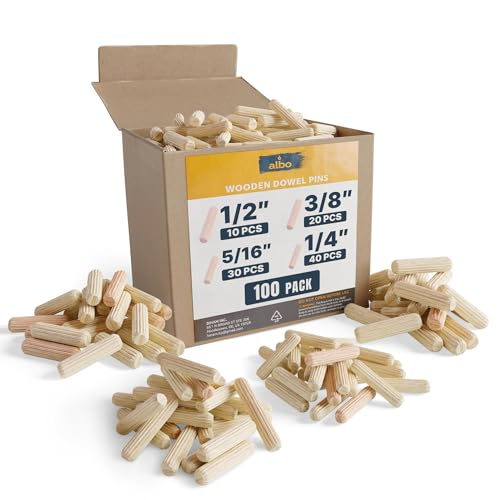
ALBO Wooden Dowel Pins 100 Pack Assorted Sizes 1/2 + 3/8 + 5/16 + 1/4 inch Fluted Wood Dowels Rods Hardwood Crafts Dowel Pegs
HIGH QUALITY MATERIAL: Wooden dowels are cut from hardwood high density. The wooden dowel rods are kiln dried…
As an affiliate, we earn on qualifying purchases.
As an affiliate, we earn on qualifying purchases.
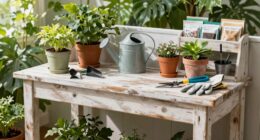
Plan Your DIY Peg Rail Wall : What You Need to Know
Before you start building your DIY peg rail wall, it’s important to plan carefully to guarantee the project turns out just as you want. Consider how decorative accents will enhance the space, adding personality and style. Think about your overall color coordination—choose paint or stain colors that match or complement your existing decor. Decide where you want the peg rails to go and how many you’ll need for best storage and aesthetic appeal. Sketch out your design, noting the spacing between pegs and the height of the rail. A thoughtful plan ensures your wall looks cohesive and functions well. Additionally, understanding how decorative accents can influence the overall look will help you make more informed design choices. Incorporating wall surface finishes into your planning can also impact the durability and appearance of your peg rail wall over time. Paying attention to emerging trends in digital publishing can offer innovative ideas for sourcing custom components or inspiration for your project. Considering sauna safety tips such as ventilation and material choices can also inspire safe and stylish storage solutions in your space. It’s also helpful to consider material durability when selecting components to ensure your peg rail wall remains functional and attractive over the years.

AMAPON Accordion Style Expandable Wall Wooden Coat Rack 13 Hooks (Pegs) Hang Hats Jackets Coffee Mug Purses Necklaces Towels Cap Leash Scarves Data Line Kitchenware
Classic design: Natural wood-Accordion style-Lightly clear lacquer coated.It can be painted according to your own design
As an affiliate, we earn on qualifying purchases.
As an affiliate, we earn on qualifying purchases.
Choose the Best Materials and Tools for Your Project
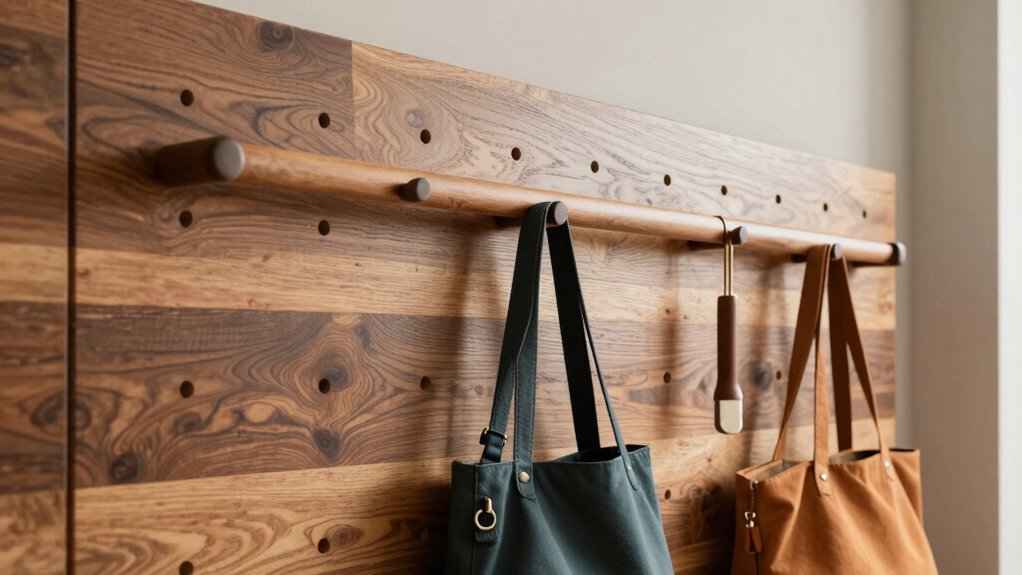
Choosing the right materials and tools sets the foundation for a successful DIY peg rail wall. You want materials with good durability to withstand daily use, guaranteeing your project lasts. At the same time, select materials that match your aesthetic style for a cohesive look. Consider these essentials:
Selecting durable, stylish materials is key for a lasting, cohesive DIY peg rail wall.
- Hardwood or high-quality pine for strength and longevity
- Sandpaper and wood filler for a smooth finish
- Drill and screws for secure mounting
- Measuring tape and level for precision
- Incorporating essential oils for home wellness principles can inspire a calming and mindful workspace environment.
These tools and materials will help you create a sturdy, attractive peg rail wall that complements your space. Prioritize material durability so your storage stays functional over time, and guarantee aesthetic compatibility with your existing decor for a polished result.

10 Pieces Wooden Shaker Peg Screw-on Pegs 3.62 Inch Long Unfinished Wood Shaker Racks for Hanging Clothes Hats Towel and More DIY Paint Color (Wood Color)
wooden shaker pegs screw on shaker pegs wooden pegs hanging screw in shaker pegs unfinished wood shaker peg…
As an affiliate, we earn on qualifying purchases.
As an affiliate, we earn on qualifying purchases.
Install Your Peg Rail Wall : A Step-by-Step Guide
To install your peg rail wall, start by gathering all the necessary tools to guarantee a smooth process. Next, secure wall anchors properly to hold the rail firmly in place. With these preparations, you’ll be ready to confidently move forward with the installation. Ensuring your cabling remains organized and secure can prevent cable failures and maintain a clean look. To keep your setup stylish and functional, consider planning the placement of your peg rails to complement your space’s overall aesthetic. Paying attention to indoor air quality can also help create a healthier environment around your new storage solution.
Gather Necessary Tools
Gathering the right tools is essential to make sure your peg rail wall project goes smoothly. Having everything on hand prevents delays and guarantees a clean, professional finish. You’ll need key items like a level, drill, measuring tape, and a stud finder to properly install your decorative accents and hanging accessories. Additionally, understanding the importance of precise measurements and alignment can greatly improve the final appearance of your project.
With these tools, you’ll confidently hang your peg rail wall, creating a stylish storage solution. Proper preparation helps you achieve a sleek look and keeps your hanging accessories securely in place.
Secure Wall Anchors
Ever wonder how to guarantee your peg rail wall stays secure over time? The key is choosing the right wall anchor types. Different anchors offer various load capacities, so match them to the weight of your peg rail and items you plan to hang. For lightweight rails, plastic expansion anchors often suffice. For heavier loads, consider toggle bolts or masonry anchors if installing into brick or concrete. Proper installation is essential—drill holes accurately, insert the anchors fully, and tighten securely. This ensures they can support the intended load without slipping or pulling out. Using the correct wall anchors not only keeps your peg rail stable but also prevents damage to your wall, giving you a durable and stylish storage solution that lasts.
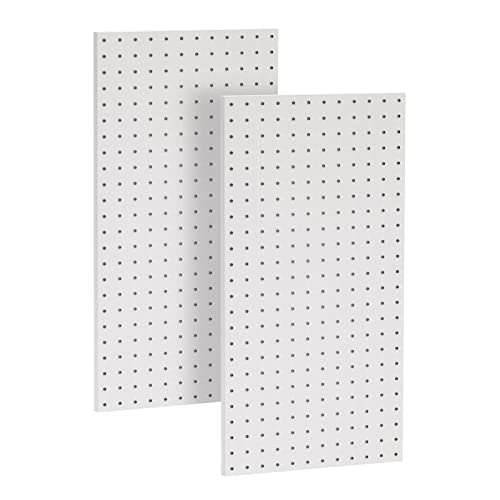
Ultrawall 2 Pcs Metal Pegboard Wall Panels, Peg Boards for Garage Tool Storage
Suitable for organizing garage tools or garden tools and all kinds of tools. Fits all standard 1/8" and…
As an affiliate, we earn on qualifying purchases.
As an affiliate, we earn on qualifying purchases.
Customize Your Peg Rail to Match Your Style
Customizing your peg rail to match your style is a straightforward process that allows you to add a personal touch to any space. You can achieve this by exploring decorative finishes and color coordination that complement your decor. Consider painting your peg rail in a bold hue or a subtle tone that blends seamlessly with your walls. Adding decorative finishes like distressing or staining can give it a vintage or rustic look. To make it stand out, try contrasting colors or metallic accents for a modern vibe. You might also incorporate patterns or textures that reflect your personality. Remember, the goal is to create a functional piece that enhances your style. With these simple tweaks, your peg rail becomes a unique element that elevates your space. Natural Pool design techniques can inspire creative finishes and sustainable choices for your project, encouraging eco-friendly sustainable choices that align with current design trends. Incorporating personalized design elements can further tailor your peg rail to suit your specific aesthetic preferences.
Maintain and Adjust Your Peg Rail Storage
To keep your peg rail storage flexible, regularly adjust the pegs to fit new items or different sizes. Make sure to wipe down the rails often to prevent dust and debris from building up. These simple steps help your storage stay functional and looking neat. Additionally, maintaining an organized and consistent storytelling approach to your storage system can reinforce your overall aesthetic and make it easier to adapt as your needs evolve. Incorporating privacy policy considerations about the importance of user control can inspire a more mindful and intentional approach to organizing your space. Understanding the benefits of smart automation can also help you integrate your storage with other home systems for greater efficiency. Regularly inspecting and adjusting your storage system can ensure it remains safe and effective as your collection grows.
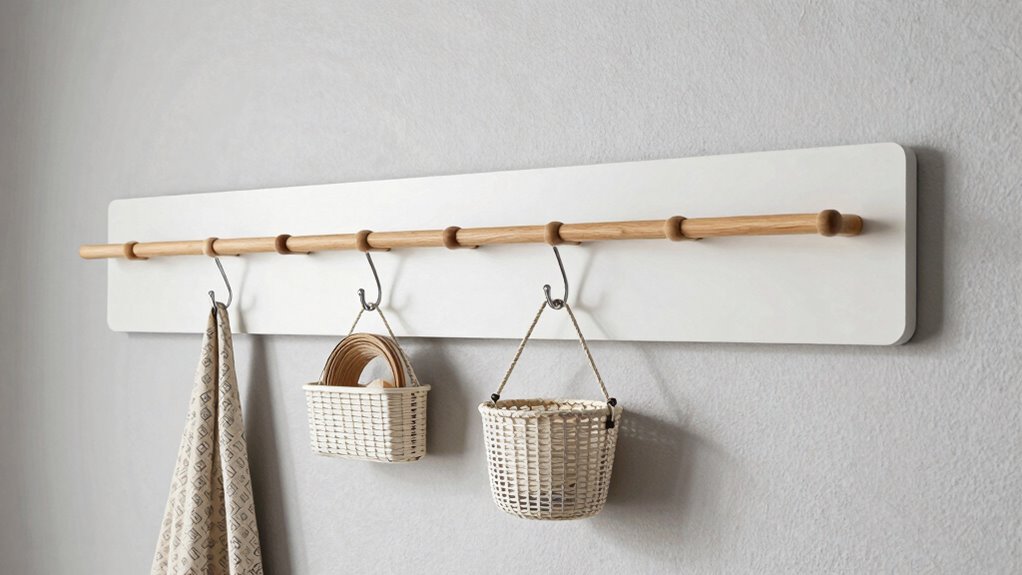
Adjust Pegs for Flexibility
Adjusting the pegs on your rail allows you to customize your storage to fit your changing needs. By repositioning the pegs, you can change the peg spacing to accommodate different items or increase accessibility. Consider exploring various peg material options, such as wood, metal, or plastic, to match your style and durability needs. Flexible peg placement helps optimize space and keeps your setup organized. Using the right peg materials can also enhance durability and ensure long-lasting use. Additionally, selecting appropriate peg materials based on your environment can help prevent wear and tear over time. This simple flexibility makes your peg rail adaptable, functional, and stylish, ensuring it always fits your space and storage goals.
Keep Rails Clean
Regularly cleaning your peg rail keeps it looking fresh and functioning properly. Establishing a cleaning schedule guarantees dust and dirt don’t build up, which can affect the material’s longevity. Use a soft cloth or a damp microfiber towel to wipe down the rail and pegs, avoiding harsh cleaners that might damage the surface. For material maintenance, check for loose or chipped pegs and tighten or replace them as needed. If your peg rail is painted or stained, avoid abrasive scrubbers to prevent scratches. Keeping the rails clean not only preserves their appearance but also assures your storage remains secure and easy to use. Regular upkeep helps you spot potential issues early, maintaining both style and functionality in your space. Incorporating standardized protocols can also help ensure consistent cleaning and maintenance routines over time. Additionally, understanding the regional flavors of materials or finishes used can guide you in selecting appropriate cleaning methods to preserve their unique characteristics. Staying informed about material-specific care ensures your peg rail maintains its aesthetic appeal and structural integrity for years to come, especially when considering different types of finishes and their regional variations.
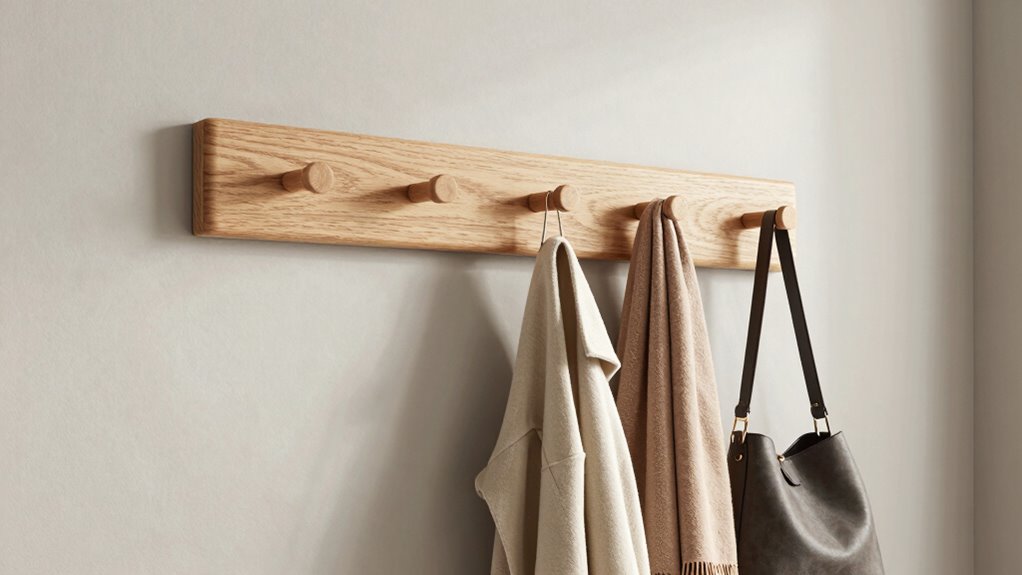
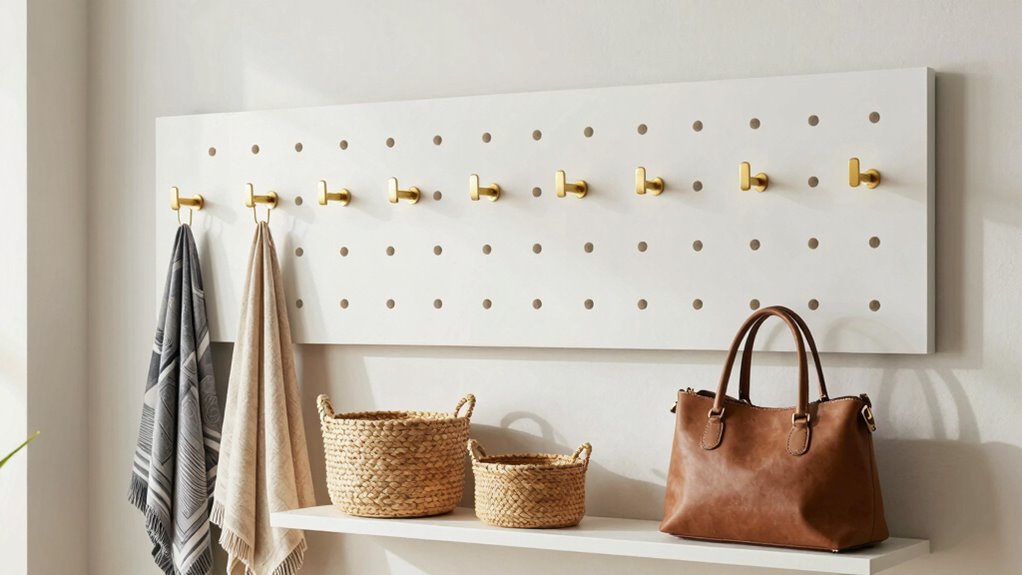
Creative Ways to Use Peg Rails Beyond Storage
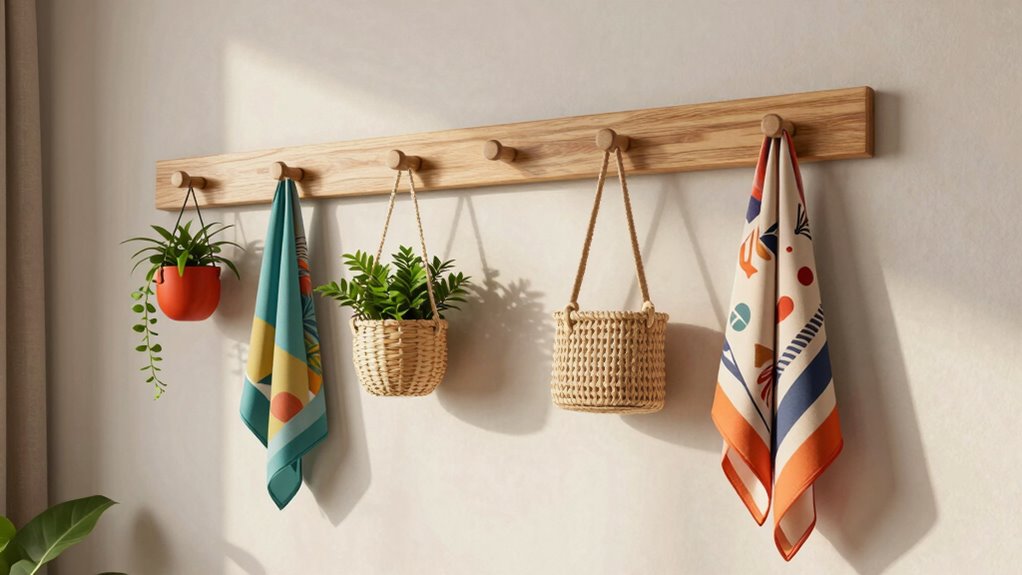
Peg rails aren’t just for hanging coats or towels; they can serve as versatile design elements that enhance your space in creative ways. Use them as decorative wall accents to add visual interest or showcase your personality. They’re perfect for creative display ideas, turning functional pieces into artful arrangements. For example, hang a collection of vintage keys or small framed photos to create a personalized gallery. You can also drape colorful scarves or lightweight textiles for a lively, textured look. Additionally, use the rails to hold small planters or decorative baskets, blending greenery with style. These ideas transform your peg rails from simple storage to statement decor, making your space more inviting and expressive.
Troubleshooting Common Peg Rail Installation Issues
Even with careful planning, installing peg rails can sometimes present unexpected challenges. One common issue is difficulty with height adjustment; if the peg rail isn’t level, it can affect both appearance and functionality. To fix this, double-check your measurements before drilling, and use a level during installation. Material compatibility also matters—some peg rails may not work well with certain wall types or fasteners. For example, drywall requires anchors, while wood walls can hold screws directly. If the peg rail feels loose or unstable, consider switching fasteners or adding additional support. Always test your setup before securing everything permanently. Addressing these issues early helps ensure your peg rail is both sturdy and stylish, avoiding future frustration.
Frequently Asked Questions
How Much Weight Can a Peg Rail Safely Hold?
A peg rail’s weight capacity depends on its material strength and how securely you install it. Typically, a sturdy wooden peg rail can hold around 20-50 pounds if mounted properly into wall studs. Metal rails might support even more. To guarantee safety, always check the manufacturer’s weight recommendations and use appropriate anchors or screws. Distributing weight evenly along the rail also helps prevent damage or accidents.
Can I Install a Peg Rail on Uneven Walls?
You can absolutely install a peg rail on uneven walls, but you’ll need to adapt your approach. First, assess the wall texture to determine how to best secure the rail. Use proper installation tools like a level, screws, and wall anchors for uneven surfaces. Think of it as hitting two birds with one stone — customizing your mounting method guarantees stability and style, even on tricky surfaces.
What’s the Best Way to Remove a Damaged Peg Rail?
To remove a damaged peg rail, start by carefully unscrewing or prying it off, using a putty knife if needed to avoid wall damage. If the wall has holes or marks, consider filling them with spackle or paint for a clean look. For decorative alternatives, you could explore historical styles like ornate moldings or picture rails, which add charm without the risk of damage, providing a stylish and functional update.
How Do I Paint or Finish My Peg Rail?
Getting your peg rail looking sharp is a breeze if you follow the right steps. Start with a smooth surface by sanding lightly, then choose your preferred finishing options—paint or stain. For painting techniques, apply a primer first, then use a brush or roller for even coverage. Finish with a clear topcoat for durability. Remember, a little patience goes a long way—it’s all about making your peg rail stand out!
Are There Eco-Friendly Material Options for Peg Rails?
Yes, eco-friendly options for peg rails include recycled wood and bamboo. Recycled wood not only reduces waste but also adds rustic charm to your space. Bamboo is a sustainable, fast-growing material that’s durable and stylish. When choosing these materials, make sure they’re sourced responsibly. Using recycled or bamboo options helps you create a stylish, environmentally-conscious storage solution that’s both functional and sustainable.
Conclusion
With your new peg rail wall shining brightly, imagine it as the heartbeat of your space—organized, stylish, and uniquely yours. Every hook and rail reflects your personality, turning clutter into art. As sunlight dances across your curated hooks, you’ll feel a sense of pride and calm. This DIY project transforms your walls into a functional masterpiece, inviting you to enjoy a space that’s as beautiful and vibrant as your imagination.