
Installing DIY LED backlights is a fun, cost-effective way to enhance your TV or monitor with customizable ambient lighting. You can easily measure and cut LED strips to fit your screen, then attach them with adhesive. Using controllers or apps, you’ll find it simple to fine-tune colors, brightness, and effects, creating a cozy, immersive space. Keep exploring to discover more tips for a perfect setup and long-lasting results.
Key Takeaways
- Measure your TV or monitor to select the correct length of RGB LED strip for a seamless backlight.
- Use adhesive-backed LED strips for easy installation behind screens, ensuring a clean and dry surface for secure attachment.
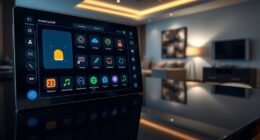
- Connect the LED strip to a compatible power supply and controller, then access controls via remote or app for customization.
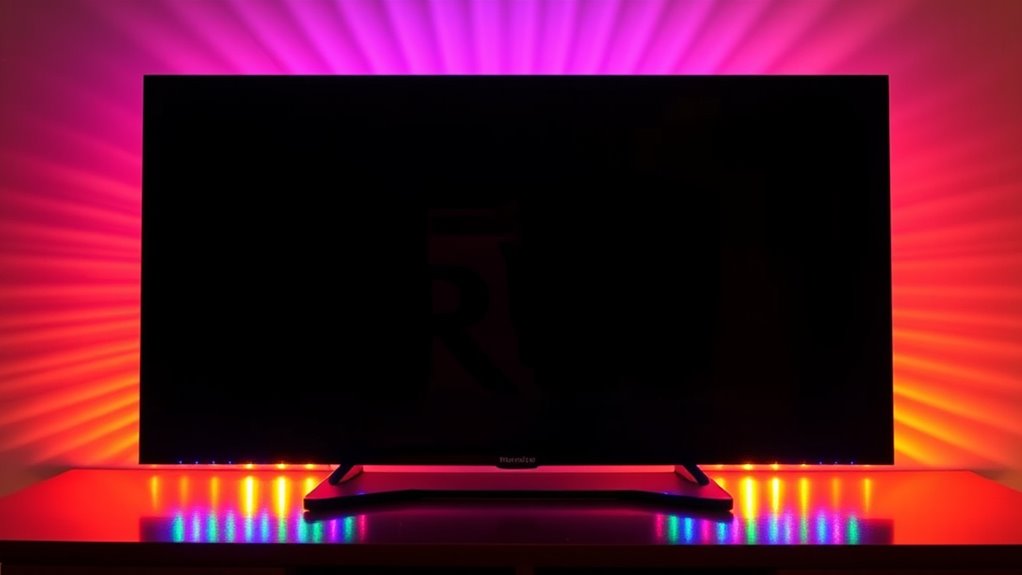
- Customize colors, brightness, and effects to create immersive, ambient lighting that enhances your viewing experience.
- Extend or cut LED strips as needed to fit different shapes or sizes, allowing flexible, personalized backlighting setups.

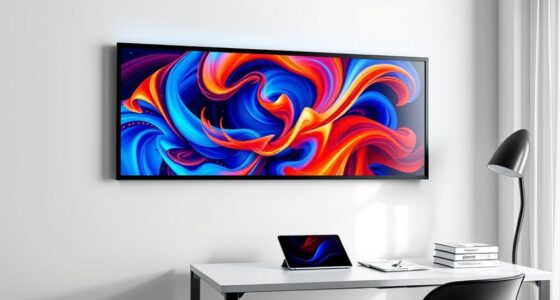
Creating your own LED backlights is a straightforward and cost-effective way to enhance the appearance of your displays or furniture. By adding LED strips behind your TV or monitor, you can transform your viewing space into a more immersive and visually appealing environment. One of the biggest advantages of DIY LED backlights is the ability to incorporate ambient lighting that softens the harsh glow of screens, reducing eye strain and creating a cozy atmosphere. With a few simple components and some basic tools, you can set up a custom lighting system that perfectly matches your room’s decor.
Color customization is a key feature that makes DIY LED backlights so appealing. Many LED strips come with RGB options, allowing you to select any color you want, whether it’s a calming blue, vibrant red, or a dynamic rainbow effect. This flexibility means you can change the mood of your space at the push of a button, matching the lighting to your activity or your personal style. Plus, with controllers or smartphone apps, you can fine-tune the brightness and color shifts, creating a seamless visual experience that elevates your entertainment setup.
Installing your own LED backlights is quite manageable. First, measure the length of your TV or monitor to determine how much LED strip you’ll need. Most LED strips are adhesive-backed, so you can stick them directly to the back of your device without much hassle. Make sure the surface is clean and dry to confirm a secure attachment. Connect the LED strip to a compatible power supply and controller, then position the controller in an accessible spot for easy adjustments. Once everything is wired up, turn on the system and experiment with different colors and modes to find the perfect ambiance.
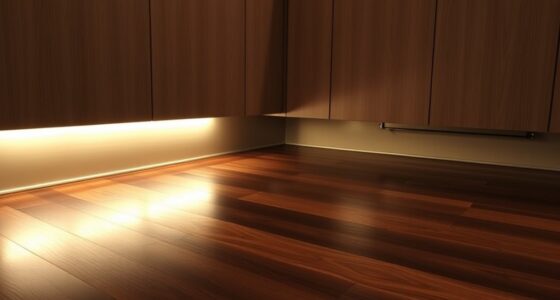
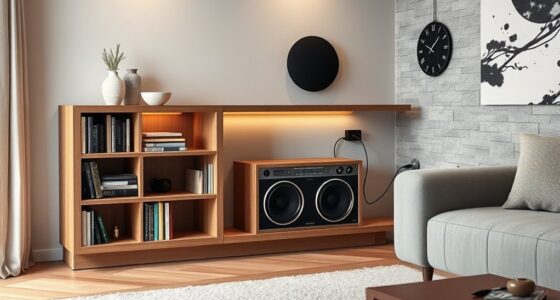
Another benefit of DIY LED backlights is their versatility. You can extend or cut the strips to fit any size or shape, and place them not only behind screens but also along shelves, cabinets, or even under furniture for additional ambient lighting. This customization allows you to create a cohesive, personalized look that complements your space. Also, since you’re installing everything yourself, you can choose high-quality LEDs for durability and brightness, ensuring your setup will look great for years to come.
Frequently Asked Questions
What Is the Optimal LED Strip Length for Different Screen Sizes?
When determining the ideal LED strip length, consider your screen size and LED strip placement. For smaller screens, like 24 inches, a shorter strip around the edges works best, while larger screens, such as 55 inches, need longer strips to guarantee even backlighting. Measure carefully, account for screen dimensions, and plan for proper placement, so your DIY backlight provides balanced illumination without gaps or excess brightness.
How Do I Prevent Uneven Backlighting or Hotspots?
To prevent uneven backlighting or hotspots, focus on proper diffuser materials like frosted acrylic or opal diffusers, which help spread light evenly. Use careful led placement techniques, placing LEDs close to the diffuser’s surface and spacing them evenly along the strip. Avoid clustering LEDs or placing them too far from the diffuser, as this can cause hotspots. Consistent, strategic placement and quality diffusers guarantee smooth, uniform backlighting.
Can DIY Backlights Improve TV Picture Quality?
Yes, DIY backlights can improve your TV picture quality by enhancing ambient lighting and reducing eye strain. They create a more immersive viewing experience and improve contrast, making dark scenes clearer. Properly installed, your backlight can minimize hotspots and uneven lighting, offering greater visual comfort. By customizing the brightness and color, you also boost overall image quality, making your TV viewing more enjoyable and less fatiguing over extended periods.
What Safety Precautions Are Necessary When Working With LEDS?
When working with LEDs, you need to prioritize electrical safety and handling precautions. Always unplug power sources before starting, and use insulated tools to prevent shocks. Avoid direct contact with LED terminals to prevent static damage. Confirm proper ventilation, and keep your workspace dry to reduce risks. Follow manufacturer instructions carefully, and wear safety glasses if soldering or working with components that might spark. These steps keep you safe during your DIY project.
How Do I Choose the Best Color Temperature for My Setup?
When choosing the best color temperature for your setup, consider your ambient lighting and the mood you want to create. A warmer color temperature (around 2700-3000K) offers a cozy, inviting feel, ideal for relaxing. Cooler temperatures (5000-6500K) mimic daylight, perfect for task lighting or a bright workspace. Match your LED backlights to your ambient lighting to reduce eye strain and enhance visual comfort.
Conclusion
By choosing to create your own LED backlights, you’re gently steering your viewing experience toward a more personalized glow. It’s a subtle shift that can make your screen feel just right, without overwhelming the senses. With a little effort, you’re quietly enhancing your space, turning ordinary moments into something a bit more special. Sometimes, the simplest tweaks bring the most satisfying changes—your TV’s new look is just a few steps away from a softer, more inviting ambiance.