
To grow microgreens at home, start by gathering trays with drainage and selecting organic seeds like basil or radish. Set up a well-lit workspace with natural light or grow lights for 12-16 hours daily. Use a suitable growing medium such as soil or coconut coir and keep everything sterilized. Water carefully, maintain proper temperature, and monitor for mold or overwatering. Once your microgreens reach 1-3 inches, learn the best harvesting techniques and post-harvest tips to enjoy fresh greens year-round.
Key Takeaways
- Select high-quality organic seeds and prepare a clean, well-draining workspace with proper lighting.
- Sow seeds evenly on moist, sterilized growing medium without covering them completely.
- Maintain optimal conditions: 68-85°F, 50-60% humidity, and 12-16 hours of grow light daily.
- Water carefully through bottom watering or misting to prevent mold and overwatering.
- Harvest microgreens when they reach 1-3 inches, then wash, store, and enjoy fresh at home.

MG-15 Hydroponic Growing System Kits, Smart Indoor Garden with 24W Grow LED Light Full Spectrum, 15 Pods Herb Garden Planter Indoor Gardening for Gifts, Kitchen
Patented Full-Spectrum Grow Lights – 5X Faster Growth:This upgraded hydroponics growing system kit features a 24W full-spectrum LED...
As an affiliate, we earn on qualifying purchases.
Gathering Materials and Preparing Your Workspace
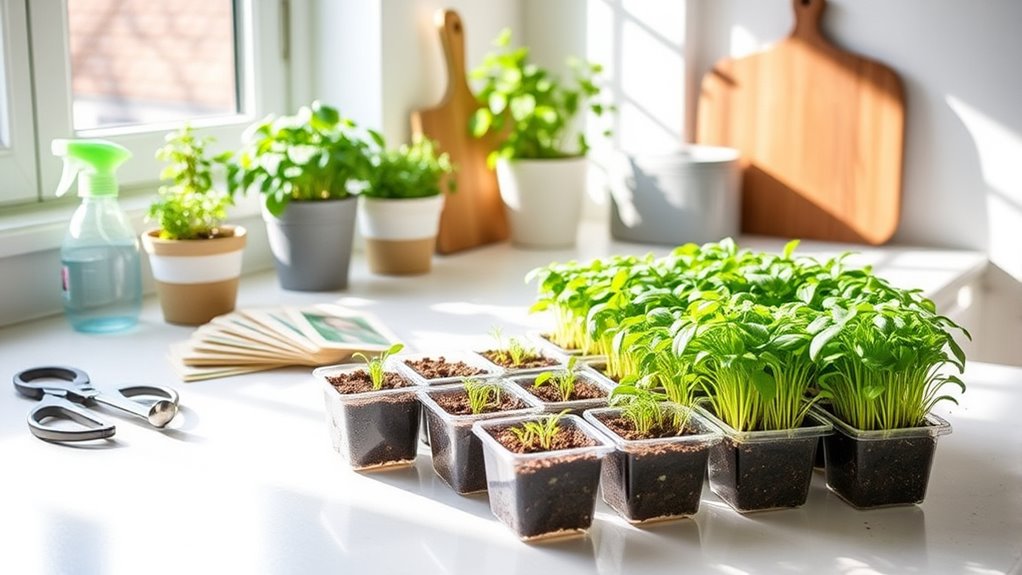
To successfully grow microgreens at home, you need to start by gathering the right materials and preparing your workspace. Begin with trays that have drainage holes to prevent overwatering, and select a natural light source or set up grow lights to provide 12-16 hours of illumination daily. Additionally, incorporating automation technologies can help manage watering schedules and light exposure more efficiently, ensuring optimal growth conditions. Choose an organic growing medium like potting soil or coconut coir, and measure your seeds carefully with a kitchen scale or measuring cups, typically 1-2 ounces per tray. Make sure to sterilize your tools and containers with boiling water to prevent mold and disease. Keep watering tools like spray bottles or watering cans handy to maintain proper moisture levels, making sure the medium stays moist but not waterlogged. A prepared, clean workspace is key to successful microgreen growth. Proper skincare practices can help keep your hands clean and free of bacteria during planting and maintenance, which is especially important for preventing microbial contamination that could affect your crop. Incorporating light management techniques can further enhance germination and growth rates, leading to healthier microgreens.

Ahopegarden Hydroponics Growing System Kit Indoor Herb Garden with Grow Light 12 Pods, with LCD Touch Panel Hydroponic Planter, Planting Height Up to 17", Grower Harvest Fresh Veggie Lettuce, Black
Avant-garde and modern design: Our smart hydroponics growing system kit merges urban farming innovation with minimalist aesthetics. Crafted...
As an affiliate, we earn on qualifying purchases.
Selecting and Sowing Your Microgreen Seeds
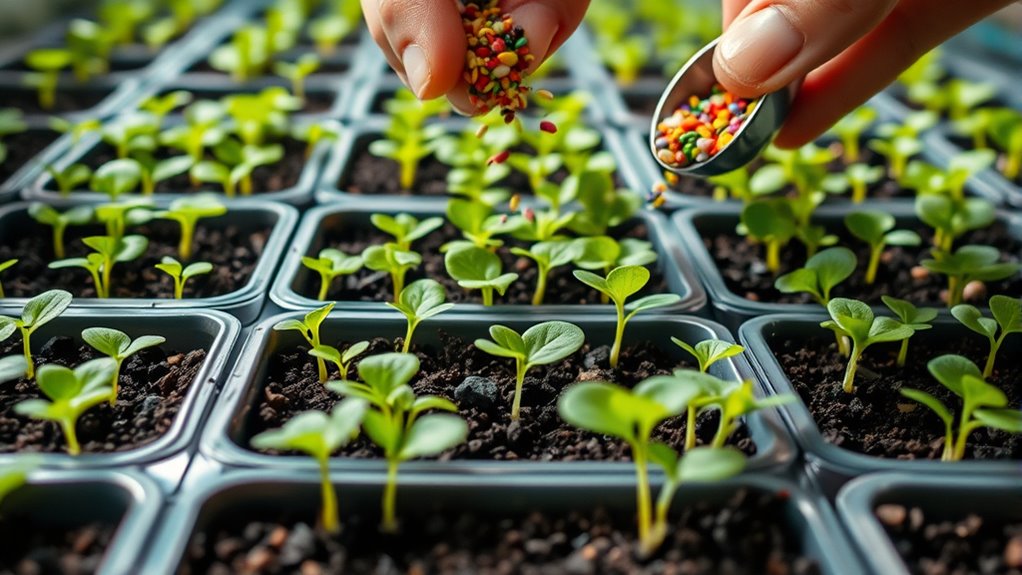
Choosing the right seeds is essential for successful microgreens, so opt for high-quality, organic seeds like arugula, radish, basil, or broccoli. When sowing, guarantee even distribution of your microgreen seeds across the prepared growing medium. For larger or hard-shelled seeds such as peas or sunflower, soaking seeds overnight enhances germination and helps achieve a better germination rate. After spreading the seeds, avoid covering them with soil; instead, allow light access to promote sprouting. Lightly press the seeds into the growing medium to ensure good seed contact and consistent growth. Use a clean, moist medium like soil or coconut coir, and maintain proper moisture levels. Proper seed coverage and sowing technique are critical for healthy germination and lush microgreens. Monitoring digital literacy programs can help you stay informed about best practices and safety tips for home gardening, ensuring you follow best seed sowing techniques for optimal results.

LETPOT LPH-SE Hydroponics Growing System, 12 Pods Smart Herb Garden Kit Indoor, Indoor Garden, APP & WiFi Controlled, with 24W Growing LED, 5.5L Water Tank, Pump System, Automatic Timer
PATENTED SMART HYDROPONIC SYSTEM: Take your indoor gardening to the next level with our patented smart hydroponic system,...
As an affiliate, we earn on qualifying purchases.
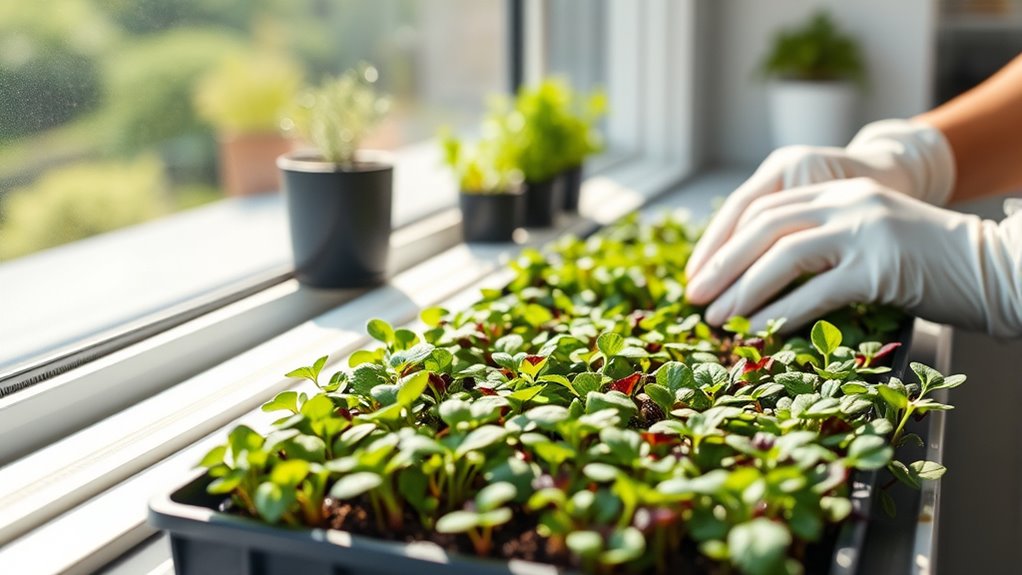
Managing Light, Water, and Growing Conditions
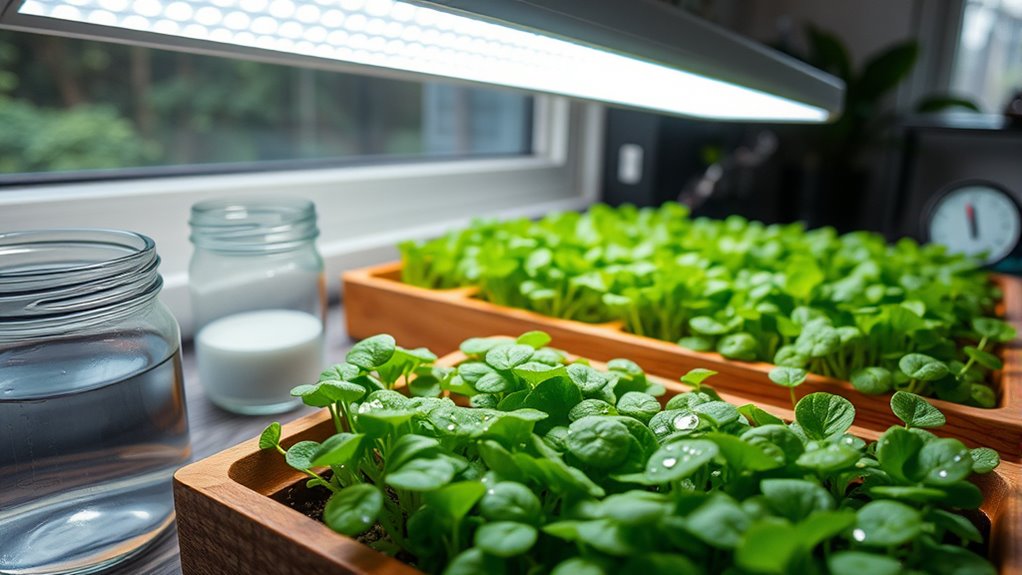
Ensuring ideal light, water, and growing conditions is crucial for healthy microgreens. Use a grow light with blue and red spectra, providing 200-600 PPFD, to support microgreens growth and promote faster maturation. Position the light for at least 12 hours daily, using indirect light if possible. You can also incorporate essential oils like peppermint or lavender in the environment to help deter pests and mold naturally. Water your microgreens through bottom watering or misting to maintain moisture control without waterlogging, which can lead to mold. Keep the temperature between 68-85°F (20-30°C) and humidity around 50-60% to foster healthy germination and growth. Good airflow is essential; open windows or use a small fan to reduce excess moisture and prevent fungal issues. Additionally, selecting the right growing medium can improve overall plant health and yield. Introducing ventilation systems can further enhance airflow and reduce humidity levels, promoting healthier microgreens. Incorporating automation technology such as timers or sensors can optimize environmental conditions and reduce manual effort. Monitoring air circulation is also vital to prevent disease and ensure uniform growth. Creating and maintaining this ideal environment will ensure your microgreens thrive.

URUQ Hydroponics Growing System Garden: 8 Pods Indoor Herb Garden with Grow Light Plants Germination Kit Quiet Automatic Hydroponic Height Adjustable - Gardening Gifts for Women Kitchen
5 TIMES FASTER GROW: Hydroponics growing system with a 24-watt LED light that simulates the effects of sunlight...
As an affiliate, we earn on qualifying purchases.
Monitoring Growth and Troubleshooting Common Issues
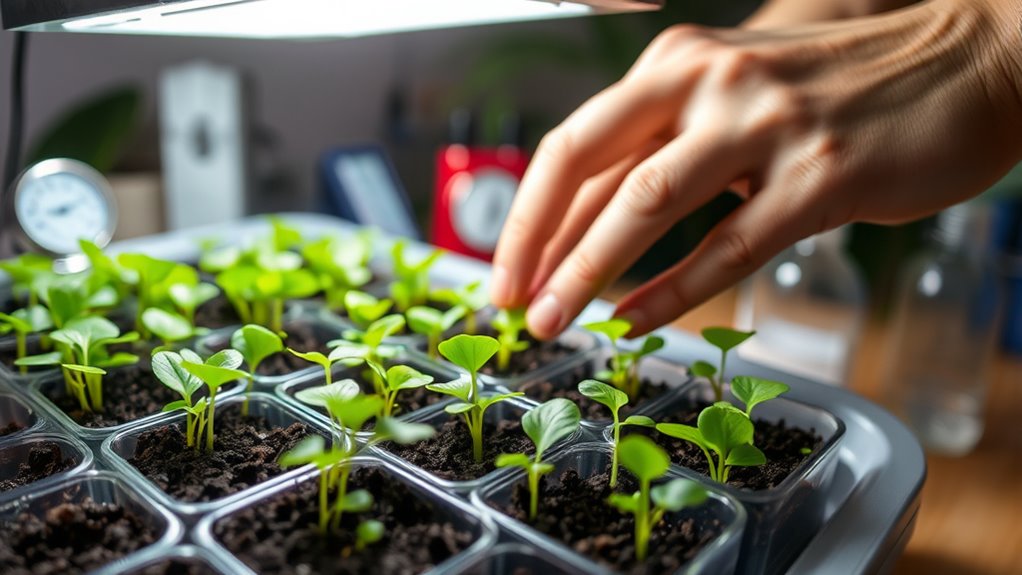
Monitoring your microgreens closely is essential to catch problems early and keep them healthy. Regularly check environmental conditions and growth monitoring to spot issues like mold or fungal problems, which appear as fuzzy white or spiderweb-like growths. Using a grow light can help provide consistent lighting conditions and prevent etiolation or weak growth. Maintain proper moisture levels by following a consistent watering schedule. Overwatering can cause root rot, while underwatering stunts growth. Ensure good air circulation by opening windows or using small fans to prevent high humidity and mold development. Keep a grow journal to track watering, environmental factors, and any issues. This practice can also help you recognize early warning signs of potential problems and take corrective action promptly. Proper environmental control is crucial for healthy growth and can prevent issues like mold, pests, or disease from taking hold. Regularly inspecting your setup for proper airflow can significantly reduce the risk of mold and other fungal issues. Promptly harvesting at the right size also prevents overstretching and bitterness, supporting vigorous growth and overall plant health.
Harvesting and Post-Harvest Care
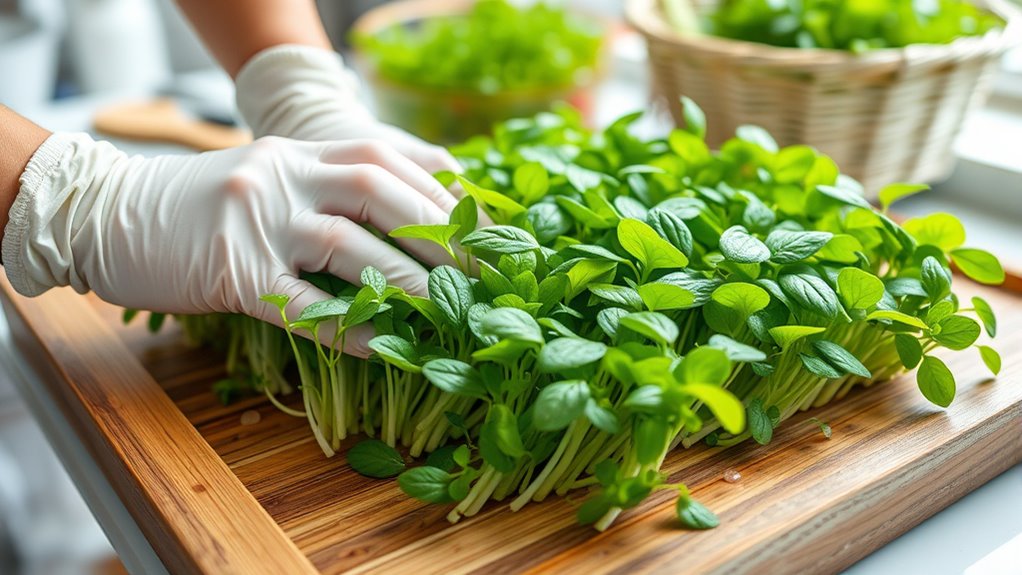
Harvesting your microgreens at the right time guarantees you enjoy the best flavor and maximum nutrient content. When they reach 1-3 inches and show their first true leaves, it’s time to harvest. Use a clean, sharp knife or scissors to cut the microgreens just above the soil line, minimizing tissue damage. For a more rustic aesthetic, consider vintage decor elements that complement your microgreen setup. After cutting, wash the microgreens thoroughly with cool water to remove dirt and contaminants. For post-harvest care, store them in airtight containers or resealable bags in your refrigerator at 35-40°F. To extend freshness and shelf life, trim stems and place the microgreens upright in a small glass of water, loosely covering them with a plastic bag before refrigerating. Proper harvesting and storage help keep your microgreens fresh and nutritious longer, especially if you are mindful of air quality when handling your greens. Additionally, ensuring your microgreens are grown in well-maintained self watering plant pots can help maintain optimal moisture levels for better quality post-harvest. Using proper tools such as sharp scissors or knives can make the harvesting process easier and reduce damage to the delicate greens. Maintaining good hygiene practices during harvesting also minimizes the risk of contamination and spoilage.
Frequently Asked Questions
Do You Need FDA Approval to Sell Microgreens?
You don’t need FDA approval to sell microgreens, especially if you’re a small-scale grower selling directly to consumers. However, you must follow local and state health regulations, maintain proper sanitation, and guarantee your microgreens are safe for consumption.
If you plan to sell across state lines or in large quantities, federal regulations might apply, requiring registration, inspections, and compliance with safety standards set by the FDA.
Do Microgreens Regrow After Cutting?
Imagine a tiny green phoenix, ready to rise from its ashes. Most microgreens don’t regrow after cutting, like this phoenix, because they’re harvested young.
However, some, like pea shoots or chives, can sometimes sprout again if you leave healthy leaves and roots intact. To encourage this, give them water and light.
But remember, most microgreens are designed for a single harvest, so replanting is often necessary for continuous growth.
What Is a Possible Downside to Microgreens?
A possible downside to microgreens is their vulnerability to mold, fungi, and bacterial growth if you don’t provide proper airflow, drainage, and moisture control.
Overwatering or keeping humidity too high can lead to spoilage and reduce their shelf life.
Using contaminated equipment or non-organic seeds may introduce chemicals or diseases.
Additionally, harvesting at the wrong time can diminish their flavor, texture, and nutrient content, affecting overall quality.
Do I Need to Soak Microgreens Before Planting?
Thinking about soaking your microgreen seeds is like giving them a gentle jumpstart. For larger or hard-skinned seeds like sunflower or pea, soaking for 2-8 hours can boost germination and guarantee even sprouting.
Smaller seeds, such as basil or cilantro, usually don’t need soaking. Just rinse them thoroughly after soaking to remove any bacteria or hulls.
Conclusion
Growing microgreens at home is more than just a hobby; it’s a seed of patience and care you plant in your daily routine. As they sprout and flourish, they symbolize your dedication to nurturing life and embracing growth. With each harvest, you’re not only nourishing your body but also cultivating resilience and mindfulness. Let these tiny greens remind you that even the smallest efforts can lead to something vibrant and full of potential—just like their journey from seed to plate.