
To set up your first smart plug, start by ensuring your device is near a power outlet and connected to your home Wi-Fi, preferably 2.4 GHz. Download the official app, then reset the smart plug if needed and connect your phone to its hotspot. Follow prompts to link the plug to your Wi-Fi, customize its name and settings, and add it to your voice assistant if desired. Continuing will guide you through every step for seamless control.
Key Takeaways
- Ensure your smartphone is connected to a stable 2.4 GHz Wi-Fi network before starting setup.
- Plug in the smart plug, reset if necessary, and connect your phone to the device’s hotspot.
- Use the app to connect the smart plug to your home Wi-Fi network, following on-screen instructions.
- Customize device name, icon, and schedule settings within the app for easy identification.
- Integrate with voice assistants like Alexa or Google for hands-free control and automation routines.
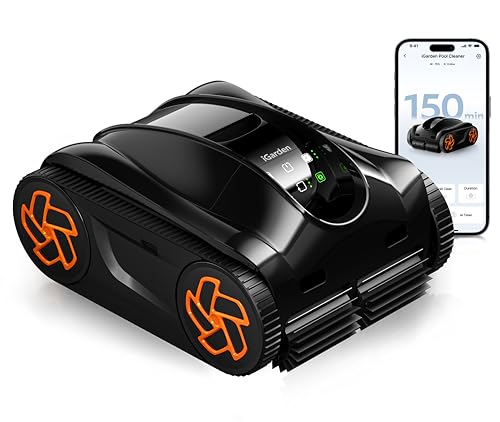
iGarden Robotic Pool Cleaner K Series, Cordless Pool Vacuum Robot for Inground & Above Ground Pools, Smart Navigation, Touchscreen, Self-Parking, Cleans Floor, Wall & Waterline, 150 Min
Robust Cleaning Capability: Engineered with a turbine-grade impeller, an optimized flow system, and 3 brushless motors, the cordless...
As an affiliate, we earn on qualifying purchases.
Gathering Your Supplies and Preparing Your Space
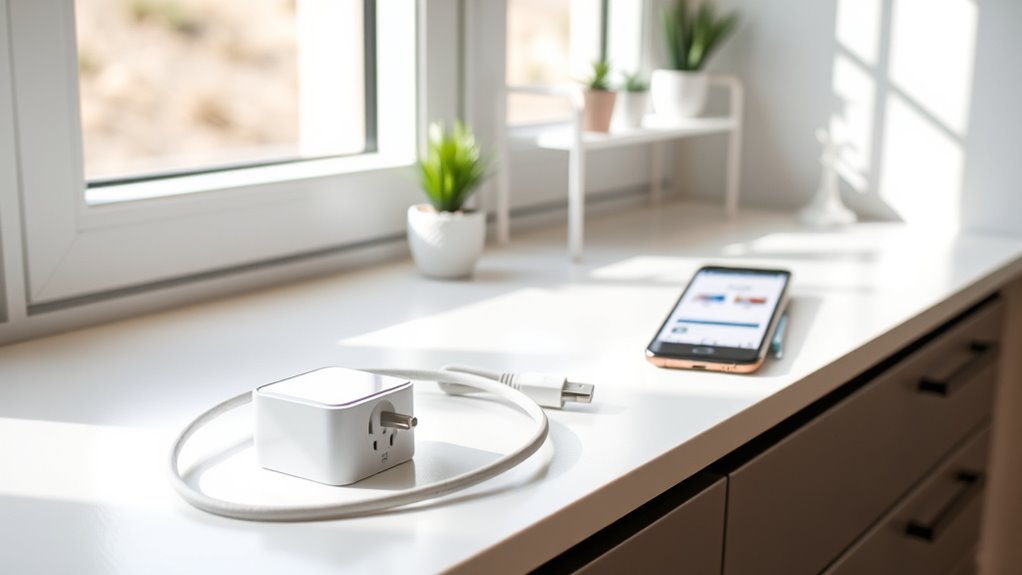
Before you begin setting up your smart plug, make sure your smartphone is connected to your home Wi-Fi, preferably on the 2.4 GHz band since most smart plugs require it. This is essential for a smooth setup in your smart home. Ensure your Wi-Fi network has a stable connection to avoid interruptions during setup. Choose a power outlet that’s centrally located, within Wi-Fi range, and easy to access. Plug in the smart plug and verify the outlet works by connecting a basic device. Gather the packaging, user manual, and any accessories to keep everything handy during setup. Confirm your Wi-Fi network is stable, as a reliable connection guarantees a seamless process. Proper color accuracy in your setup environment can enhance the responsiveness and reliability of your smart devices, especially when using companion apps that rely on visual cues. Having these supplies ready helps streamline the setup and ensures your smart plug connects properly to your smart home ecosystem through the companion app.

(2026 Upgrade) WYBOT C1 Cordless Robotic Pool Vacuum for Inground Pools, Above Ground Pool Cleaner 4-in-1 Wall & Waterline Cleaning Up to 1,614sq.ft, 150mins Smart Navigation, App Support
Powerful Suction with Dual Brushes: Built with an upgraded independent water pump motor delivering up to 3,038 GPH...
As an affiliate, we earn on qualifying purchases.
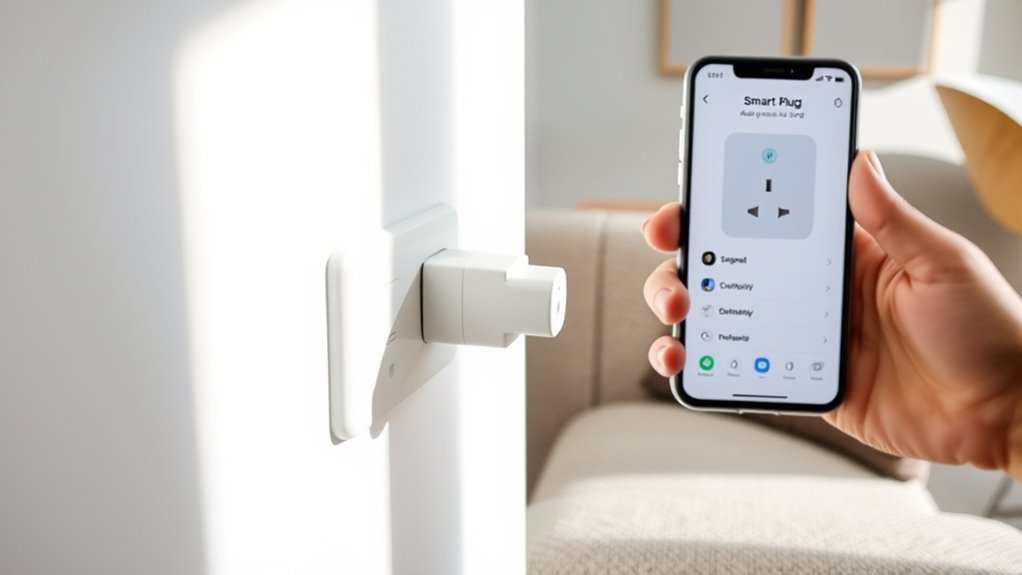
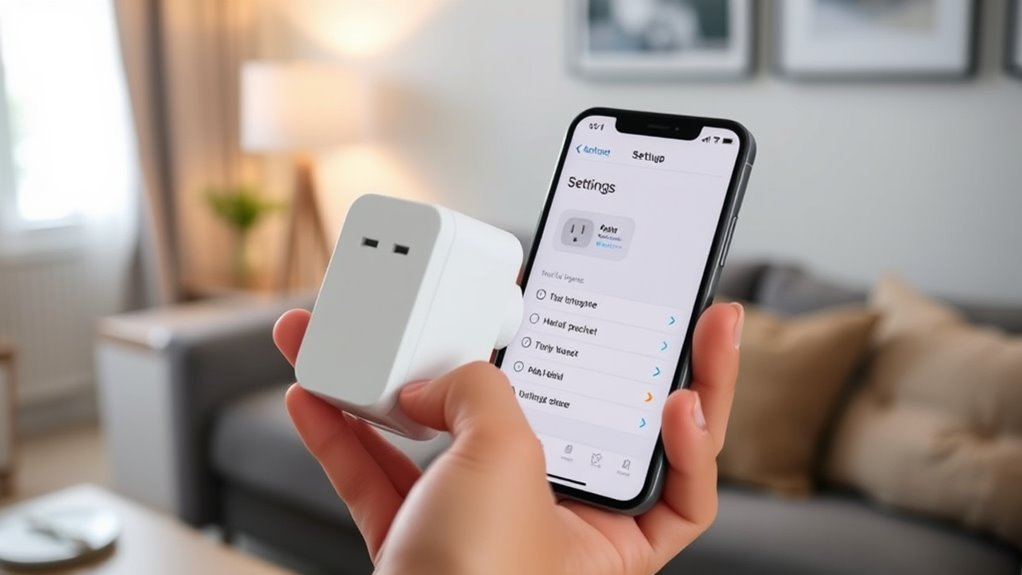
Downloading and Installing the Smart Plug App
Start by opening the Apple App Store or Google Play Store on your smartphone and searching for the official smart plug app. Once you find it, tap to install and then open the app to begin setup.
Make certain your phone is connected to your home Wi-Fi network to guarantee smooth installation and operation.
Choose App Store or Google Play
To download the smart plug app, choose the appropriate store for your device—Apple App Store for iPhones or Google Play Store for Android phones. Make sure your device has a stable internet connection during the download and setup process. Search for the specific app recommended by your smart plug manufacturer, such as “Kasa Smart” or “TP-Link,” to ensure compatibility with your device. Before downloading, verify that your device’s operating system meets the app’s minimum requirements. Keeping your software up to date helps the app run smoothly and unlocks all smart plug features. Additionally, confirming the app’s password security features ensures your account remains protected during setup. Remember that updating your device’s software regularly can improve overall performance and security during the setup process. Being aware of compatibility requirements can prevent issues during installation and setup, especially since some smart plugs may require specific network protocols for optimal operation.
Search for the Official App
Have you found the official app for your smart plug? If not, head to the Apple App Store or Google Play Store and search for the specific brand or model of your device, like the Kasa Smart app for TP-Link. Downloading the correct app is essential for compatibility and security. Once you locate it, tap the install button and follow the on-screen prompts. Make sure your smartphone is connected to your home Wi-Fi, preferably a 2.4 GHz network, to guarantee smooth setup. Verify you have enough storage space and a stable internet connection before downloading. After the app is installed, you’ll be ready to move on to the next step of setup, but first, confirm you’ve downloaded the right app for your smart plug. Also, ensure that the app you choose complies with privacy and cookie policies to safeguard your personal information during setup. Remember that using the correct app can also help you access smart home integration features more easily.
Install and Open the App
After confirming you’ve downloaded the correct app for your smart plug, it’s time to install it on your device. Open the app store on your smartphone and locate the official app, guaranteeing compatibility and security. Tap to install, then follow the on-screen prompts to complete the setup process. Make sure your smartphone is connected to your home Wi-Fi network, preferably on a 2.4 GHz band, to ensure a smooth connection with the smart plug. Once installed, open the app to begin the setup. Grant any necessary permissions for device control and notifications. Follow the app’s instructions to add your smart plug, create a device name, and customize your settings for easy control from your smartphone. Device setup time can vary depending on your familiarity with network configuration and timing and dates, as well as ensuring secure and reliable wireless connectivity.

iGarden Robotic Pool Cleaner K Series, Cordless Pool Vacuum Robot for Inground & Above Ground Pools, Smart Navigation, Touchscreen, Self-Parking, Cleans Floor, Wall & Waterline, 220 Min
Robust Cleaning Capability: Engineered with a turbine-grade impeller, an optimized flow system, and 3 brushless motors, the cordless...
As an affiliate, we earn on qualifying purchases.
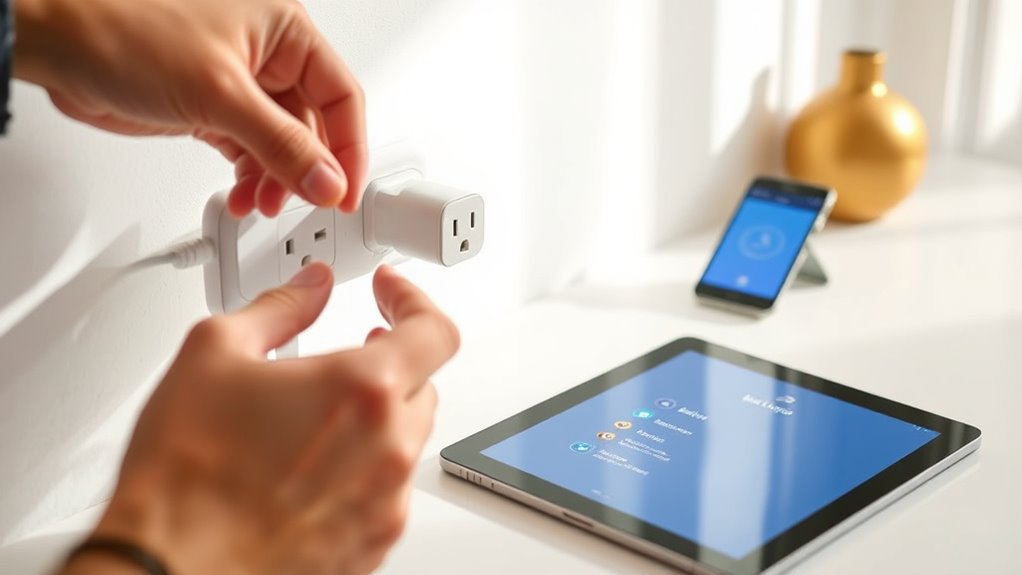
Powering On and Resetting the Smart Plug
Powering on and resetting your smart plug is straightforward. First, plug it into a power outlet. The indicator light should blink, confirming it’s in pairing mode. If it doesn’t blink, press and hold the reset button for 5-10 seconds or power cycle the device. This resets the smart plug to factory settings. To guarantee it’s ready, check the blinking pattern—usually, a specific pattern indicates pairing mode. Use the table below to understand the indicator light’s signals:
| Indicator Light | Status | Action |
|---|---|---|
| Blinking | In pairing mode | Ready for setup |
| Steady on | Powered but not in pairing mode | Press reset button |
| Off | No power or reset needed | Plug into power outlet |
| Changing colors | Reset in progress | Wait for completion |
Once reset, your smart plug is ready for setup. Additionally, ensuring your device is properly powered helps maintain the oral health of your smart home ecosystem. For optimal performance, it’s important to understand indicator light signals and how they guide your setup process.

(2026 Upgraded) WYBOT C2 Cordless Robotic Pool Cleaner, Dual Filtration, Wall Climbing & Waterline Cleaning, App Scheduling, Smart Navigation, Pool Vacuum for Inground/Above Ground Pools-2152 Sq.ft
Dual Filtration System Captures Fine Debris: Featuring dual-layer filtration (180μm + 10μm), the pool cleaner robot efficiently traps...
As an affiliate, we earn on qualifying purchases.
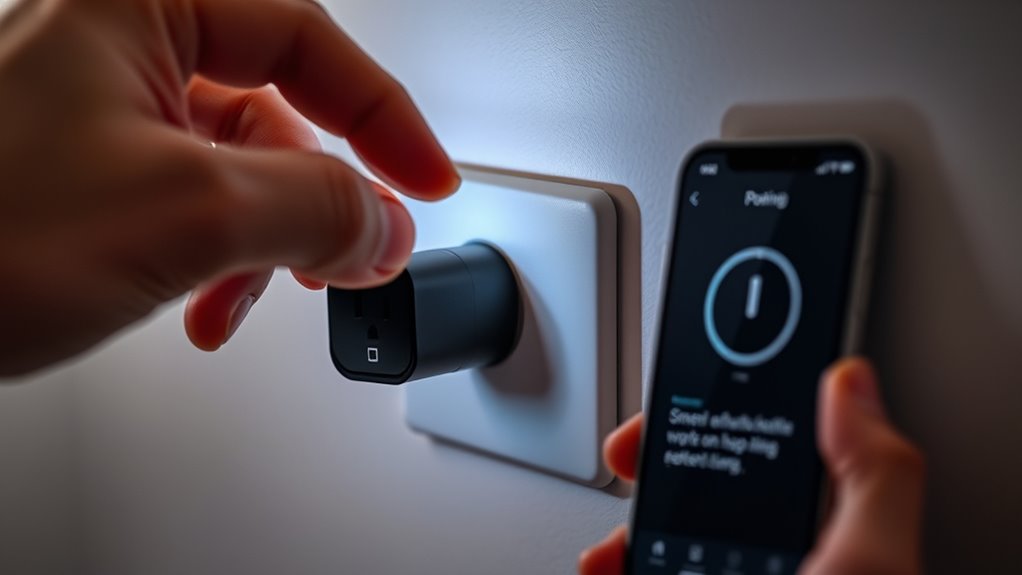
Connecting Your Smartphone to the Device’s Wi-Fi Hotspot

First, make sure your phone’s Wi-Fi is on and connected to your home network, preferably on the 2.4 GHz band.
Then, turn on the smart plug and wait for its indicator light to blink orange and green, signaling it’s ready to connect.
Finally, open the app and connect your phone to the device’s hotspot, confirming the connection before proceeding. Additionally, ensure that the placement of your smart plug allows for proper air quality monitoring and effective operation. Proper placement can also facilitate better wireless connectivity, ensuring a stable connection during setup. Additionally, verify that your smart plug complies with regulatory standards to ensure safe and legal use. Incorporating proper device placement can also improve the overall performance and longevity of your smart home setup. Being mindful of installation guidelines helps in achieving optimal device functionality and safety.
Enable Wi-Fi Settings
To connect your smartphone to the smart plug’s Wi-Fi hotspot, make sure the device is powered on and in pairing mode, which is indicated by a blinking Wi-Fi light. Opening your phone’s Wi-Fi settings and looking for the network name associated with the smart plug, usually a unique SSID from the manufacturer, is the next step. If your phone doesn’t connect automatically, manually select the smart plug’s Wi-Fi network from the list of available networks. You may need to enter a default password, often found in the device manual. Once connected, your phone can communicate directly with the smart plug’s temporary hotspot. This step is essential for the setup process, allowing the app to detect and configure your device before reconnecting to your regular Wi-Fi network. Ensuring a stable connection during this process helps prevent configuration errors that could delay your setup. Additionally, maintaining a strong connection can help mitigate potential cybersecurity vulnerabilities during initial setup, which is crucial given the rise in targeted attacks. Understanding the mysterious disappearances of the Tooth Fairy can add an element of intrigue to the magical setup process, emphasizing the importance of following each step carefully. Being aware of emerging AI discoveries could also inform future smart device innovations and security considerations.
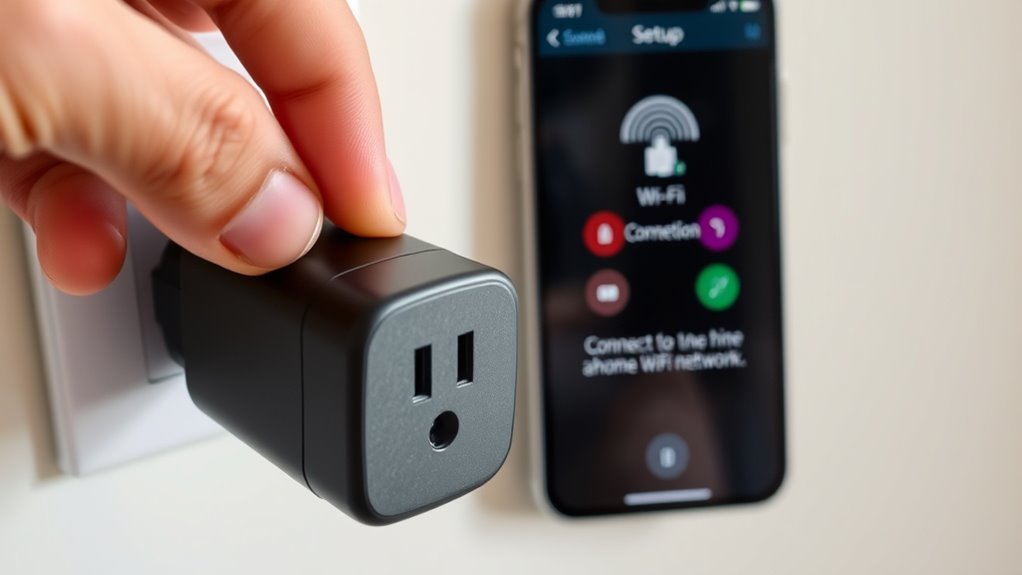
Connect to Device Hotspot
Connecting your smartphone to the device’s Wi-Fi hotspot is a straightforward step in the setup process. First, enable Wi-Fi on your phone and look for the hotspot name, which is usually based on the smart plug’s model. The hotspot should appear automatically, but if it doesn’t, go into your device settings and manually select the network.
Once you connect to the hotspot, your phone will establish a direct Wi-Fi link with the smart plug. This connection allows the companion app to guide you through linking your smart plug to your home Wi-Fi network.
After completing the setup, you can disconnect from the device hotspot and control your smart plug through your regular Wi-Fi network.
Confirm Connection Successfully
Make sure your smart plug is ready for setup by checking its indicator light; it should be blinking green or orange, indicating it’s prepared for connection.
Once you’ve connected your smartphone to the device’s Wi-Fi hotspot, confirm the connection is successful. Look for the following signs:
- The indicator light remains steady, not blinking
- Your phone shows the smart plug’s network as connected
- You can access the Wi-Fi settings without errors
- The app detects the device automatically or after manual refresh
- You don’t see any connection errors or prompts to retry
Ensuring these signs means your phone is connected correctly, and the setup process can continue smoothly. Keeping the Wi-Fi active and stable is essential for a successful device configuration.
Linking the Smart Plug to Your Home Wi-Fi Network
Wondering how to link your smart plug to your home Wi-Fi network? First, make sure your smart plug is plugged into a power outlet within your Wi-Fi range.
Download and install the manufacturer’s app on your smartphone from the App Store or Google Play.
Connect your phone to your home Wi-Fi network, preferably on the 2.4 GHz band if required.
Power on the smart plug and wait for its indicator light to blink orange and green, signaling it’s ready to connect.
Open the app, which will detect your smart plug, then select your Wi-Fi network and enter the Wi-Fi password.
This process allows your smart plug to connect to your Wi-Fi network, enabling remote control through the app.
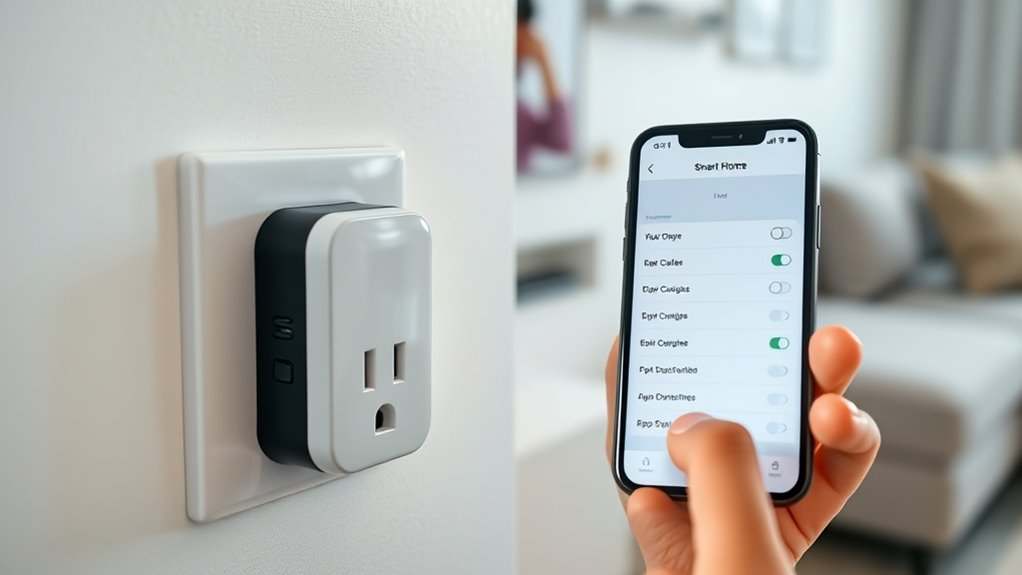
Customizing Your Device Settings and Naming Your Smart Plug
Once your smart plug is connected to your Wi-Fi network through the app, you can begin customizing its settings to suit your needs. This step helps you personalize your device for easier management and improved functionality.
You can assign a unique name to your smart plug, making it easy to identify within your smart home system. Many apps also let you change the device icon or upload a custom image for visual organization.
Adjust basic settings like schedules, timers, or automation routines to control how your device operates.
For more advanced options, you can access firmware updates or reset the device if needed.
- Customize device names for easy identification
- Change icons or upload images for visual clarity
- Set schedules or timers for automation
- Adjust basic operation settings
- Access advanced features like firmware updates
Integrating Your Smart Plug With Voice Assistants and Automations
Integrating your smart plug with voice assistants like Alexa or Google Assistant allows you to control your devices hands-free and enhances your smart home automation. First, make sure your smart plug is connected and recognized in the manufacturer’s app.
Then, enable the relevant skill or service in your voice assistant app and connect to the smart device by signing in or granting permissions. With this setup, you can use voice commands such as “Alexa, turn on the living room lamp” or “Hey Google, turn off the coffee maker” to control your devices effortlessly.
You can also create routines or automations within your voice platform to schedule actions based on time, location, or other smart device triggers. Test your setup to guarantee seamless control and automation.
Frequently Asked Questions
How to Set up Routine for Smart Plug?
To set up a routine for your smart plug, open the companion app and go to the routines or automation section.
Create a new routine by choosing specific days and times for the plug to turn on or off.
Add conditions like sunrise or sunset if you want.
Save and enable the routine, then test it to make sure it works smoothly, ensuring your smart plug operates automatically as scheduled.
How Do I Reconnect My Smart Plug to Wi-Fi?
To reconnect your smart plug to Wi-Fi, first verify it’s within range and powered on.
If needed, reset it by holding the reset button until the indicator blinks rapidly.
Open the manufacturer’s app, follow prompts to add or re-pair the device, and connect your phone to the plug’s temporary Wi-Fi if required.
Select your home Wi-Fi network, complete the setup, and test to confirm it responds to commands.
Do You Need an App for a Smart Plug?
You do need an app for a smart plug because it’s vital for setting it up and controlling it. The app connects your device to Wi-Fi, allowing you to turn it on or off remotely, schedule times, and create automations.
Without the app, you won’t be able to fully configure or manage your smart plug, so it’s an essential part of the process for proper operation.
How Do I Set up Amazon Basic Smart Plug?
To set up your Amazon Basic Smart Plug, first, download the Amazon Alexa app and log in.
Plug the device into a wall outlet and verify the indicator blinks orange, showing it’s ready.
Open the app, tap “Devices,” then “+” to add a new device.
Select “Amazon Smart Plug,” follow the prompts to connect to your Wi-Fi, and name your device for easy control.
Conclusion
Now that you’ve set up your smart plug, your home is stepping into the future—like opening a door to endless convenience. With just a few simple steps, you’ve turned a basic outlet into a powerful tool that works seamlessly with your daily routines. Keep exploring its features and integrations to make your smart home truly yours. Remember, this device is your first step toward a more connected, effortless living space—your home’s new heartbeat.