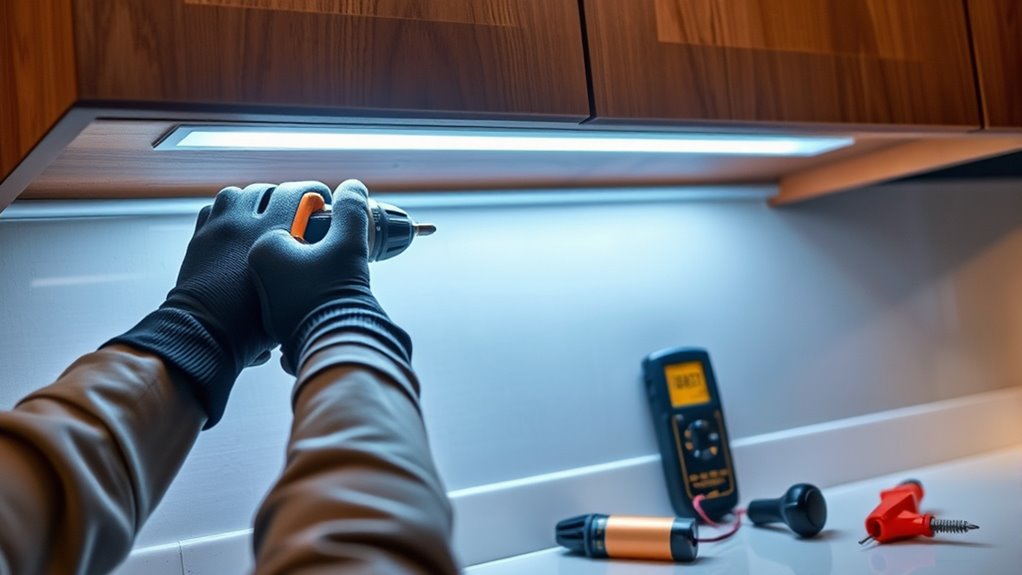

To install dimmable under-cabinet lights safely, first turn off power at the circuit breaker and verify the current is off with a voltage tester. Follow wiring instructions carefully, ensuring all connections are tight and insulated with wire nuts or tape. Confirm that your dimmer is compatible with your lights before wiring it in. Use proper junction boxes for hardwired setups and test the system before finalizing. For detailed safety tips, continue exploring these essential steps.
Key Takeaways
- Turn off power at the circuit breaker and verify with a voltage tester before wiring.
- Use compatible dimmer switches rated for the total wattage and type of under-cabinet lights.
- Follow wiring diagrams carefully, ensuring secure connections and proper insulation in junction boxes or outlets.
- Work with insulated tools and avoid working in wet conditions to ensure safety during installation.
- Test the dimming functionality after wiring, checking for flickering or buzzing, before finalizing and securing the setup.
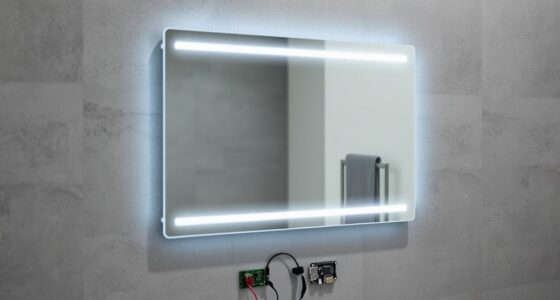
Installing dimmable under-cabinet lights can transform your kitchen’s ambiance and improve task visibility. However, guaranteeing a safe and effective installation is essential. The first step is understanding wiring safety. Before you start, turn off the power at the circuit breaker to prevent any risk of electric shock. Double-check that the power is off using a voltage tester. When working with wiring, use insulated tools and avoid working in wet conditions or with damp hands. If you’re unfamiliar with electrical wiring, it’s wise to consult a professional electrician. Proper wiring safety isn’t just about avoiding shocks; it also guarantees your lights will function correctly without causing electrical issues down the line. Follow the manufacturer’s wiring instructions carefully, paying attention to color codes and connection points. Secure all wiring connections tightly and insulate any exposed wires with wire nuts or electrical tape to prevent shorts or sparks. Additionally, understanding essential oils for electrical comfort can help create a relaxing and safe workspace during installation.
Next, consider dimmer compatibility. Not all dimmer switches work with all types of under-cabinet lighting, especially when dealing with LED fixtures. Check that your dimmer switch is compatible with the type of lights you’re installing. Many LED-compatible dimmers are available, designed specifically for low-voltage or LED loads. Using an incompatible dimmer can lead to flickering, buzzing, or even damage to your lights. When selecting a dimmer switch, confirm it’s rated for the total wattage of your under-cabinet lights and matches the type of bulbs or fixtures you’re using. Some dimmers are designed for specific lighting loads, so reading the specifications and manufacturer’s recommendations helps avoid compatibility issues. Once you have a compatible dimmer, install it according to the instructions, ensuring that the wiring connections are correct and secure.
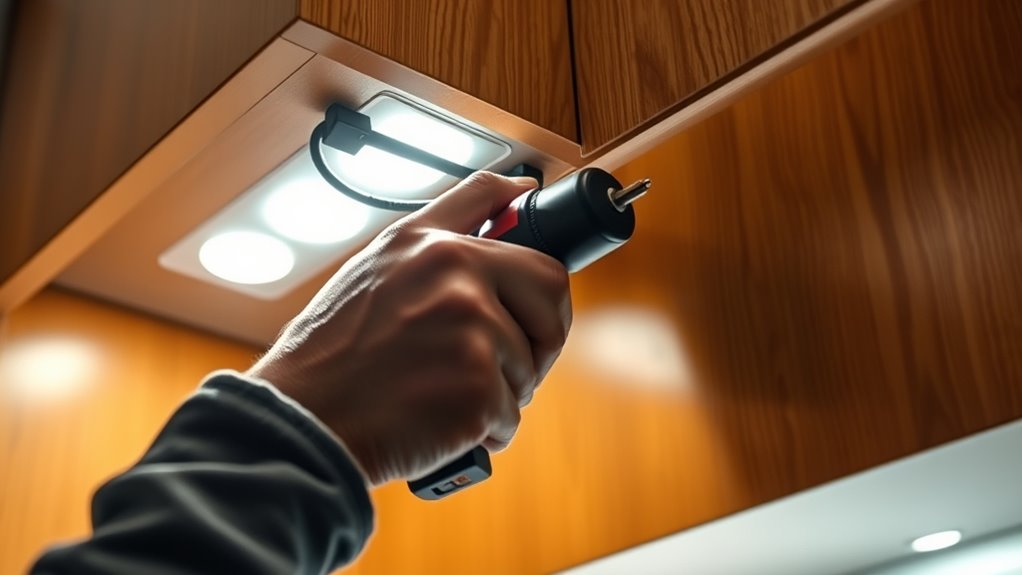
When wiring the lights, always follow the recommended wiring diagram, and if your under-cabinet lights are hardwired, ensure the connection points are shielded and housed in a junction box. For plug-in fixtures, simply connect the plug to a suitable outlet, but still verify that the outlet is properly grounded. Making sure your wiring safety measures are in place prevents electrical hazards, while confirming dimmer compatibility ensures your lighting system functions smoothly without flickering or malfunction.
Finally, test your installation before fully securing everything. Turn the power back on and slowly adjust the dimmer to see if the lights dim smoothly. If you notice flickering, buzzing, or inconsistent brightness, double-check your wiring connections and dimmer compatibility. Taking these precautions helps you enjoy your new dimmable under-cabinet lights safely and effectively, transforming your kitchen’s look and functionality.
Frequently Asked Questions
Can I Install Dimmable Under-Cabinet Lights Without Professional Help?
Yes, you can do a DIY installation of dimmable under-cabinet lights, but you must prioritize electrical safety. Make sure you understand your home’s wiring and follow the manufacturer’s instructions carefully. Turn off power before starting, use the right tools, and consider consulting local electrical codes. If you’re unsure or uncomfortable, it’s safer to hire a professional to ensure everything is installed correctly and safely.
What Are the Best Safety Precautions During Installation?
Think of safety precautions as your guiding lighthouse. Always turn off the power before working on electrical wiring, preventing shocks. Use insulated tools and verify proper grounding to guarantee fire safety. Avoid overloading circuits and double-check connections for loose wires. Wearing safety gear and working in a dry environment keeps you protected. Following these steps helps keep your installation safe, so your new under-cabinet lights shine brightly without hazards.
How Do I Troubleshoot Dimming Issues After Installation?
If your under-cabinet lights aren’t dimming properly, start by checking the electrical wiring to verify all connections are secure and correct. Next, verify the dimmer switch compatibility; some dimmers work only with specific types of bulbs or fixtures. If issues persist, try replacing the dimmer with one that matches your lights’ specifications. Always turn off power before troubleshooting to avoid electrical hazards.
Are There Specific Tools Required for Installation?
You’ll need essential electrical tools like a voltage tester, wire strippers, and screwdrivers, along with mounting hardware such as brackets, screws, and anchors. These tools and hardware guarantee a secure, safe installation, preventing damage and ensuring proper function. Always check your specific light kit’s instructions for any additional tools or materials required. Using the right electrical tools and mounting hardware makes installation straightforward, safe, and efficient.
Can I Connect Multiple Lights to a Single Dimmer Switch?
Yes, you can connect multiple lights to a single dimmer switch, but make sure it’s compatible with your LED under-cabinet lights and supports wireless dimmer functionality. Check the dimmer’s maximum load capacity and verify all lights are LED-compatible to prevent flickering or damage. Using a wireless dimmer allows easier control, but always confirm that the switch and lights work seamlessly together for safe, effective dimming.
Conclusion
By following these safety tips, you can confidently install your dimmable under-cabinet lights without risk. Many believe that DIY lighting projects are dangerous, but with proper precautions, you’re just as safe as a professional. Remember, using the right tools and turning off power at the source protect you from shocks. So, go ahead—brighten up your space safely, knowing that careful planning and caution make all the difference in successful, secure installation.