To set up and program your new robotic pool cleaner, start by inspecting all parts for damage and assembling them properly. Remove debris from the pool area and verify water chemistry is balanced. Place the cleaner on its charger and confirm the battery is full. Connect it to the app or remote control, then follow prompts for calibration, selecting cleaning modes, and scheduling routines. If you keep exploring, you’ll discover more tips to maximize its performance and lifespan.
Key Takeaways
- Unbox and inspect all components, ensuring filters, brushes, and sensors are undamaged and clean before assembly.
- Charge the device fully on its designated station and verify battery health and connection stability.
- Connect the cleaner to the mobile app or remote control, following pairing instructions for seamless setup.
- Calibrate sensors and set cleaning schedules through the app to optimize coverage and maintenance routines.
- Prepare the pool environment by removing debris, obstacles, and ensuring water chemistry is balanced for efficient operation.
Top picks for "sett programm robotic"
As an affiliate, we earn on qualifying purchases.
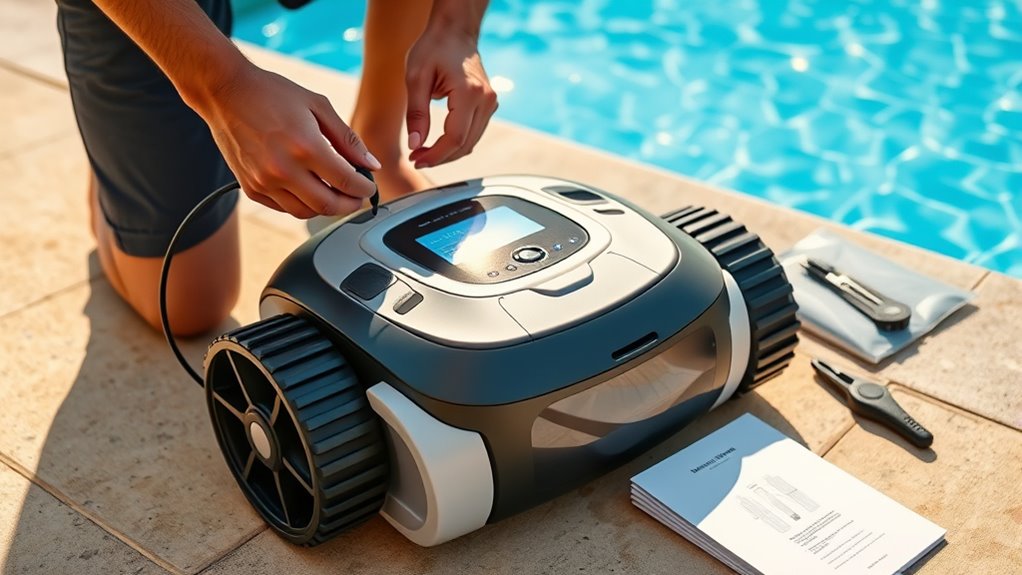
Unboxing and Inspecting Your Robotic Pool Cleaner
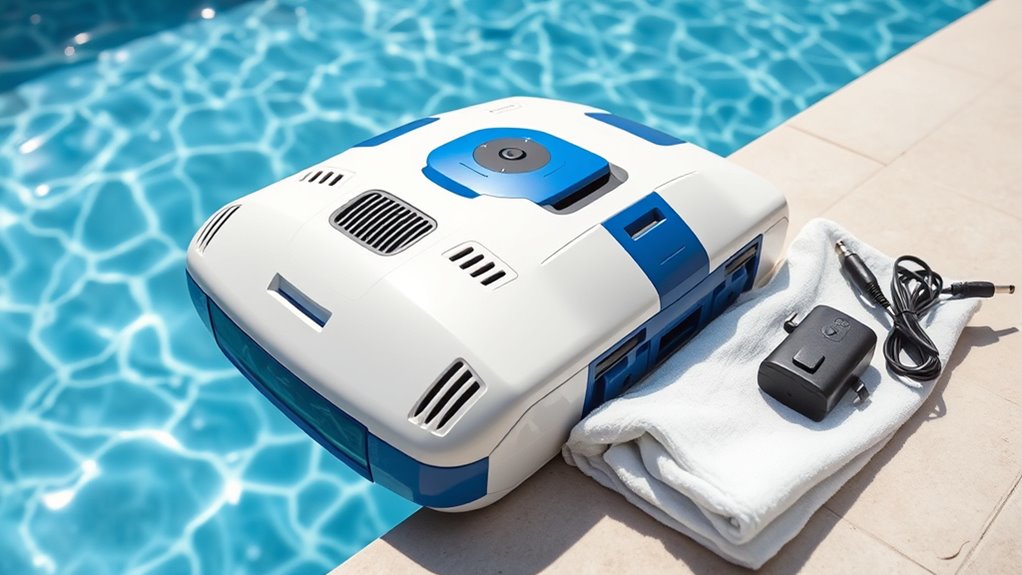
When you unpack your robotic pool cleaner, it’s important to carefully inspect its components to guarantee everything arrived in good condition. Check for any visible damage or missing parts that could affect its performance. Ensure the brushes, filters, and cables are intact and clean. Proper setup not only promotes optimal cleaning but also supports pool safety by preventing debris buildup that could cause slipping hazards. Additionally, take a moment to review your pool’s water chemistry; a well-balanced pool makes your cleaner’s job easier and extends its lifespan. Confirm that the cleaner’s sensors and navigation system are undamaged, as these are crucial for efficient operation. Understanding couples’ shared responsibilities can help you maintain your pool’s equipment more effectively, ensuring smooth operation. Proper calibration and regular maintenance are essential for sustained performance, which can be guided by understanding projector image quality concepts. Staying informed about automation in business can also inspire innovative ways to streamline your pool maintenance routines. This initial inspection sets the foundation for safe, effective pool maintenance and helps you avoid costly repairs later. Additionally, being aware of water-saving techniques can further optimize your pool upkeep and reduce operational costs. Moreover, integrating AI-powered tools can assist in monitoring and optimizing your pool’s health more precisely.
Assembling the Components and Preparing the Pool Area
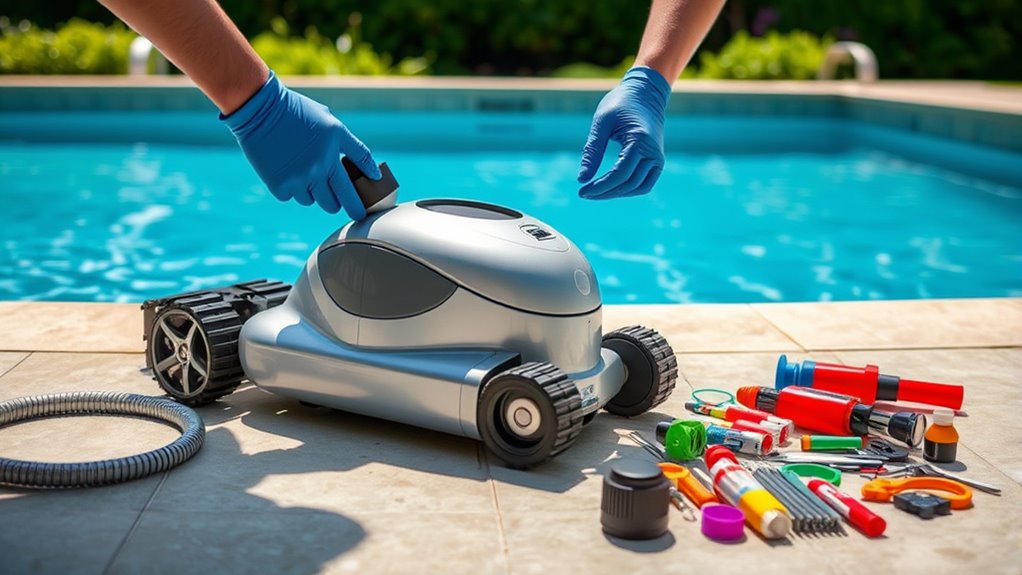
Start by unpacking all the parts and organizing them so you can easily find what you need. Next, clear the pool area of any obstacles, such as toys or debris, to guarantee smooth operation. Once everything is ready, you can confidently move on to assembling your robotic cleaner. For optimal results, ensure the pool area is well-prepared to match the capabilities of your robotic pool cleaner. Incorporating proper maintenance routines, like regular cleaning of the filter and brushes, will help extend your device’s lifespan and efficiency. Understanding the shower design and features can also help in selecting the right accessories for your pool cleaning needs. Being aware of grocery store hours in your area can also be useful when planning shopping trips to support your pool maintenance needs.
Unpacking and Organizing Parts
Before assembling your robotic pool cleaner, it’s vital to unpack all the parts carefully and organize them in a designated workspace. Check each component against the instruction manual to guarantee nothing is missing. Keeping parts organized helps prevent damage and makes assembly smoother. As you unpack, consider pool safety by removing any debris or obstacles around your work area to avoid accidents. While organizing, take note of how water chemistry can affect your cleaner’s performance; for example, high chlorine levels or debris can clog filters. Properly sorting parts now saves time later and ensures your device functions correctly. Once everything is in place, you’ll be ready to assemble your cleaner efficiently, setting the stage for a safe, clean, and well-maintained pool.
Clearing the Pool Area
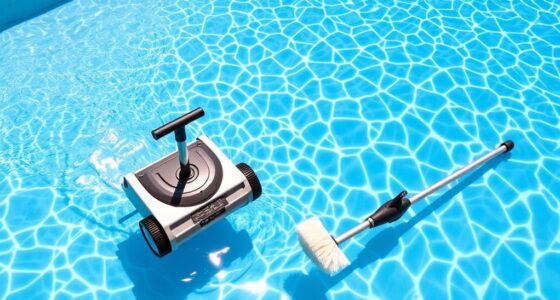
To guarantee your robotic pool cleaner operates effectively, clear the pool area of any debris, leaves, or obstacles that could interfere with its movement. Remove items like toys, floaties, and long branches to prevent jams. Ensuring proper pool safety also means checking for sharp objects or rough surfaces that might damage the cleaner. Additionally, maintain balanced water chemistry to avoid grime buildup that could hinder cleaning performance. Regularly assessing and organizing the pool area can help prevent clutter from accumulating and obstructing the cleaner’s path. Proper water filtration and chemical balance are essential for optimal cleaning results. Incorporating rustic decor elements can also create a more inviting poolside environment that complements a farmhouse aesthetic. Conducting regular maintenance and inspections is vital to ensure safety standards are met and to extend the lifespan of your robotic cleaner. Here’s a quick guide:
| Debris Removal | Safety Checks | Water Chemistry Prep |
|---|---|---|
| Clear leaves & dirt | Remove sharp objects | Test & balance pH & chlorine |
| Remove toys & floaties | Secure pool covers | Regularly monitor water quality |
| Check for obstacles | Inspect pool edges | Maintain chemical levels |
This preparation ensures smooth operation and a safe, clean pool. Implementing preventative maintenance practices can help prolong the lifespan of your robotic cleaner and ensure optimal performance.
Charging the Device and Verifying Battery Status
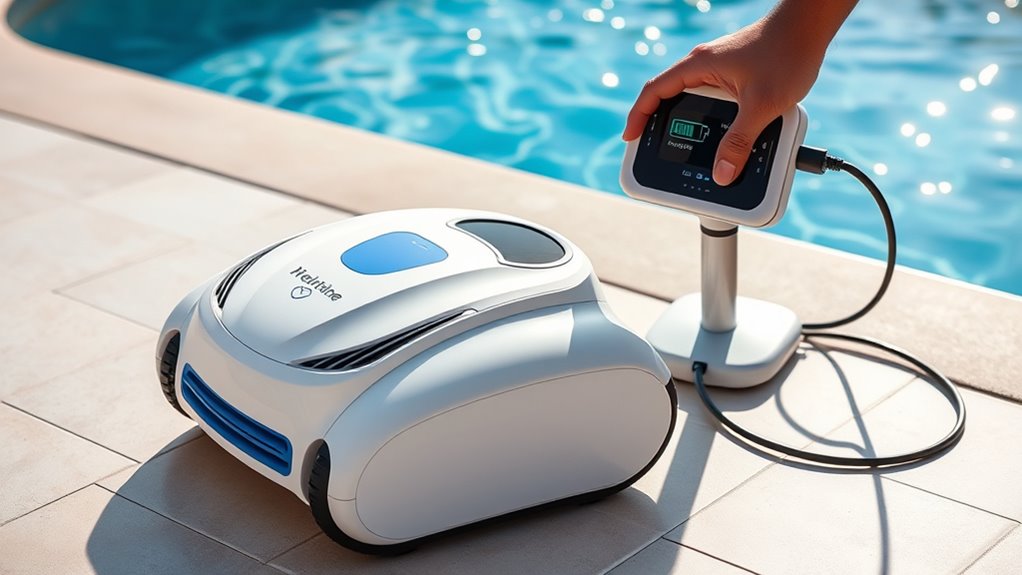
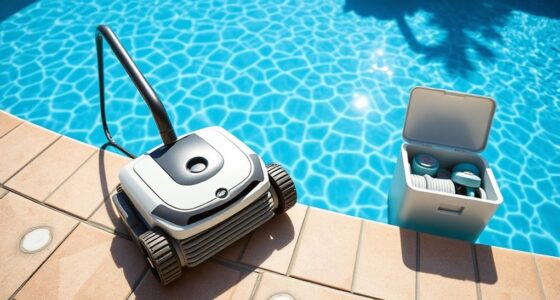
Ensuring your robotic pool cleaner is properly charged is essential for ideal performance. Regularly check the battery health to prevent unexpected shutdowns during cleaning. Always place your device on its designated charging station to guarantee a full, safe charge. To verify battery status, use the indicator lights or digital display, if available, to confirm a complete charge before use. Proper charging habits help extend the lifespan of your cleaner’s battery. Keep the charging station clean and free of debris to maintain maximum contact. Avoid overcharging by unplugging once fully charged. Here are some tips:
- Confirm the device is correctly seated on the charging station
- Check indicator lights for charging and full battery signals
- Inspect charging contacts for dirt or corrosion
- Schedule regular battery health checks
- Store the cleaner in a cool, dry place when not in use
- Understanding battery maintenance can help optimize your device’s performance and longevity. Additionally, maintaining proper battery health ensures consistent operation and longer intervals between charges. Regularly reviewing charger compatibility can also prevent potential issues with power supply and charging efficiency. Ensuring proper charging practices can also help optimize the lifespan of your device’s battery, especially when considering charging habits and environmental factors.
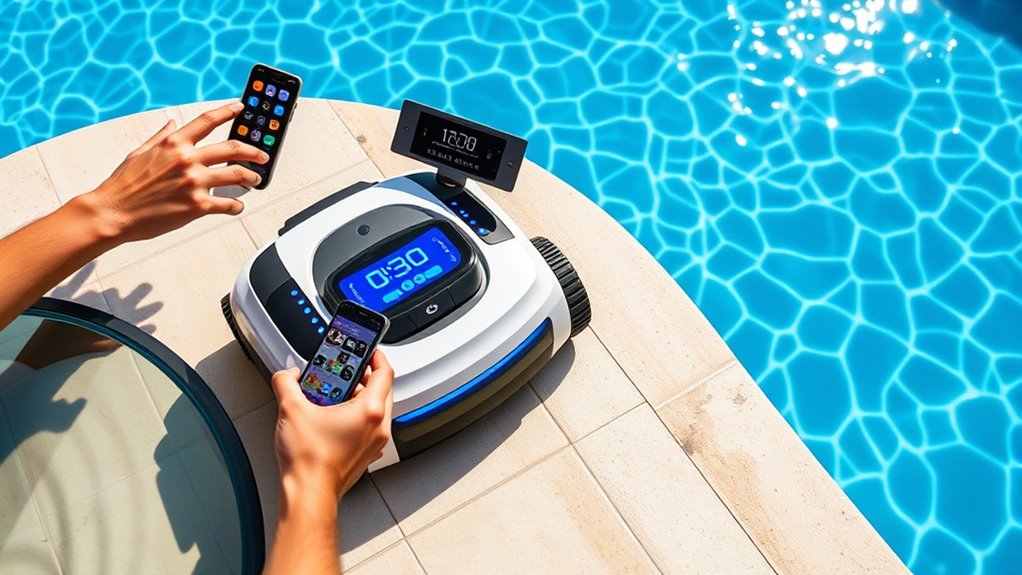
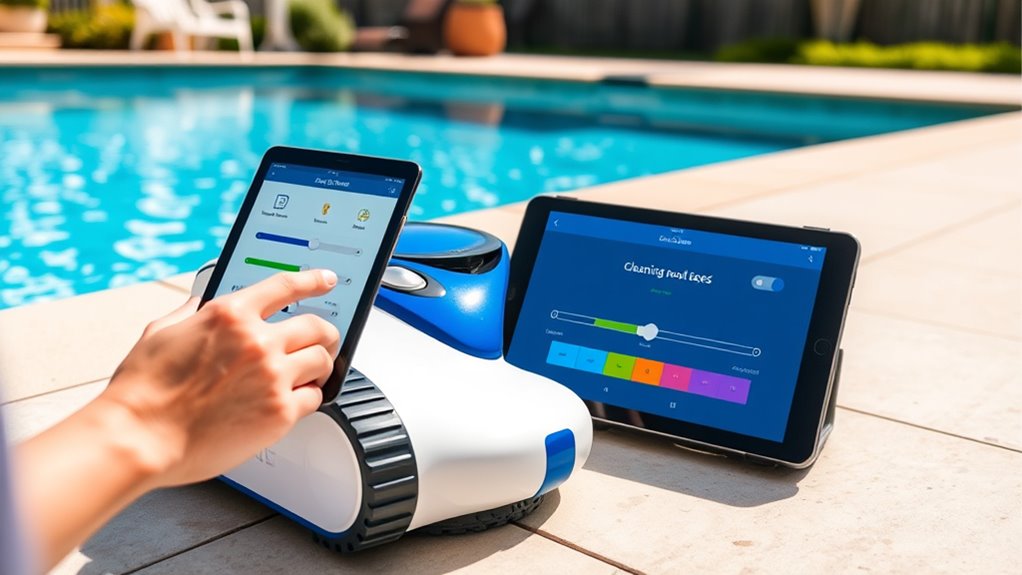
Connecting to the Mobile App or Remote Control

Connecting your pool cleaner to the mobile app or remote control is a straightforward process. You’ll start by pairing the device, then explore the app’s features to customize your cleaning schedule. If you encounter issues, troubleshooting connectivity can help get everything working smoothly. Ensuring a stable connection can also prevent potential device malfunctions during operation. Additionally, verifying that your Wi-Fi signal is strong and stable can significantly improve connection reliability and overall performance. Remember that a reliable internet connection is essential for consistent communication between your device and the app.
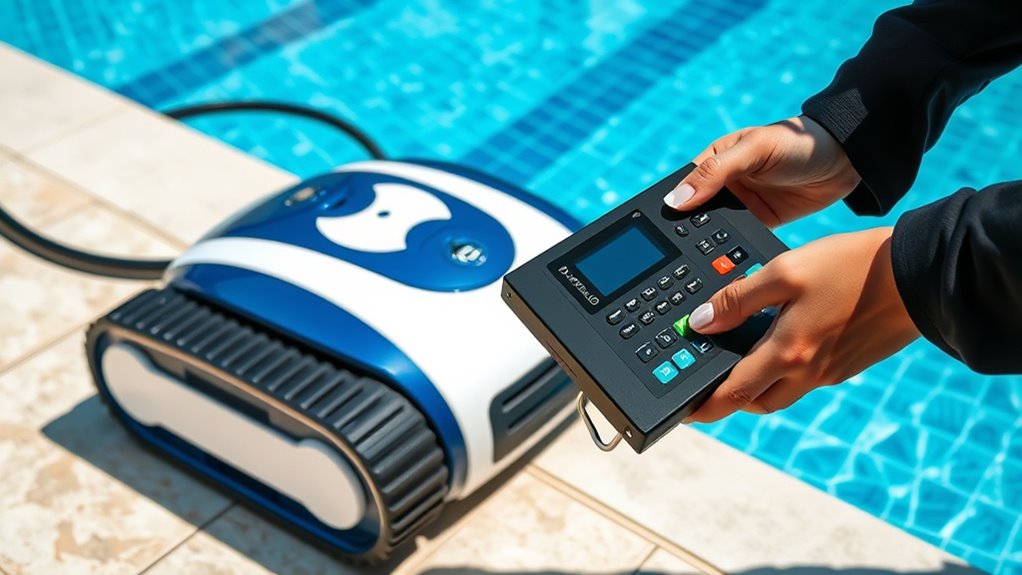
Pairing Process Overview
When you’re ready to pair your robotic pool cleaner, start by turning on the device and opening the mobile app or remote control interface. The pairing process involves establishing a wireless connection between your cleaner and your device. Make certain your phone or remote is close to the cleaner, and Bluetooth or Wi-Fi is enabled. Follow the on-screen prompts to initiate pairing; this usually involves selecting your device from a list or pressing a button on the cleaner. Keep in mind that some models require a specific sequence or reset before pairing. Once connected, you’ll see a confirmation message, and your device is ready to be programmed. This seamless wireless connection makes controlling and configuring your cleaner straightforward and hassle-free.
- Make sure your device is in pairing mode
- Keep Bluetooth/Wi-Fi enabled
- Keep the cleaner close during setup
- Follow app prompts carefully
- Confirm connection before proceeding
Navigating App Features
To navigate the app features effectively, start by opening the mobile app or remote control interface and logging in if necessary. Familiarize yourself with the app interface, which typically displays options like start, pause, and scheduling. Explore the menu to access advanced features such as cleaning modes and timers. Keep an eye out for feature updates, as manufacturers often release improvements that enhance usability or add new functions. Tap through the various screens to understand how to customize cleaning cycles or monitor your cleaner’s status in real-time. Regularly updating the app guarantees you have access to the latest features and bug fixes. With a clear grasp of the app interface, you’ll be able to control and optimize your robotic pool cleaner effortlessly.
Troubleshooting Connectivity
If your robotic pool cleaner isn’t connecting to the mobile app or remote control, start by checking that your device is within the recommended range and that both are powered on. Wi Fi interference from nearby electronics or thick walls can block the signal, so move closer if needed. Ensure your cleaner’s firmware is up to date, as outdated software can cause connectivity issues. Restart your router and the cleaner to refresh connections. Also, verify that your Wi Fi network is stable and supports the frequency your device uses.
- Move closer to the router or remove obstacles
- Restart your Wi Fi router and cleaner
- Check for firmware updates in the app
- Minimize interference from other electronics
- Switch to a 2.4 GHz network if possible
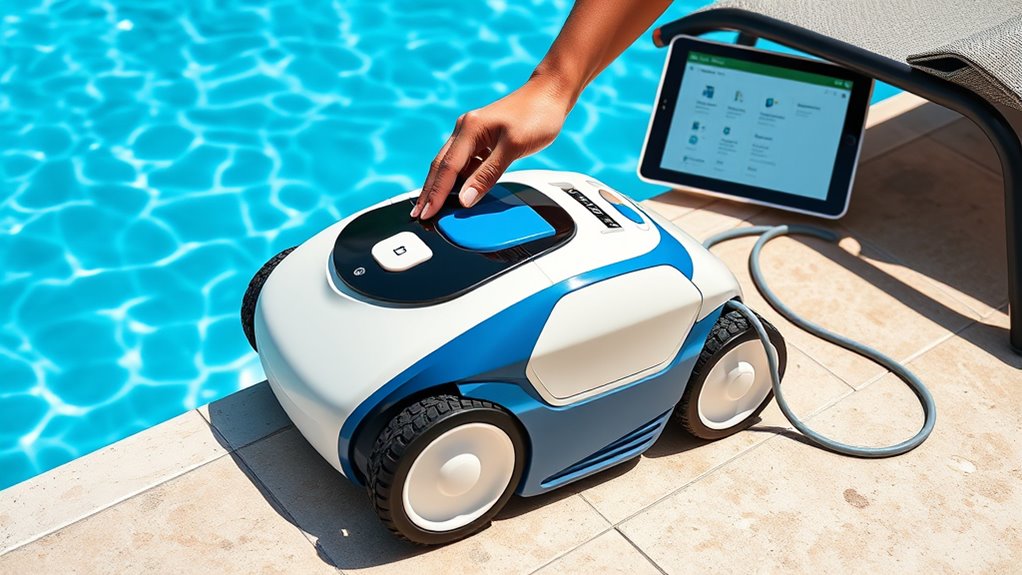
Navigating the Initial Setup and Calibration Process

Setting up your robotic pool cleaner requires careful calibration to guarantee ideal performance. Begin by placing the cleaner in the water and powering it on. Ensure the filter is clean and properly installed, as filter maintenance directly impacts cleaning efficiency. Next, verify the water chemistry—balanced pH and chlorine levels help the robot operate smoothly and extend its lifespan. Follow the initial calibration instructions provided by the manufacturer, which typically involve confirming the robot’s navigation sensors and boundary detection. Keep an eye on how it moves around the pool to ensure it covers all areas. If your cleaner has a calibration mode, use it to fine-tune its movement and cleaning pattern. Properly calibrated, your robotic cleaner will work more effectively and last longer.
Programming Cleaning Cycles and Schedules
You can easily customize your pool cleaner’s cleaning timers to fit your schedule. Setting weekly routines guarantees your pool stays clean without manual intervention. Let’s go over how to program these cycles for ideal results.
Customizing Cleaning Timers
Customizing the cleaning timers allows you to optimize your robotic pool cleaner’s performance by scheduling cycles that fit your pool’s specific needs. You can set the cleaning schedule to run during off-peak hours, ensuring your pool stays clean without interruption. This also helps with battery management, extending your cleaner’s runtime and reducing the need for frequent recharges. Adjust timers based on pool usage, weather, and debris levels to maximize efficiency.
Consider these tips:
- Schedule cleanings early mornings or late evenings
- Increase frequency during busy swimming seasons
- Use shorter cycles for light cleaning days
- Avoid overlapping cycles to conserve battery
- Regularly update your schedule to adapt to changing pool conditions
Setting Weekly Routines
Programming your robotic pool cleaner to follow a weekly routine guarantees consistent cleanliness and ideal performance. Set specific days and times for the cleaner to operate, considering your pool’s usage and environmental factors. Regular pool water analysis helps determine if additional chemical treatments are needed, while scheduled filter replacement ensures optimal suction and debris removal.
Here’s a sample schedule:
| Day | Task | Notes |
|---|---|---|
| Monday | Run cleaning cycle | Check filter after use |
| Wednesday | Check pool water | Adjust chemicals if needed |
| Friday | Replace filter | Maintain peak performance |
Adjust this schedule based on pool size, debris levels, and water quality for best results.
Adjusting Cleaning Modes and Settings for Optimal Performance
To guarantee your robotic pool cleaner works efficiently, adjusting its cleaning modes and settings to match your pool’s specific needs is essential. You can optimize performance by adjusting suction power to handle debris levels and modifying cleaning speed for thoroughness or efficiency. For example, increase suction for heavy dirt, or slow down to cover delicate features carefully. Fine-tune these settings based on pool size, shape, and debris type to get the best results.
- Tailor suction power for different debris types
- Modify cleaning speed for delicate areas
- Switch between eco and deep-clean modes
- Schedule specific cleaning times
- Adjust water flow settings for better coverage
Troubleshooting Common Setup and Programming Issues
When setting up your robotic pool cleaner, you might encounter common issues such as connectivity problems, incorrect scheduling, or unresponsive controls. If your cleaner isn’t connecting to Wi-Fi, verify it’s within range and perform waterproof testing to confirm the device’s seals are secure. For scheduling issues, double-check the programming steps and reset the timer if needed. If the cleaner stops working mid-cycle, inspect the filter and replace it if clogged, as a dirty filter can hinder performance. Also, verify that the power supply is stable. In cases where the device remains unresponsive, perform waterproof testing to rule out water ingress. Addressing these issues promptly helps ensure your robotic cleaner operates smoothly and efficiently.
Maintaining and Caring for Your Robotic Pool Cleaner
Regular maintenance is essential to keep your robotic pool cleaner operating at peak performance. Proper care guarantees it cleans efficiently and lasts longer. Start by checking and cleaning the filter regularly to prevent clogs and maintain ideal suction. If your cleaner isn’t moving smoothly, consider motor troubleshooting—listen for strange noises or power issues. Keep the brushes and wheels free of debris to ensure proper movement. Store your cleaner in a dry, shaded area when not in use to prevent damage. Finally, inspect for loose parts and replace worn-out components promptly.
- Clean the filter after every few uses
- Remove debris from brushes and wheels
- Check for leaks or cracks
- Store in a cool, dry place
- Monitor motor sounds for issues
Tips for Maximizing Efficiency and Longevity
Maximizing the efficiency and lifespan of your robotic pool cleaner requires consistent attention to its operation and upkeep. Regular software updates ensure your cleaner functions with the latest features and fixes, preventing malfunctions. Keep an eye on battery health; replacing the battery when it shows signs of diminished capacity boosts performance and extends your device’s life. Properly cleaning filters and brushes also prevents strain on motors, saving energy and reducing wear.
| Tip | Benefit |
|---|---|
| Update software regularly | Keeps your cleaner efficient and bug-free |
| Replace batteries when needed | Ensures consistent cleaning power |
| Maintain clean filters | Extends motor life and improves suction |
Frequently Asked Questions
How Do I Update the Robotic Pool Cleaner’s Firmware?
To update your robotic pool cleaner’s firmware, start by checking the manufacturer’s app or website for firmware update procedures. Usually, you’ll need to connect your cleaner to Wi-Fi and follow prompts to install the latest software. If your robot gets stuck or isn’t updating correctly, troubleshoot by restarting the device, ensuring a stable internet connection, and reattempting the update. This keeps your cleaner running smoothly and up-to-date.
Can I Program Different Cleaning Schedules for Weekdays and Weekends?
You can definitely program different cleaning schedules for weekdays and weekends, thanks to your robotic pool cleaner’s programming flexibility. Most models allow you to set a specific cleaning schedule tailored to your needs, so you won’t have to manually start it each time. Simply access the schedule settings through the control panel or app, then customize the cleaning times for each day, ensuring your pool stays spotless without extra effort.
Is It Safe to Leave the Cleaner in the Pool After Cleaning?
Leaving your pool cleaner in the pool is like leaving a guest unattended—it’s generally safe, but you should consider pool chemistry and energy consumption. Regularly removing it helps prevent algae build-up and reduces strain on your cleaner. Plus, it saves energy and extends the device’s lifespan. So, for ideal pool health and efficiency, it’s best to take out the cleaner after each cleaning session.
How Do I Reset the Device to Factory Settings?
To perform a factory reset on your robotic pool cleaner, locate the reset button usually found on the device or its control panel. Press and hold this button for about 10 seconds until you see an indicator light flash or hear a beep, signaling device initialization. This resets the device to factory settings, clearing any programmed routines or updates, and prepares it for a fresh start or troubleshooting.
What Should I Do if the Robot Gets Stuck During Cleaning?
If your robot gets stuck during cleaning, start manual troubleshooting by turning it off and removing any debris or obstacles blocking its path. Use obstacle avoidance settings if available, adjusting the device’s behavior to better navigate your pool. You can also reposition the robot to a clear area and restart the cycle. Regularly check for and clear obstructions to prevent future issues and keep your robot operating smoothly.
Conclusion
Now that you’ve mastered setting up your robotic pool cleaner, you’re practically a pool-side tech wizard. Just remember, it’s perfectly normal to talk to your device—after all, who else will appreciate your endless tweaking? With patience and a little humor, your cleaner will be the envy of the neighborhood, tirelessly scrubbing away while you relax. So go ahead, enjoy your spotless pool—and maybe resist the urge to ask it for life advice.